Last Updated: March 20, 2026
If you love gardening or want to repurpose a ceramic pot, drilling a hole in it is often necessary for proper drainage. But ceramic can be tricky to work with—it’s easy to crack or break if you’re not careful.
You might wonder, “How can I drill a hole in my ceramic pot without ruining it? ” This guide will show you simple, step-by-step methods to do it safely and effectively. By the time you finish reading, you’ll feel confident handling your tools and creating perfect holes that keep your plants healthy and your pots intact.
Ready to get started? Let’s dive in!
Credit: www.youtube.com
Tools And Materials
Drilling a hole in a ceramic pot requires the right tools and materials. Using proper equipment ensures a clean hole and prevents cracks. Prepare all items before starting for a smooth process.
Drill
A power drill is essential. Choose a drill with variable speed control. It helps to drill slowly and carefully on ceramic surfaces. Cordless or corded drills both work well.
Diamond-tipped Drill Bits
Diamond-tipped bits are best for ceramic. They cut through hard glaze and ceramic without breaking. Use a small-sized bit to start the hole. Then switch to a larger bit if needed.
Water Source
Keep the drill bit cool with water. Use a spray bottle or a small cup of water. Cooling prevents overheating and reduces the chance of cracks.
Masking Tape
Place masking tape over the drilling spot. It stops the drill bit from slipping. The tape also protects the pot’s surface from scratches.
Marker Or Pencil
Mark the exact spot to drill. A pencil or marker works well on masking tape. Clear markings help keep the drill steady.
Safety Gear
Wear safety glasses to protect your eyes from dust and shards. Gloves protect your hands from sharp edges. Work in a well-ventilated area.
Preparing The Pot
Preparing the ceramic pot before drilling is key to avoid cracks and damage. Proper preparation helps create a clean, precise hole. It also protects the pot and your tools.
Take time to gather all necessary materials and set up your workspace. A stable, flat surface reduces the risk of slips. Protect the pot and yourself with the right gear.
Clean The Pot Surface
Wipe the pot with a damp cloth to remove dust and dirt. A clean surface helps the drill bit grip better. Let the pot dry completely before starting.
Mark The Drilling Spot
Use a pencil or marker to mark the exact spot for the hole. Measure carefully to ensure the hole is in the right place. A clear mark guides the drill and keeps it steady.
Secure The Pot
Place the pot on a non-slip mat or towel. This prevents movement during drilling. Hold the pot firmly but gently to avoid cracks.
Gather Safety Gear
Wear safety glasses to protect your eyes from ceramic dust. Use gloves to guard your hands from sharp edges. Safety gear is essential for a safe drilling process.
Choosing The Right Drill Bit
Choosing the right drill bit is crucial to drill a clean hole in a ceramic pot. Ceramic is hard and brittle. Using the wrong drill bit can crack or shatter the pot. Picking the correct bit ensures smooth drilling and protects the pot.
Diamond-tipped Drill Bits
Diamond-tipped bits are the best choice for ceramic pots. They are strong and can cut through hard surfaces easily. These bits create clean and precise holes. They last longer than regular bits and reduce the risk of cracking.
Glass And Tile Drill Bits
Glass and tile bits work well on ceramic pots too. They have a pointed tip for easy starting. These bits help control the drill and prevent slipping. Use them with water to keep the bit cool and avoid damage.
Hole Saws For Larger Holes
Hole saws with diamond tips are good for bigger holes. They cut around the edge to remove a circle of ceramic. This method is cleaner and safer for large drainage holes. Use slow speed and water for best results.
Why Avoid Regular Drill Bits
Standard drill bits are too rough for ceramic. They can cause cracks or chips. These bits heat up quickly, increasing the chance of breakage. Always choose bits made specifically for ceramic or glass materials.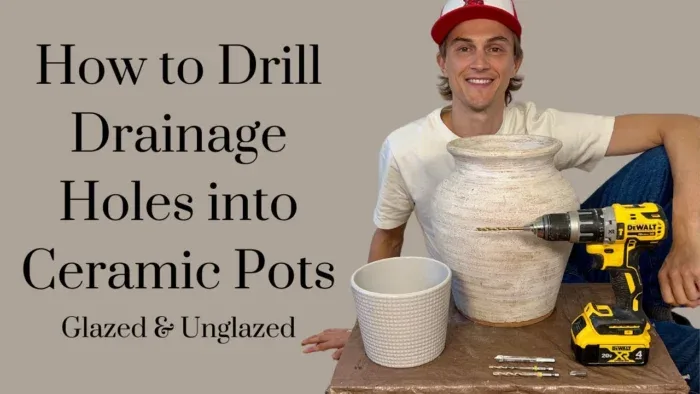
Credit: www.youtube.com
Drilling Technique
Drilling a hole in a ceramic pot requires a careful technique. The pot is fragile and can crack easily. A steady hand and patience help prevent damage. Start by preparing your tools and workspace for safety and success.
Select a diamond-tipped drill bit for clean and smooth holes. These bits cut through ceramic without cracking it. Avoid using regular bits as they may shatter the pot.
Marking The Spot
Use a marker to pinpoint the exact drilling location. Place a piece of tape over the spot for better grip. The tape prevents the drill bit from slipping.
Using Water For Cooling
Keep the drill bit cool by applying water during drilling. Water reduces heat and dust. It also protects the ceramic from cracking.
Starting The Hole Slowly
Begin drilling at low speed and light pressure. Let the drill bit do the work. Stop if you feel resistance or hear cracking sounds.
Drilling Steadily And Carefully
Increase speed gradually once the bit bites into the ceramic. Keep steady pressure and avoid shaking. Pause occasionally to cool the drill bit with water.
Finishing Touches
After drilling the hole in your ceramic pot, the finishing touches help protect and enhance it. These steps ensure your pot lasts longer and looks neat. Proper care prevents cracks and sharp edges that may harm plants or fingers.
Take your time with these final steps to keep your ceramic pot safe and attractive.
Cleaning The Hole
Remove dust and debris from the drilled hole using a soft brush. Avoid using water immediately if the pot is still warm. Gently wipe the surface with a damp cloth after it cools. This keeps the hole clear and ready for planting.
Sanding Sharp Edges
Use fine-grit sandpaper to smooth the edges of the hole. Sand lightly to avoid cracking the ceramic. Smooth edges protect roots and prevent injury when handling the pot. Check the hole from both sides for any rough spots.
Sealing The Hole
Apply a waterproof sealant around the hole if you want extra protection. Sealants prevent water damage and extend the pot’s life. Use a sealant suitable for ceramics and safe for plants. Let it dry fully before adding soil or plants.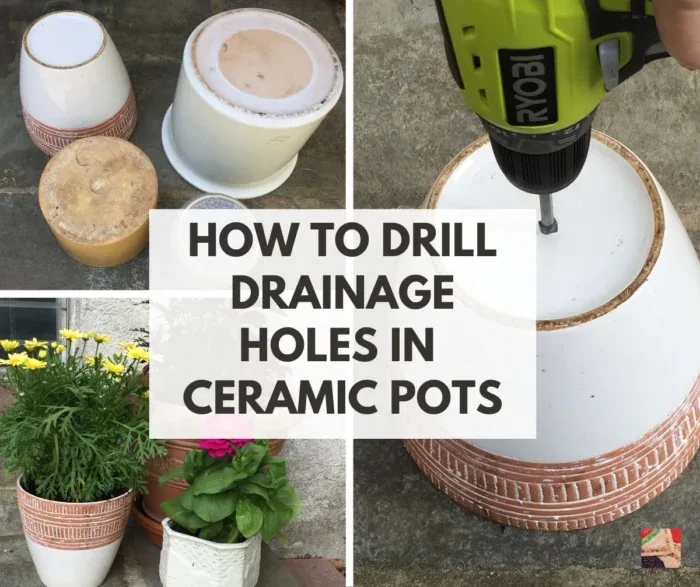
Credit: www.needlepointers.com
Conclusion
Drilling a hole in a ceramic pot takes patience and care. Use the right drill bit, like a diamond-tipped one, to avoid cracks. Keep the drill slow and steady while applying gentle pressure. Cooling the area with water helps prevent damage.
Protect yourself by wearing safety gear. With these simple steps, you can add drainage holes successfully. Your plants will thank you for better water flow and healthier roots. Try it yourself and enjoy the benefits of well-drained ceramic pots. Practice makes perfect, so take your time and stay safe.
Frequently Asked Questions
Use a diamond-tipped drill bit at low speed. Keep the pot wet with water to cool the bit. Apply steady, light pressure and drill slowly to avoid cracks. Place the pot on a soft cloth for support.
The best drill bit for ceramic pots is a diamond-tipped bit. Use water to cool the bit and drill slowly to avoid cracks. A diamond-tipped hole saw or glass and tile bit ensures clean, precise holes without damaging the pot.
Use a diamond-tipped drill bit and keep the pot wet to prevent cracks. Drill slowly with light pressure. Place the pot upside down on a soft cloth for stability. Cool the drill bit with water continuously. Stop once the hole is complete to avoid damaging the ceramic.
Yes, use a diamond-tipped drill bit for ceramic. It cuts cleanly and prevents cracking. Always drill slowly with water to cool the bit and avoid damage.
A diamond-tipped drill bit works best for clean, precise holes in ceramic pots.
Drill slowly with light pressure and keep the pot cool using water.
