Last Updated: March 21, 2026
You use your plunger when things get clogged, but have you ever thought about what happens after? A dirty plunger can spread germs and leave unpleasant odors in your bathroom.
Cleaning your plunger properly is simple, yet many people overlook this important step. In this guide, you’ll learn easy, effective ways to clean and disinfect your plunger so it’s ready for the next time you need it. Keep your bathroom fresh and hygienic by mastering how to clean a plunger the right way.
Read on to discover quick tips that will save you time and keep your home healthier.
Credit: www.familyhandyman.com
Gather Supplies
Gathering the right supplies is the first step to clean your plunger properly. Having everything ready makes the process quicker and safer. Use simple, effective cleaning tools to avoid extra mess or germs.
Prepare a disinfectant solution to kill bacteria and odors. Bleach or white vinegar works well. Choose what is easy for you to find and use.
Cleaning Gloves
Wear rubber gloves to protect your hands. Plungers carry germs that can cause infections. Gloves keep your skin safe and make cleaning easier.
Bucket Or Large Container
Use a bucket to soak the plunger. It holds the disinfectant solution and keeps the mess contained. Pick a container large enough for the plunger cup.
Disinfectant Solution
Prepare a mix of bleach and water or use straight white vinegar. This solution kills harmful bacteria. Avoid harsh chemicals that can damage the plunger.
Old Towels Or Rags
Have old towels ready to dry the plunger after cleaning. They absorb water and stop drips. Use rags you don’t mind getting dirty.
Scrub Brush Or Sponge
Use a soft brush or sponge to scrub the plunger. It removes dirt stuck on the rubber. Avoid hard brushes that can tear the plunger.
Rinse Off Debris
Rinsing off debris is the first step to clean your plunger properly. Removing visible dirt and waste helps prevent germs from spreading. This step makes the plunger easier to disinfect later.
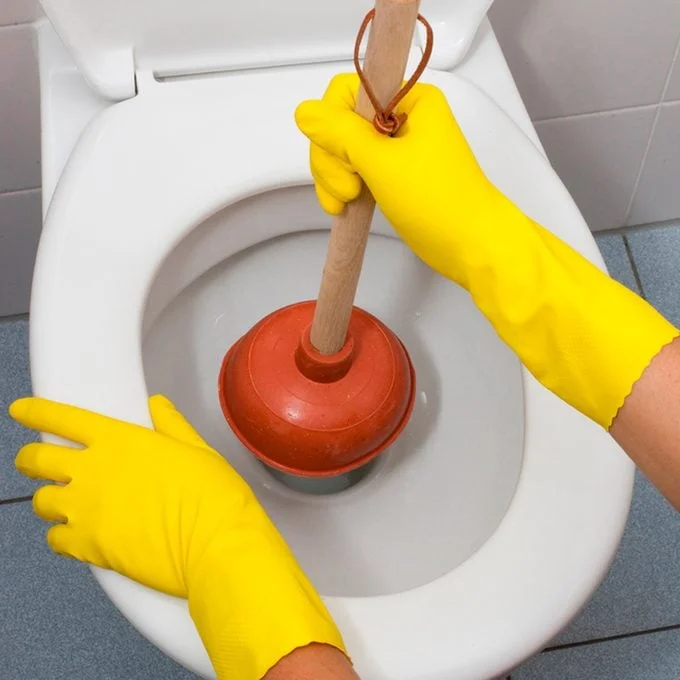
Flush The Plunger In The Toilet Bowl
After use, place the plunger inside the toilet bowl. Push it down and lift it several times to rinse off loose debris. The running water helps wash away waste stuck on the rubber cup.
Use Hot Water For Better Cleaning
Pour hot water over the plunger to loosen grime and dirt. Hot water breaks down sticky residue better than cold water. This step prepares the plunger for deeper cleaning.
Remove Debris With A Brush
Use a toilet brush or old scrub brush to remove stubborn debris. Scrub the rubber cup and handle gently but firmly. This ensures no waste remains on the plunger’s surface.
Rinse Thoroughly With Clean Water
Rinse the plunger under running water until no dirt remains. Clear water helps remove loosened debris and soap. Make sure both the cup and handle are rinsed well.
Prepare Disinfectant Solution
Preparing a disinfectant solution is the first step to clean a plunger safely and effectively. This solution kills germs and removes odors. It protects your health and keeps your bathroom hygienic.
Use common household items to make a strong disinfectant solution. Choose either bleach or white vinegar. Both are powerful and easy to find.
Gather Your Cleaning Supplies
Collect a bucket or large container to mix the solution. Use gloves to protect your hands. Have measuring cups ready for accuracy.
Mix Bleach Solution
Pour one cup of bleach into one gallon of water. Stir carefully to blend. Avoid splashing to prevent irritation.
Prepare Vinegar Solution
Combine one part white vinegar with one part water. Mix well in the bucket. Vinegar is gentler but still effective.
Choose A Well-ventilated Area
Prepare the solution in a space with fresh air. Open windows or turn on a fan. This reduces strong fumes and keeps you safe.
Soak The Plunger
Soaking the plunger is an important step in cleaning it properly. This process helps remove germs and bacteria that cling to the rubber cup. A thorough soak softens any stuck debris, making it easier to clean. It also disinfects the plunger, ensuring it is safe to use again.
Choose a disinfectant solution that works well against bacteria. Common options include diluted bleach or white vinegar. These solutions kill harmful germs and leave the plunger fresh.
Prepare A Disinfectant Solution
Fill a bucket or container with warm water. Add a disinfectant such as bleach or vinegar. Use about one cup of bleach per gallon of water. Stir the solution well to mix.
Submerge The Plunger
Place the plunger fully into the disinfectant solution. Make sure the rubber cup is covered completely. Let it soak for at least 10 minutes. This time allows the disinfectant to work properly.
Swirl The Plunger In The Solution
Occasionally move the plunger around in the liquid. Swirling helps loosen dirt and grime. It also exposes all surfaces to the disinfectant. Be gentle to avoid splashing the solution outside.
Rinse With Clean Water
After soaking, lift the plunger out carefully. Rinse it under warm running water. This removes leftover disinfectant and loosened debris. Check the rubber cup for any remaining dirt.
Allow The Plunger To Air Dry
Set the plunger in a clean area to dry. Air drying prevents mold and bacteria growth. Avoid storing the plunger while it is still wet. Drying ensures it stays clean and ready for use.
Swirl And Scrub
Cleaning a plunger properly keeps your bathroom hygienic. The “Swirl and Scrub” method removes dirt and germs effectively. It involves swirling the plunger in a cleaning solution and scrubbing it gently. This process ensures the plunger is fresh and safe to use again.
Prepare The Cleaning Solution
Fill a bucket with warm water. Add a disinfectant like bleach or vinegar. Use about one cup of bleach or half a cup of vinegar per gallon of water. This mixture kills germs and breaks down grime on the plunger.
Swirl The Plunger In The Solution
Place the plunger head into the bucket. Move it in circles to swirl the water around. Swirling loosens dirt stuck on the rubber. Do this for about one minute to cover all surfaces.
Scrub The Plunger Gently
Use a soft brush or sponge to scrub the rubber part. Focus on the edges and crevices where dirt hides. Avoid harsh scrubbing that can damage the rubber. Scrubbing helps remove stubborn grime and disinfects the plunger.
Rinse With Clean Water
After scrubbing, rinse the plunger with warm water. Use clean water to wash off the cleaning solution and loosened dirt. Rinsing prevents chemical residue from staying on the plunger.
Air Dry Before Storing
Let the plunger dry in a well-ventilated area. Place it upside down to drain water fully. Air drying stops bacteria growth and keeps the plunger ready for the next use.
Rinse Thoroughly
Rinsing your plunger thoroughly after use is essential for hygiene and longevity. This step removes any remaining debris and reduces bad odors. Proper rinsing also prevents bacteria buildup and keeps your bathroom sanitary.
Use Clean Water For Rinsing
Start by rinsing the plunger under clean, running water. Make sure water flows over the rubber cup and handle. This washes away loose dirt and grime effectively.
Rinse In The Toilet Bowl
Flush the toilet and use the fresh water to rinse the plunger. Hold it under the water stream and swirl to clean all sides. This method uses clean water and saves extra effort.
Check For Residue
Inspect the plunger after rinsing. If any dirt or stains remain, rinse again until it looks clean. A spotless plunger ensures better hygiene in your bathroom.
Dry Completely
Drying your plunger completely after cleaning is essential. A wet plunger can harbor bacteria and cause unpleasant odors. Proper drying keeps your plunger hygienic and ready for the next use.
Air drying is the safest and most effective method. Avoid storing the plunger while it is still damp. Moisture trapped in the rubber cup or handle promotes mold growth.
Use A Well-ventilated Area
Place the plunger in a spot with good airflow. Outdoors or near an open window works well. Fresh air speeds up the drying process and reduces moisture buildup.
Position The Plunger Upside Down
Turn the plunger cup facing down to drain excess water. This helps all the water drip out. Standing the plunger upright traps water inside, slowing drying.
Wipe With A Clean Cloth
After rinsing, use a dry cloth to wipe the handle and cup. This removes leftover water and speeds drying. Use a separate cloth to avoid spreading germs.
Avoid Storing In A Closed Container
Do not place the plunger in a sealed bucket or bag while wet. Lack of air causes moisture to stay trapped. Store the plunger in an open holder or rack.
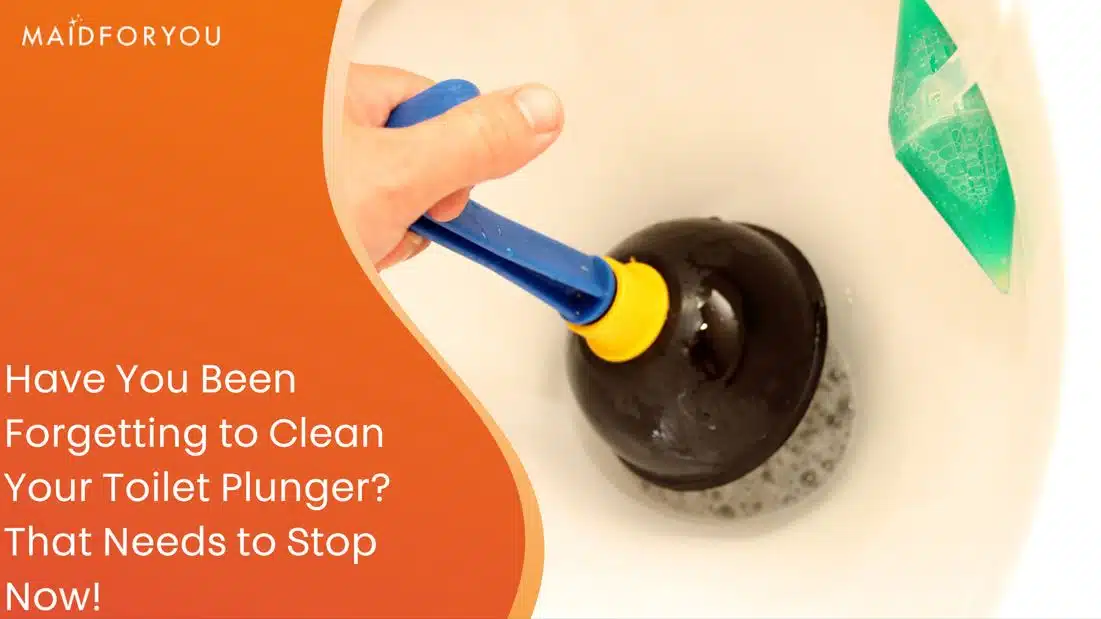
Credit: www.maidforyou.com.au
Store Properly
Proper storage of your plunger is key to keeping your bathroom clean and fresh. After cleaning, storing it correctly prevents bacteria growth and bad odors. It also extends the life of your plunger.
Choose a dry, well-ventilated spot for your plunger. Avoid damp areas that encourage mold and mildew. Let the plunger air dry completely before putting it away. This simple step stops moisture buildup.
Use A Plunger Holder
A plunger holder keeps the tool upright and off the floor. It also catches any drips, protecting your bathroom floor. Plastic or metal holders are easy to clean and maintain hygiene.
Keep It Separate From Other Cleaning Tools
Store your plunger away from brushes and mops. This prevents cross-contamination and keeps your cleaning tools safe. A dedicated space for the plunger is best.
Store In An Easy-to-reach Place
Place the plunger where you can grab it quickly. Near the toilet is ideal. Quick access means you can act fast during clogs, saving time and hassle.
Regularly Check And Clean The Storage Area
Clean the plunger holder and storage spot often. Remove any dirt or water to maintain cleanliness. This habit helps keep your bathroom sanitary and fresh.
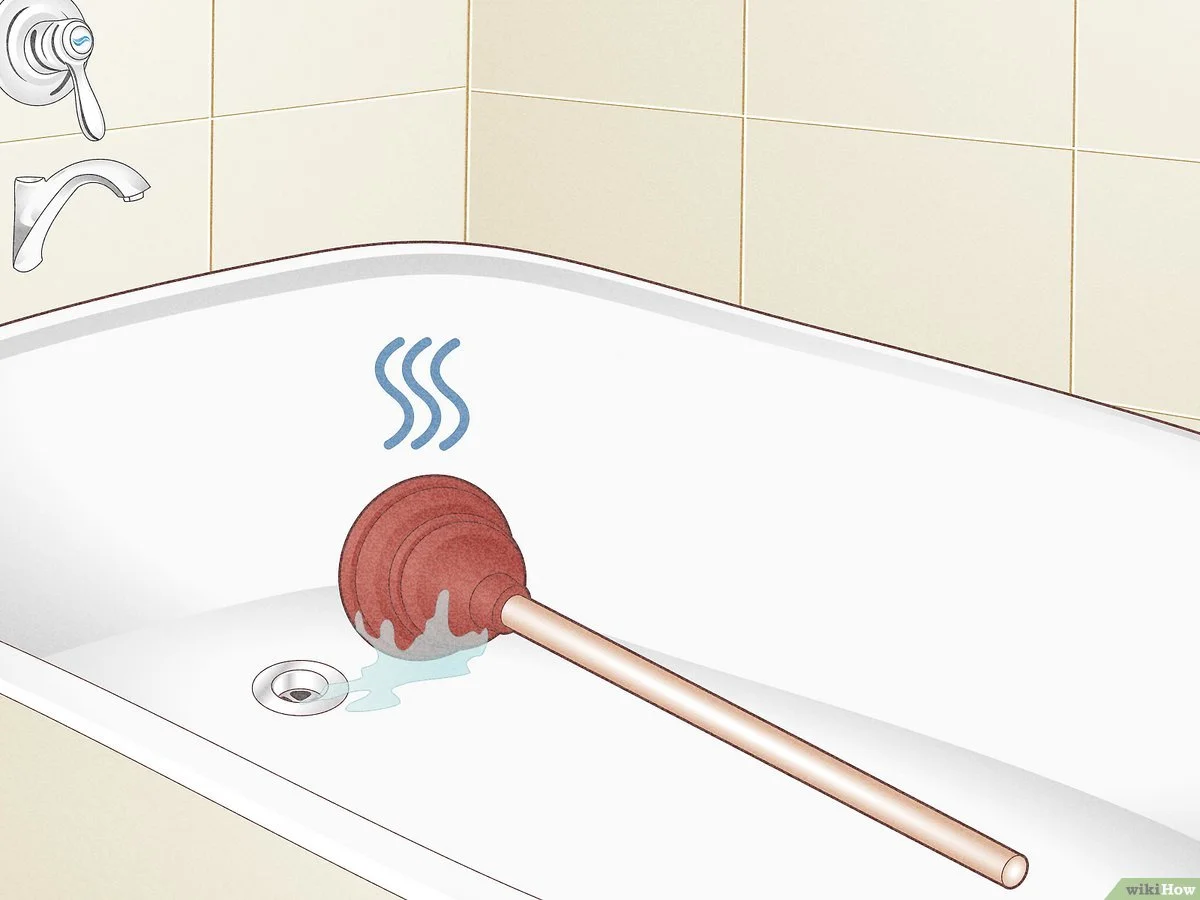
Credit: www.wikihow.life
Frequently Asked Questions
How Do You Clean A Plunger After You Use It?
Rinse the plunger in the toilet bowl to remove debris. Soak and swirl it in a disinfectant like bleach or vinegar. Rinse with clean water, then air dry completely before storing. Use a disinfectant spray and bucket for extra cleaning outside the toilet.
Are Plungers Supposed To Be Cleaned?
Yes, clean plungers after every use to prevent germs. Rinse in the toilet, soak in disinfectant, rinse again, and air dry fully before storing.
Do You Throw Away A Plunger After Use?
No, you don’t need to throw away a plunger after use. Clean it thoroughly with disinfectant and let it air dry before storing.
What Is The Most Sanitary Way To Store A Plunger?
Rinse the plunger thoroughly after use, disinfect with bleach or vinegar, then air dry completely. Store it upright in a holder with a drip tray to keep it sanitary and prevent bacteria growth.
How Do You Clean A Plunger After Use?
Rinse the plunger in the toilet bowl, soak it in disinfectant, rinse with clean water, and air dry.
Conclusion
Cleaning a plunger keeps it ready for the next use. Rinse it well to remove dirt and germs. Use bleach or vinegar to disinfect thoroughly. Let the plunger dry fully to avoid mold or smell. Store it in a clean, dry place for best results.
Regular cleaning helps maintain hygiene in your bathroom. Simple steps make a big difference in cleanliness. A clean plunger means a healthier home environment. Keep it fresh and safe with these easy tips.
Related reading: How to Unclog a Toilet Without a Plunger.
Related reading: How to Remove Chair Cylinder Without a Pipe Wrench.
{ “@context”: “https://schema.org”, “@type”: “Article”, “headline”: “How to Clean a Plunger: Quick & Easy Step-by-Step Guide”, “description”: “Learn how to clean a plunger properly to maintain hygiene and prevent odors by using simple cleaning methods and disinfectants after each use.”, “url”: “https://www.powertoolstoday.com/how-to-clean-a-plunger/”, “datePublished”: “2025-11-27”, “dateModified”: “2026-03-18”, “author”: { “@type”: “Organization”, “name”: “Power Tools Today”, “url”: “https://www.powertoolstoday.com” }, “publisher”: { “@type”: “Organization”, “name”: “Power Tools Today”, “url”: “https://www.powertoolstoday.com” }, “mainEntityOfPage”: { “@type”: “WebPage”, “@id”: “https://www.powertoolstoday.com/how-to-clean-a-plunger/” }, “image”: { “@type”: “ImageObject”, “url”: “https://www.powertoolstoday.com/wp-content/uploads/2025/11/how-to-clean-a-plunger.webp” } }nnnn