Last Updated: March 27, 2026
Polishing With Angle Grinder Guide
Working with metal, stone, or wood often means fighting rough surfaces, rust, or old paint. Many people reach for an angle grinder to solve these problems, but few use it to its full potential. Polishing with an angle grinder can transform your projects, giving them a smooth, shiny finish that stands out. However, if you’re new to angle grinders or polishing, you might feel unsure where to start. This guide will take you from beginner to confident user, sharing detailed steps, smart tips, and things most people miss.
Why Polish With An Angle Grinder?
An angle grinder is a powerful tool. It’s mostly used for cutting and grinding, but with the right accessories, it becomes a fast and efficient polisher. You can use it to shine metal, clean tiles, polish stone, or even give wood a glossy finish. Polishing by hand is slow and tiring, especially for large surfaces. An angle grinder does the job much faster and more evenly.
Choosing The Right Angle Grinder
Not every angle grinder is ideal for polishing. Consider these key factors:
- Speed Control: Polishing works best at lower speeds. A grinder with adjustable speed lets you avoid burning or damaging your workpiece.
- Power: For polishing, a 600-1000 watt motor is usually enough. Too much power can be hard to control for fine work.
- Disc Size: Common sizes are 4.5-inch (115mm) and 5-inch (125mm). Both are good for most polishing tasks.
- Weight and Comfort: Polishing takes time. A heavy tool can tire your arms fast. Look for a model with a comfortable grip.
Most professional polishers use variable speed grinders. Fixed speed models are harder to control, especially for delicate finishes.
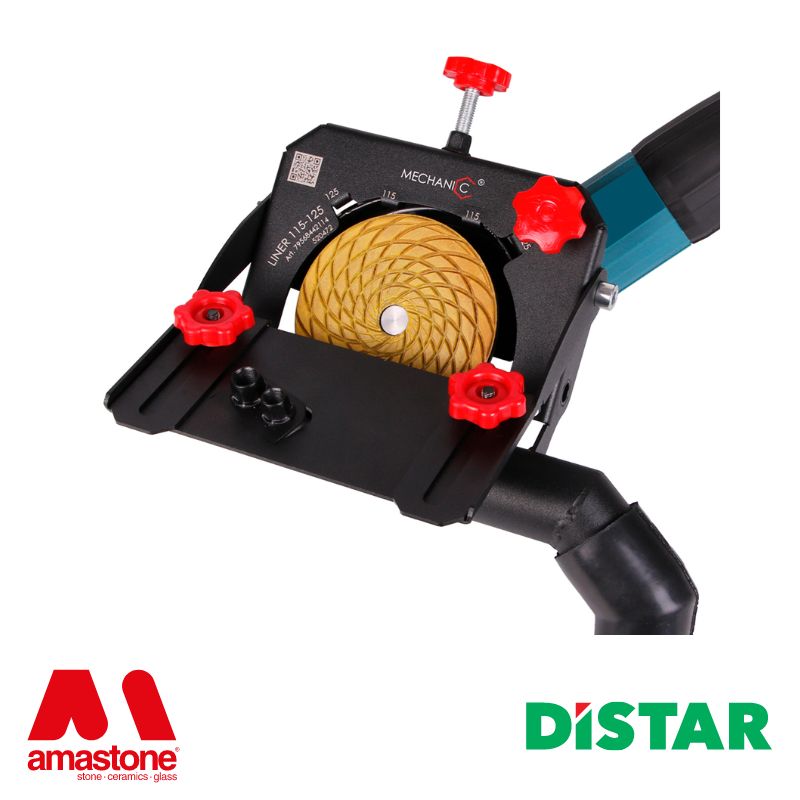
Credit: amastone.com
Essential Polishing Accessories
You need more than just the grinder. The right accessories make all the difference:
- Polishing Pads: Foam or wool pads are best for a glossy finish on metal or stone.
- Backing Pads: These attach to your grinder and hold the polishing pad in place.
- Polishing Compounds: These pastes or creams help smooth and shine the surface. Choose the right type for your material.
- Sandpaper Discs: Start with coarse grit for removing rust or paint, then move to finer grits for polishing.
Here is a quick comparison of common polishing pads:
| Pad Type | Best For | Finish Quality |
|---|---|---|
| Wool Pad | Metal, Stone | High Gloss |
| Foam Pad | Painted Surfaces, Wood | Ultra Smooth |
| Felt Pad | Glass, Ceramics | Scratch-Free |
Safety First
Using an angle grinder for polishing is safe when you follow the right steps:
- Wear safety glasses and gloves. Polishing creates fine dust and can send small bits flying.
- Use a dust mask or respirator, especially with stone or metal.
- Secure your workpiece. A moving part can be dangerous.
- Keep loose clothing and hair away from the spinning pad.
Many beginners forget ear protection. Polishing can be noisy, especially on metal. Earplugs or earmuffs are a good idea.
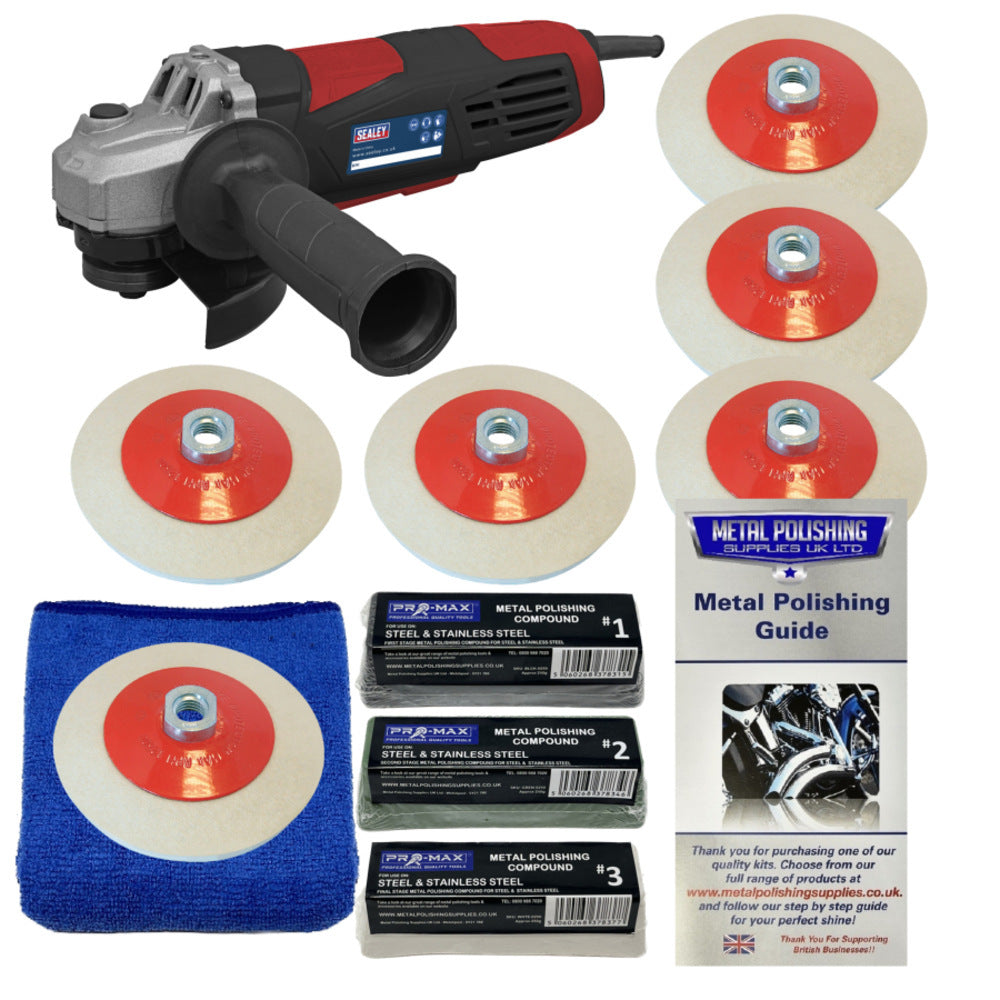
Credit: metalpolishingsupplies.co.uk
Preparing Your Surface
You cannot polish a dirty or rough surface. Preparation is key:
- Clean the area with a brush and a damp cloth. Remove grease, dirt, and old paint.
- Check for deep scratches or dents. If present, use coarse sandpaper first.
- Dry the surface completely before starting. Moisture can damage pads and affect your results.
A common mistake is skipping preparation. This often leads to uneven or poor shine.
Step-by-step: How To Polish With An Angle Grinder
Let’s break down the process into clear steps:
1. Attach The Backing Pad And Polishing Pad
Most angle grinders have a spindle lock. Press it, remove any cutting disc, and screw on the backing pad. Then, attach your polishing pad firmly.
2. Apply Polishing Compound
Put a small amount of polishing compound on the pad or directly on the surface. Less is more—too much can make a mess and slow your progress.
3. Set The Speed
If your grinder allows, set it to a low or medium speed. High speed can burn or damage your workpiece, especially on paint or plastic.
4. Start Polishing
Hold the grinder with both hands. Touch the pad lightly to the surface. Move in slow, overlapping circles. Don’t press hard; let the tool do the work.
5. Check Your Progress
Stop often to wipe the area with a clean cloth. This helps you see your progress and avoid over-polishing one spot.
6. Repeat If Needed
For a mirror finish, you may need several passes with finer pads and compounds.
Here’s a simple guide to polishing different materials:
| Material | Starting Grit | Finishing Pad | Recommended Compound |
|---|---|---|---|
| Metal | 400 | Wool | Aluminum Oxide |
| Stone | 200 | Felt | Diamond Paste |
| Wood | 320 | Foam | Finishing Wax |
Common Mistakes And How To Avoid Them
Many people make the same errors when first polishing with an angle grinder:
- Using too much pressure: This can create heat, burns, or gouges.
- Skipping grits: Don’t move from coarse to fine in one jump. Take small steps for the best shine.
- Using the wrong pad: Wool is not for painted surfaces—use foam instead.
- Not cleaning between steps: Small particles from earlier grits can scratch your finish.
A good rule: always keep your pads clean and dry. Dirty pads can ruin hours of work in seconds.
Polishing Techniques For Different Materials
Metal
Polishing metal with an angle grinder is popular for car parts, tools, and railings. Start with a fine sandpaper disc (400-600 grit) to remove rust and scratches. Then switch to a wool pad with aluminum oxide compound. Move slowly and don’t overheat the metal.
For stainless steel, always move the grinder in the same direction as the grain for a uniform finish.
Stone
Stone surfaces (like granite or marble) respond well to felt pads and diamond paste. Wet the area slightly to reduce dust. Never press too hard—stone can crack or chip. Always start with a coarser pad and finish with a fine one.
Wood
You can achieve a glossy wood surface with a foam pad and finishing wax. First, use fine sandpaper (320 grit or higher) to smooth the wood. Apply wax, then gently buff with the foam pad at low speed. Avoid staying in one spot—wood burns easily.
Credit: empire.pizza
Choosing The Right Polishing Compound
Each material needs a different compound for the best shine:
- Aluminum oxide: Great for most metals, especially aluminum.
- Diamond paste: Needed for hard stones and tiles.
- Cerium oxide: The best choice for glass or ceramics.
- Finishing wax: Perfect for wood and painted surfaces.
Here’s a quick reference for compounds:
| Compound | Best For | Notes |
|---|---|---|
| Aluminum Oxide | Metal | Fast, bright shine |
| Diamond Paste | Stone | High cost, best results |
| Cerium Oxide | Glass/Ceramics | Removes fine scratches |
| Finishing Wax | Wood | Safe, easy to use |
Maintenance Tips For Your Polishing Gear
Proper care keeps your tools working well:
- Wash pads after use. Use warm water and mild soap, then air dry.
- Check your grinder regularly for loose parts or worn cords.
- Store compounds in a cool, dry place. They can dry out if left open.
Many users forget to replace pads when worn. A new pad gives a better finish and works faster.
Advanced Tips Most Beginners Miss
- Test on a scrap piece first. Every material reacts differently. Practice before starting on your main project.
- Use painter’s tape to protect edges and areas you don’t want to polish.
- Keep a spray bottle of water nearby. Lightly misting can reduce heat and dust, especially on stone.
When Not To Use An Angle Grinder For Polishing
An angle grinder is powerful, but not always the best tool. Avoid using it on:
- Thin or delicate items. The grinder can warp or break them.
- Highly detailed surfaces. The spinning pad may miss small grooves or damage fine details.
- Soft plastics. High speed melts or burns them easily.
For these tasks, try hand polishing or a dedicated orbital polisher.
Frequently Asked Questions
Can I Use Any Angle Grinder For Polishing?
Not all angle grinders are suitable. Look for one with variable speed control and a comfortable grip. High-speed models can cause burns or damage to your workpiece.
What Is The Safest Way To Polish With An Angle Grinder?
Always wear safety gear (glasses, gloves, mask), secure your workpiece, and use the correct pad and speed. Never force the tool—let it do the work.
Which Materials Can I Polish With An Angle Grinder?
You can polish metal, stone, wood, glass, and some plastics. Choose the right pad and compound for each material, and always test first.
How Do I Avoid Swirl Marks Or Scratches?
Use clean pads and move in slow, even circles. Start with coarser grits and work up to finer ones. Clean the surface between steps.
Where Can I Learn More About Polishing Tools And Techniques?
For more in-depth information, check this Wikipedia guide on angle grinders.
Polishing with an angle grinder opens a world of possibilities for DIY and professional projects. With the right tools, techniques, and a bit of practice, you can achieve stunning results. Always put safety first, choose quality accessories, and don’t rush the process.
In time, your work will not only look better but last longer, giving you results you can be proud of.
