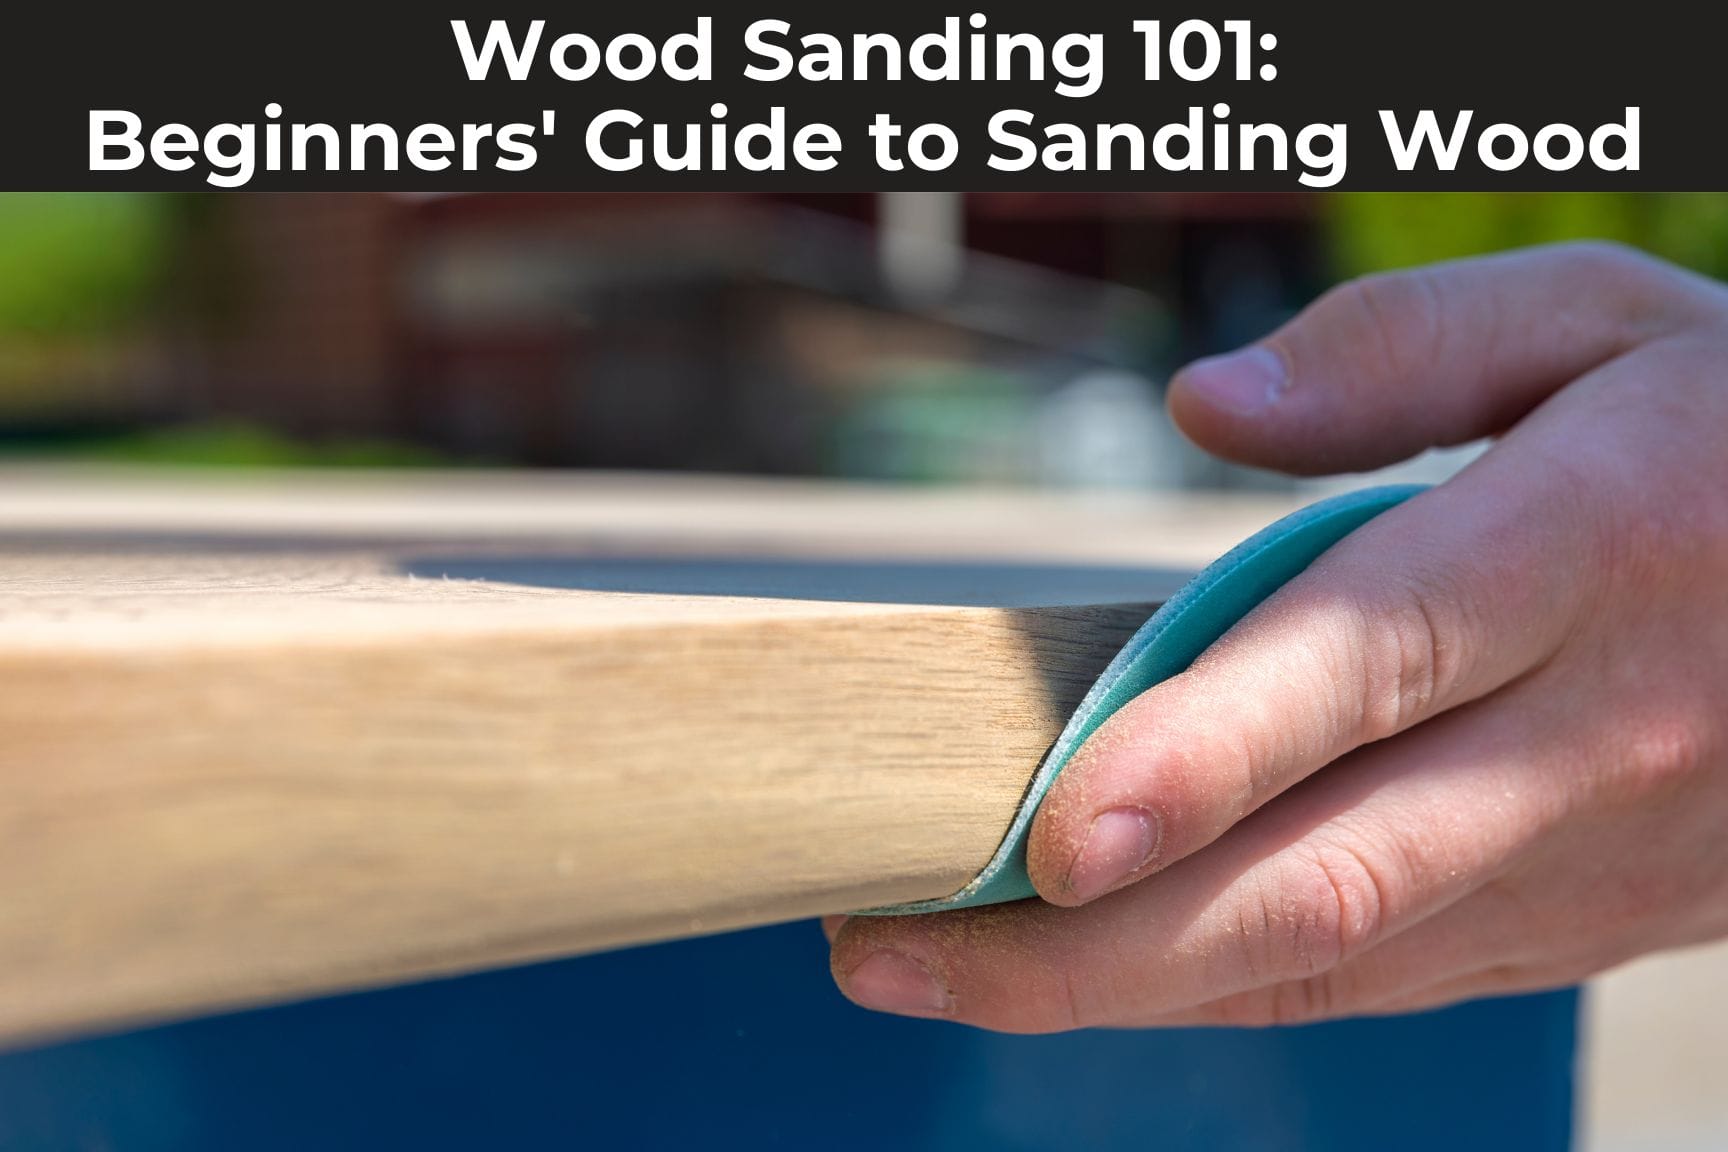
Sanding is the quiet hero of woodworking and finishing. It’s the step that transforms rough, uneven surfaces into smooth, touchable perfection. Yet, many beginners—and even some experienced DIYers—make small mistakes that lead to uneven finishes, visible scratches, or wasted effort.
Learning the right finishing sanding tips can save time, improve your results, and even make the process more enjoyable.
If you want furniture, trim, or any wood project to look professional, you need more than just sandpaper and patience. This guide will walk you through the essential techniques, the right tools, and the small details that often get missed.
With practical advice and a few insider tricks, you’ll be able to achieve a flawless finish every time.
Understanding The Basics Of Finishing Sanding
Finishing sanding is the final stage before painting, staining, or sealing wood. Its main goal is to remove fine scratches, level the surface, and prepare it for the next step. Unlike rough sanding, which shapes the wood, finishing sanding is about subtlety.
A key insight: finishing sanding isn’t just about using finer grit sandpaper. It’s also about pressure, direction, cleanliness, and even the environment you’re working in.
Choosing The Right Sandpaper Grit
The grit of sandpaper determines how smooth the surface will become. For finishing, you’ll generally use higher grits.
| Grit Number | Surface Result | Common Use |
|---|---|---|
| 80–120 | Medium, visible scratches | Initial shaping, removing old finish |
| 150–180 | Smoother, light scratches | Pre-finish sanding |
| 220–320 | Very smooth | Final finishing before paint or stain |
| 400+ | Ultra-smooth | Between finish coats, polishing |
Tip: Never skip more than one grit level. For example, don’t jump from 80 to 220. Each step removes the scratches from the previous grit.
Essential Tools For Finishing Sanding
Using the correct tools makes a significant difference. Here’s what you’ll need for professional results:
- Sanding block: Ensures even pressure and helps avoid finger grooves.
- Orbital sander: Good for large flat areas; random-orbit types leave fewer swirl marks.
- Detail sander: Perfect for corners and tight spaces.
- Vacuum or dust brush: Removes sanding dust between grits.
- Tack cloth: Picks up fine dust before finishing.
A sanding block, even a homemade one, is especially important. Using just your fingers can create dips or unevenness.
Proper Sanding Technique
How you sand matters as much as what you sand with. Here’s what to keep in mind:
- Sand with the grain: Always move the sandpaper in the direction of the wood grain. Sanding across it can create scratches that are hard to hide.
- Light pressure: Let the sandpaper do the work. Pressing too hard can leave gouges or uneven areas.
- Check your progress: Use a strong light at a low angle to spot scratches or rough spots.
- Clean often: Dust hides imperfections. Wipe or vacuum the surface after each grit.
Non-obvious insight: For the smoothest finish, slightly dampen the wood after sanding with 180 grit. This raises the grain. When it dries, sand again with 220 grit. This extra step prevents roughness after applying water-based finishes.
Credit: www.empireabrasives.com
When To Use Power Sanders Vs. Hand Sanding
Power sanders save time, but hand sanding still has a place. Here’s a quick comparison:
| Method | Best For | Risks |
|---|---|---|
| Power Sander | Large, flat surfaces | Swirl marks, removing too much material |
| Hand Sanding | Edges, details, between coats | Uneven pressure if not careful |
For finishing, it’s best to switch to hand sanding for the final pass. This gives you more control and reduces the risk of accidental marks.
Sanding Between Finish Coats
Many finishes—especially polyurethane, varnish, and lacquer—benefit from sanding between coats. This removes dust nibs and helps the next layer stick better.
- Use 320–400 grit sandpaper for this step.
- Sand lightly and evenly.
- Remove all dust before applying the next coat.
Pro tip: Use a sanding sponge or very fine synthetic pad instead of regular sandpaper. They conform to the surface and leave fewer lines.
Dealing With Curves And Details
Curved moldings and carved areas need special attention. Regular sandpaper on a flat block won’t reach everything, and sanding too aggressively can ruin details.
- Wrap sandpaper around a foam pad, dowel, or even a pencil for small curves.
- Use flexible sanding sponges for gentle shaping.
- Take your time; it’s easy to oversand delicate areas.
Small detail: On carvings, a toothbrush or soft brush helps remove dust from crevices after sanding.
Avoiding Common Sanding Mistakes
Even experienced woodworkers make mistakes. Here’s what to watch out for:
- Skipping grits: This leaves deep scratches that show up after finishing.
- Sanding against the grain: Hard to fix and very visible after staining.
- Dirty sandpaper: Clogged paper doesn’t cut well and can burn the wood.
- Not cleaning between grits: Dust can scratch the surface as you sand finer.
- Using the wrong tool: For example, using a power sander on a narrow edge.
Always examine your sandpaper. If it looks worn or clogged, replace it. Fresh paper works faster and gives better results.
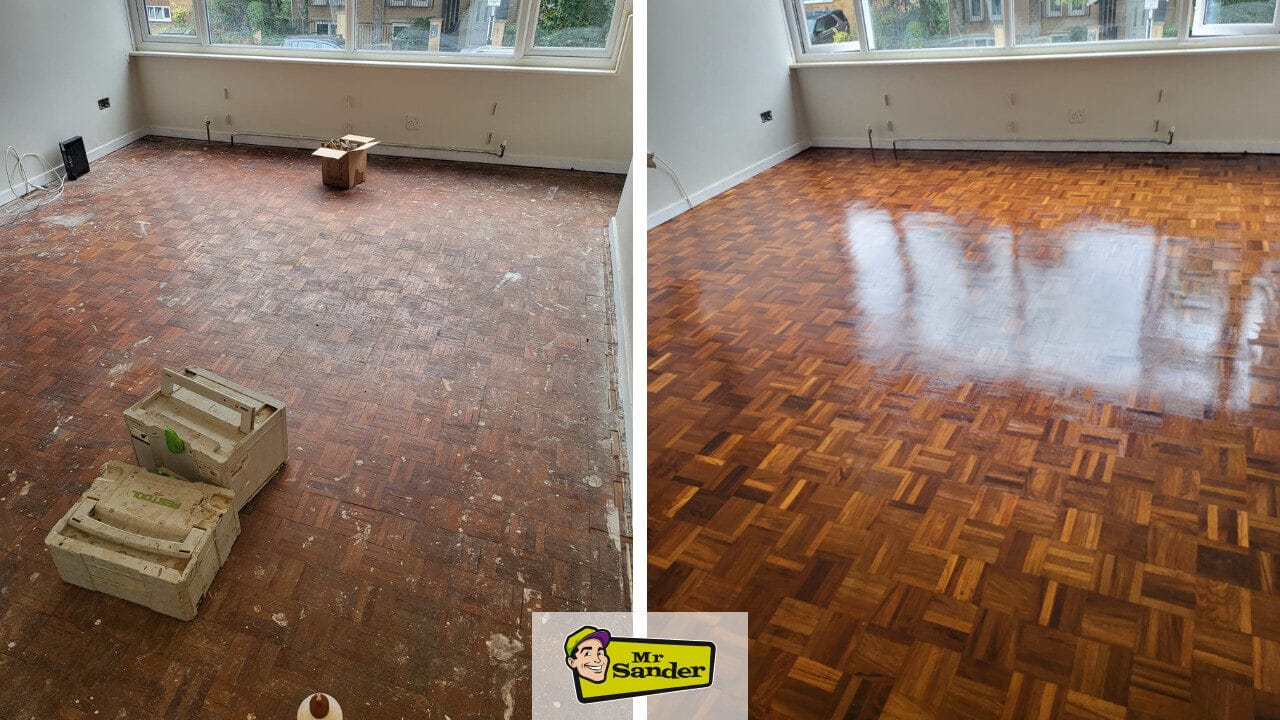
Credit: mrsander.co.uk
Dust Management For A Perfect Finish
Dust is the enemy of a flawless finish. Even tiny particles can ruin the look of paint or varnish.
- Vacuum or brush off dust after each sanding step.
- Use a tack cloth to pick up fine particles.
- Work in a clean, well-ventilated space.
If you’re working in a garage or basement, let the dust settle before applying finish. A slightly damp floor can also help keep dust down.
Special Sanding Tips For Different Finishes
Not all finishes react the same way. Here’s what to know:
- Stain: Small scratches will show up darker. Sand carefully with fine grits.
- Paint: Slight imperfections are hidden, but dust can cause bumps. Sand smooth, clean well.
- Clear coats: Any scratch or dust will be visible. Use the highest grit and tack cloth.
If you plan to use a high-gloss finish, consider sanding to 400 or even 600 grit for a mirror-like surface.
How Humidity And Temperature Affect Sanding
Wood reacts to the environment. High humidity can make wood fibers swell, while dry air can make wood brittle.
- Sanding in high humidity might require extra passes, as the grain rises more.
- In very dry conditions, be gentle to avoid splintering.
Try to keep your workspace at a moderate temperature and humidity for the most consistent results.
Recognizing When You’re Done
One common beginner mistake: sanding too much. Over-sanding can make edges round, remove details, or even create dips.
You’re done when:
- The surface feels consistently smooth to the touch.
- Scratches from previous grits are gone.
- There’s no visible shine or gloss left from machine marks.
Non-obvious insight: Use a pencil and lightly scribble over the surface before the last sanding pass. Sand until the marks are gone. This ensures you haven’t missed any spots.
Troubleshooting Sanding Problems
If you notice swirl marks, unevenness, or rough patches after finishing, don’t panic.
- Swirl marks: Usually from a power sander. Hand-sand lightly with 220 or 320 grit.
- Uneven finish: May be from sanding with too much pressure or skipping grits. Sand again with the correct technique.
- Raised grain: Happens with water-based finishes. Sand lightly with 320 grit after the first coat.
Inspect under strong light before applying the final finish. Small issues are easier to fix at this stage.
Eco-friendly And Health-safe Sanding Practices
Sanding creates fine dust, which can be harmful if inhaled. Some woods are even toxic.
- Wear a dust mask or respirator.
- Use a shop vacuum or dust extraction if possible.
- Choose sandpapers with environmentally friendly backings when available.
Dispose of used sandpaper and dust responsibly. Don’t sweep dust into the air—vacuum or wet-clean instead.

Credit: www.empireabrasives.com
Final Sanding Checklist
Before you reach for the paintbrush or finish can, run through this quick checklist:
- Did you use the correct grit sequence?
- Did you sand with the grain at every stage?
- Did you clean off all dust between grits?
- Did you inspect the surface in good light?
- Did you use a tack cloth before finishing?
Taking two extra minutes on this checklist can save hours of frustration later.
Comparing Popular Sanding Methods
There’s more than one way to sand. Here’s a quick look at how hand sanding, power sanding, and sponge sanding compare:
| Method | Speed | Control | Surface Quality |
|---|---|---|---|
| Hand Sanding | Slow | Excellent | Very High |
| Power Sander | Fast | Medium | High |
| Sanding Sponge | Medium | High (on curves) | High |
Choose based on your project’s needs. For fine furniture, hand sanding is still the gold standard for the final pass.
Practical Examples For Better Results
Suppose you’re finishing a table. Start with 120 grit to remove machine marks. Move to 180 grit for pre-finishing. Dampen the wood to raise the grain, let it dry, then sand with 220 grit. Clean with a vacuum and tack cloth.
Apply your stain or finish, then lightly sand between coats with 320 grit. Clean again before the final coat.
For a painted bookshelf, you might stop at 180 grit, since paint will cover minor flaws. But always wipe dust away before painting.
If you’re restoring an old chair with lots of curves, use sanding sponges and dowels for the details. Take extra care not to round sharp edges or lose the original shape.
Frequently Asked Questions
What Is The Best Sandpaper Grit For Finishing Sanding?
For most finishing work, 220 grit is ideal before applying stain or clear finish. For sanding between coats, use 320–400 grit.
How Do I Avoid Swirl Marks When Sanding?
Use a random-orbit sander for machine sanding and finish with hand sanding along the grain. Always clean the surface and use fresh, unclogged sandpaper.
Do I Need To Sand After Applying Primer Or Sealer?
Yes. Lightly sand with 320–400 grit after the primer or sealer dries. This removes raised grain and dust nibs, creating a smooth base for paint or finish.
How Do I Keep Dust Off My Finished Surface?
Vacuum thoroughly, use a tack cloth, and work in a clean space. If possible, let dust settle before applying the finish. You can learn more about dust management on Wood Magazine.
Can I Reuse Sandpaper?
Sometimes. Tap or brush off dust to extend sandpaper life, but replace it if it’s clogged or worn out. Fresh sandpaper is more effective and prevents scratches.
A perfect finish starts with careful sanding. By understanding grit selection, using the right tools, and paying attention to detail, you can achieve results that look and feel professional. Don’t rush the process—small steps make a big difference. With these finishing sanding tips, your next project can truly shine.
