
Is your lawn mower struggling to start or running rough? The culprit is often a dirty carburetor, and cleaning it can bring your mower back to life quickly. If you’re unsure which mower type you have, check our full lawn mower guide first.
You don’t have to be a mechanic or spend a fortune on repairs. With a few simple steps, you can clean your lawn mower carburetor yourself, saving time and money. In this guide, you’ll learn easy-to-follow methods to get your mower running smoothly again.
Keep reading—you’re just moments away from mastering a skill that will keep your lawn looking perfect all season long.
Signs Of A Dirty Carburetor
A dirty carburetor can cause many problems for your lawn mower. Knowing the signs helps you fix issues early. It prevents bigger damage and keeps your mower running smoothly.
Carburetors mix air and fuel for the engine. Dirt and debris block this mix. The engine may run rough or stall. Watch for these signs to know if cleaning is needed.
Engine Runs Rough Or Stalls
The engine may sputter, lose power, or stop suddenly. This happens because the dirty carburetor blocks fuel flow. The mower struggles to keep running smoothly.
Hard Starting Or No Start
A clogged carburetor makes starting the mower tough. The engine may crank but not start. It needs the right fuel-air mix, which dirt can prevent.
Poor Acceleration
The mower may hesitate or slow down when you press the throttle. Dirty carburetors restrict fuel flow, causing slow response. The mower feels weak and unsteady.
Black Smoke From Exhaust
Black smoke means too much fuel is burning. A dirty carburetor can cause this by giving the wrong fuel mix. It wastes fuel and pollutes the air.
Strong Fuel Smell
A strong smell of gas shows fuel is not burning properly. Dirt may cause fuel to flood the engine. This smell is a clear sign to check the carburetor.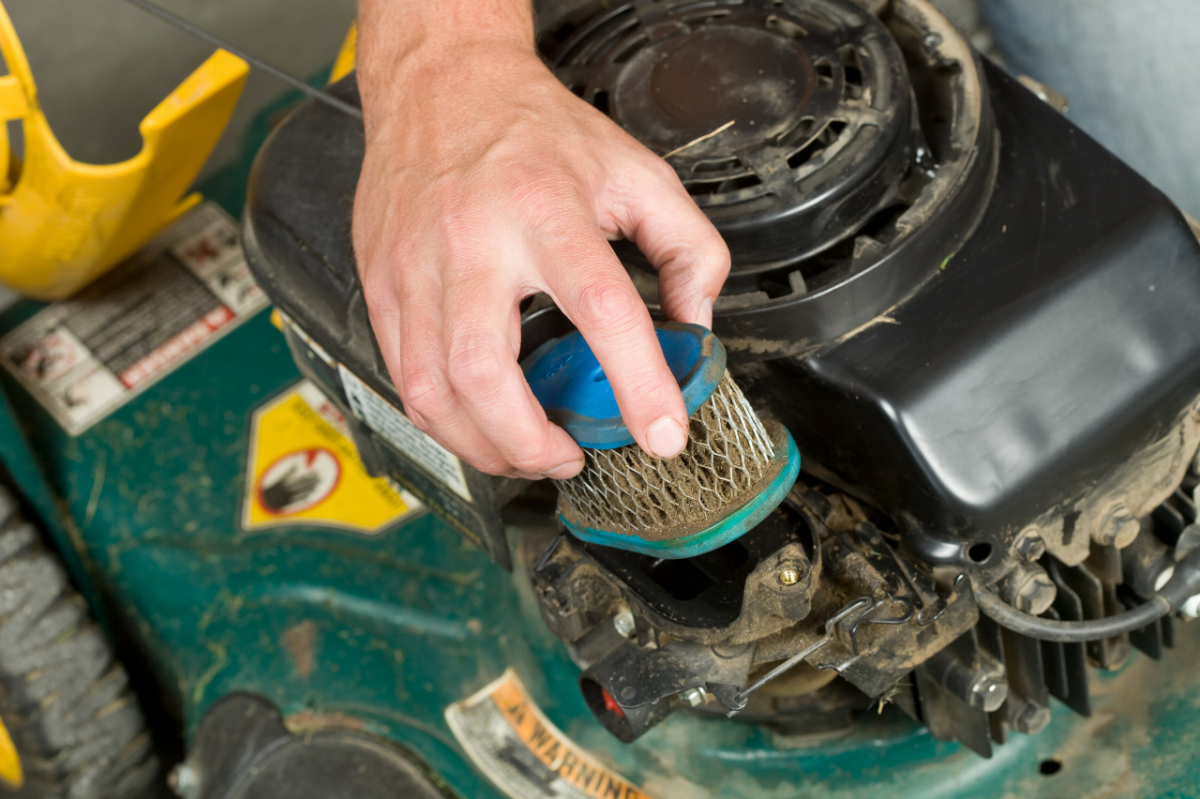
Credit: www.tractorsupply.com
Tools And Materials Needed
Gathering the right tools and materials is the first step to clean a lawn mower carburetor effectively. Having everything ready saves time and avoids interruptions during the cleaning process.
Each tool and material plays a role in ensuring the carburetor is cleaned safely and thoroughly. Preparing the workspace and using the correct supplies improves the results.
Basic Tools Required
- Screwdrivers (flathead and Phillips) to remove screws
- Wrenches or socket set for bolts and nuts
- Pliers for gripping and pulling small parts
- Wire brush to scrub off dirt and deposits
Cleaning Materials
- Carburetor cleaner spray designed for small engines
- Compressed air can or air compressor to blow debris
- Clean rags or paper towels to wipe parts
- Small container to soak removable parts if needed
Safety Gear
- Gloves to protect hands from chemicals and dirt
- Safety goggles to shield eyes from spray and debris
- Mask to avoid inhaling fumes and dust
Cleaning Without Removal
Cleaning a lawn mower carburetor without removal saves time and effort. It suits minor clogs or regular maintenance. This method helps clear dirt and deposits inside the carburetor throat and some internal parts. Using a carburetor cleaner spray is safe and effective if done carefully. Follow safety steps and the product’s instructions for best results.
Spray Cleaning With Engine Running
Start by purchasing a good carburetor cleaner spray. Run the engine to keep it idling steadily. Spray the cleaner directly into the carburetor’s air intake throat. The running engine helps pull the cleaner through the carburetor. Spray for the time stated on the cleaner’s label. Avoid over-spraying to prevent engine flooding. This process loosens dirt and fuel deposits inside.
Removing Float Bowl For Deeper Cleaning
This step gives access to the carburetor’s internal jets and passages. First, drain the fuel tank to avoid spills. Pinch the fuel line to stop fuel flow and disconnect it carefully. Unscrew and remove the float bowl from the carburetor base. Use carburetor cleaner spray on the float bowl and inside parts. Clean jets and passages using a soft brush or compressed air. Reassemble the float bowl tightly before reconnecting the fuel line.
Full Carburetor Removal Steps
Removing the carburetor fully from your lawn mower is the best way to clean it deeply. This process helps remove dirt, gum, and debris that block fuel flow. Follow the steps carefully to avoid damage and make the cleaning easier.
Detaching The Carburetor
Start by turning off the lawn mower and letting the engine cool. Next, locate the carburetor, usually near the air filter and fuel tank.
Remove the air filter cover and take out the air filter. Disconnect the fuel line by gently pulling it off the carburetor. Be ready to catch any fuel with a small container or cloth.
Loosen and remove the bolts or screws that hold the carburetor to the engine. Carefully pull the carburetor away from the engine block. Keep all screws and parts safe for reassembly.
Disassembling Components
Place the carburetor on a clean work surface. Begin by removing the float bowl, usually secured by small screws at the bottom. Use a screwdriver to remove these screws gently.
Take out the float and needle valve carefully. These parts control fuel flow and must be handled with care.
Remove the throttle and choke linkages, noting their positions for easy reassembly. Keep the small springs and pins safe.
Inspect each part for dirt and damage. Soak metal parts in a carburetor cleaner solution to dissolve deposits. Use a soft brush or compressed air to clean jets and tiny passages.
Cleaning And Reassembly Tips
Cleaning and reassembling your lawn mower carburetor requires care and patience. Proper cleaning removes dirt and buildup that block fuel flow. Reassembly ensures all parts fit perfectly for smooth engine function.
Follow these simple tips to clean and reassemble your carburetor properly. This will help your mower run better and last longer.
Use The Right Cleaning Tools
Choose a carburetor cleaner spray made for small engines. Soft brushes and compressed air help remove stubborn dirt. Avoid harsh tools that can damage parts.
Clean Each Part Thoroughly
Disassemble the carburetor carefully and clean all parts. Spray cleaner into jets and passages. Brush away deposits gently. Blow air to clear remaining debris.
Inspect Parts For Damage
Check gaskets, seals, and floats for wear or cracks. Replace any damaged parts before reassembly. Worn parts cause leaks and poor engine performance.
Reassemble With Care
Put parts back in the correct order. Tighten screws evenly to avoid warping. Ensure gaskets sit properly to prevent air leaks. Double-check connections before finishing.
Test Your Work
Start the mower and listen for smooth running. Adjust the carburetor settings if needed. A clean and well-assembled carburetor improves fuel efficiency and power.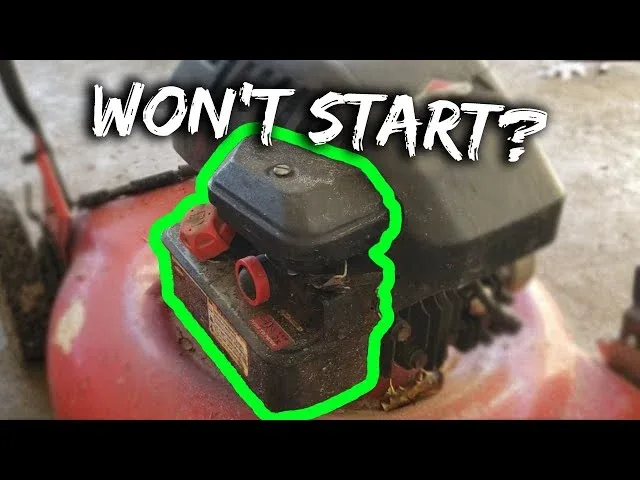
Credit: www.youtube.com
Preventing Future Carburetor Issues
Preventing future carburetor issues is key to keeping your lawn mower running smoothly. Dirt and old fuel cause most carburetor problems. Taking steps to avoid these issues saves time and money. Simple habits can extend the life of your mower and improve performance.
Using Proper Fuel
Use fresh fuel for your lawn mower. Old or stale fuel clogs the carburetor quickly. Avoid fuel with more than 30 days of storage. Use ethanol-free gasoline if possible. Ethanol attracts moisture and causes corrosion. Always fill the tank outdoors to reduce spills. Store fuel in clean, sealed containers away from heat. Drain the tank before winter storage to prevent varnish buildup.
Regular Maintenance Practices
Check and clean the air filter often. A dirty air filter lets dust enter the carburetor. Replace it if it looks worn or clogged. Inspect fuel lines for cracks or leaks regularly. Tighten or replace as needed. Run the engine regularly to keep fuel flowing. After use, clean grass and debris off the mower. Periodically clean the carburetor with spray cleaner. Schedule a deep carburetor cleaning at least once a year. Follow the mower’s manual for detailed maintenance tips. These habits prevent dirt buildup and fuel problems.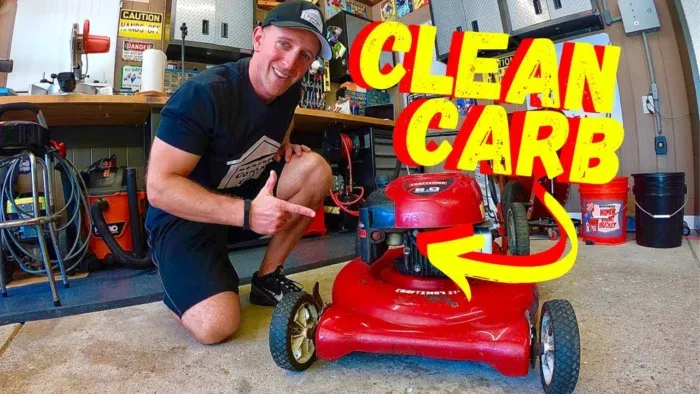
Credit: www.youtube.com
Conclusion
Cleaning your lawn mower carburetor keeps your mower running smoothly. Regular cleaning prevents clogs and engine troubles. Spray cleaners help with quick fixes without full removal. For deep cleaning, remove the carburetor and clean all parts carefully. Use compressed air to clear debris from tiny jets.
Always work in a safe, well-lit area. Proper maintenance saves you time and money on repairs. Keep your mower ready for every mowing season by following these simple steps. A clean carburetor means better performance and longer engine life.
Frequently Asked Questions
Yes, you can clean a lawn mower carburetor without removing it by spraying carburetor cleaner into the throat while the engine runs. Removing the float bowl allows deeper cleaning of internal jets without full disassembly. For stubborn clogs, full removal and cleaning work best.
Your lawn mower carburetor is clogged if the engine stalls, idles roughly, or won’t start despite fresh fuel.
WD-40 is not ideal for cleaning lawn mower carburetors. Use a dedicated carburetor cleaner for effective results.
Spray carburetor cleaner into the carburetor throat while the engine runs. This dissolves deposits without disassembly. Follow product instructions carefully.
Clean the carburetor every season or after 25 hours of use to keep the mower running well.
You need a screwdriver, carburetor cleaner spray, a small brush, and a clean cloth.