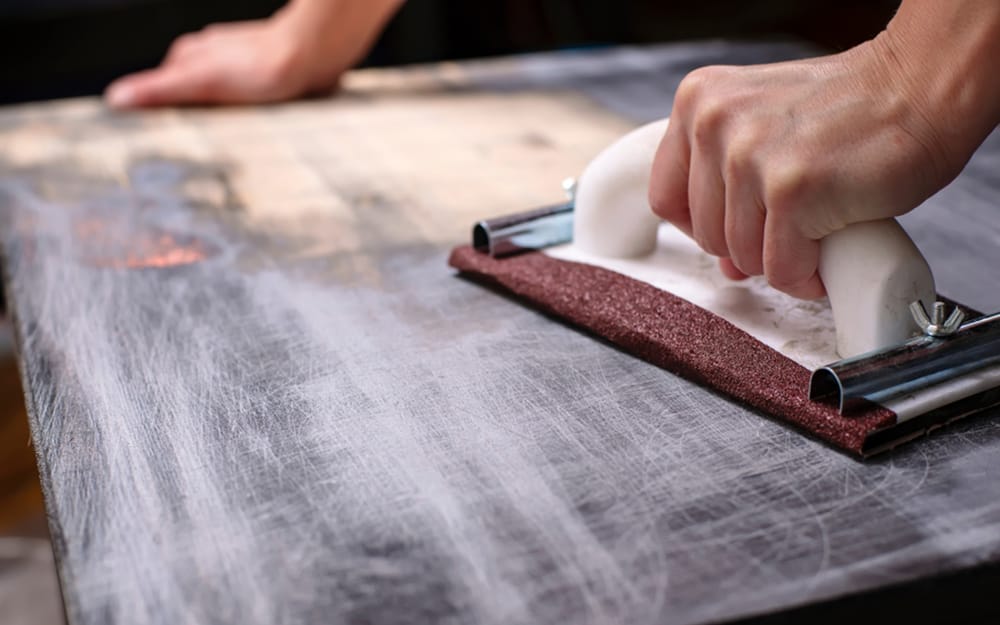
Removing old paint can be a tough job, especially if you want smooth, clean surfaces for your next project. Sanding is one of the most effective ways to strip paint, whether you’re working on wood, metal, or even concrete. But if you haven’t done it before, using a sander can feel overwhelming.
Understanding the right tools, techniques, and safety steps is key for a successful result—and to avoid damaging your surfaces or wasting time. This guide will help you confidently remove paint with a sander, from start to finish, making your project easier and more rewarding.
Why Use A Sander To Remove Paint?
Sanding is a powerful method to take off old paint layers. Unlike chemical strippers, sanders are cleaner and safer for indoor use. They also prepare the surface for new paint or finish by smoothing it. With the right sander, you can tackle large flat areas, edges, and even tricky details. Sanders are especially useful for:
- Furniture restoration
- Deck and fence maintenance
- Old door and window frames
- Metal parts and car bodies
Sanders work faster than hand-sanding and give a more even result. But choosing the right type and using the correct technique matters.
Choosing The Right Sander
There are several types of sanders. Picking the wrong one can waste time or even ruin your surface. Here’s a look at the most common options:
| Sander Type | Best For | Pros | Cons |
|---|---|---|---|
| Orbital Sander | Flat surfaces, wood, furniture | Easy to use, less aggressive | Not ideal for heavy paint layers |
| Random Orbital Sander | Wood, metal, curved surfaces | Versatile, smooth finish | Can be slow for thick paint |
| Belt Sander | Large, flat areas, decks | Very powerful, quick removal | Can gouge wood, heavy |
| Detail Sander | Corners, edges, small items | Reaches tight spots | Not for large areas |
| Angle Grinder (with sanding disc) | Metal, concrete | Very aggressive, fast | Can damage surface, heavy dust |
Pro tip: For most home jobs, a random orbital sander is the best balance of power and control. If you’re working on a big deck or floor, a belt sander saves time. For detail work, a small detail sander is invaluable.
Credit: www.homedepot.com
Preparing For Paint Removal
Good preparation is half the job. Here’s what you need to do before starting:
- Choose the right location. Work outdoors or in a well-ventilated area. Paint dust can be harmful.
- Gather your gear. You’ll need:
- Sander and sandpaper (see next section)
- Safety glasses and dust mask
- Ear protection (for loud sanders)
- Drop cloths or plastic sheeting
- Vacuum or broom for cleanup
- Test for lead paint. If your surface was painted before 1978, test for lead. Lead dust is toxic. If found, hire a professional or use special precautions.
- Remove hardware and protect areas. Take off hinges, knobs, or covers. Tape or mask nearby surfaces you don’t want sanded.
- Clean the surface. Dirt and grease can clog sandpaper. Wipe down with a damp rag and let dry fully.
Non-obvious insight: Many people skip cleaning, but dust and oils reduce sanding efficiency and may scratch the surface.
Choosing The Right Sandpaper
Sandpaper comes in different grits—coarse to fine. The right grit makes all the difference.
| Grit | Use | Notes |
|---|---|---|
| 40-60 (Coarse) | Removing thick paint, rough surfaces | Removes material quickly, can scratch wood |
| 80-100 (Medium) | General paint removal, smoothing after coarse grit | Balances speed and finish |
| 120-150 (Fine) | Final smoothing, before repainting | Leaves surface ready for primer |
Tip: Start with a coarse grit to break through paint. Move to a medium, then fine grit for a smooth finish. Skipping grits often leaves scratches that show through new paint.
Credit: www.youtube.com
How To Remove Paint With A Sander: Step-by-step
Follow these steps for best results:
1. Set Up Your Sander
Attach the correct sandpaper pad. Make sure it’s secure—loose paper can tear or fly off. Plug in the sander (or charge if cordless), and check dust collection bags if your model has one.
2. Start With A Coarse Grit
Begin sanding with 40- or 60-grit sandpaper. Hold the sander flat and apply gentle, even pressure. Don’t force it—let the tool do the work. Move slowly with the grain (for wood). For metal, use steady, overlapping passes.
3. Remove Loose And Thick Paint
Focus on the thickest spots first. If paint is peeling, sand these areas until you reach bare wood or metal. If the paint is stubborn, go over it a few times instead of pressing harder. For corners or carved areas, use a detail sander or sand by hand.
4. Check Your Progress
Stop every few minutes to check the surface. Don’t rush. Over-sanding can dig into the material. Vacuum or brush away dust so you can see clearly.
5. Switch To A Medium Grit
Once most of the paint is off, switch to 80- or 100-grit sandpaper. This will smooth out scratches from the coarse grit and catch any remaining paint. Cover the whole surface evenly.
6. Finish With A Fine Grit
Change to 120- or 150-grit for the final pass. This step is important for a smooth, paint-ready surface. Sand lightly—this is for finishing, not removal.
7. Clean The Surface
Wipe the area with a damp cloth, or vacuum with a brush attachment. Make sure all dust is removed before you paint or stain.
8. Inspect And Repeat If Needed
For tough spots or thick layers, you may need to repeat some steps. Don’t try to remove all paint in one go—be patient for the best finish.
Special Tips For Different Surfaces
Different materials need different care:
Wood
- Always sand with the grain to avoid scratches.
- Thin veneers or soft woods can be damaged easily—use less pressure.
- For antiques, test a small area to check if sanding will harm the wood.
Metal
- Use a sander with a dust-sealed switch to avoid sparks.
- Paint on metal can gum up sandpaper quickly; change it often.
- After sanding, wipe with mineral spirits to remove fine dust.
Concrete
- Use an angle grinder or heavy-duty sander with a diamond disc.
- Concrete dust is hazardous—always wear a mask.
- Sand in small sections for best control.
Non-obvious insight: Always check what’s under the paint—some older surfaces have hidden glue, fillers, or even dangerous materials like asbestos. If you’re unsure, research or test first.
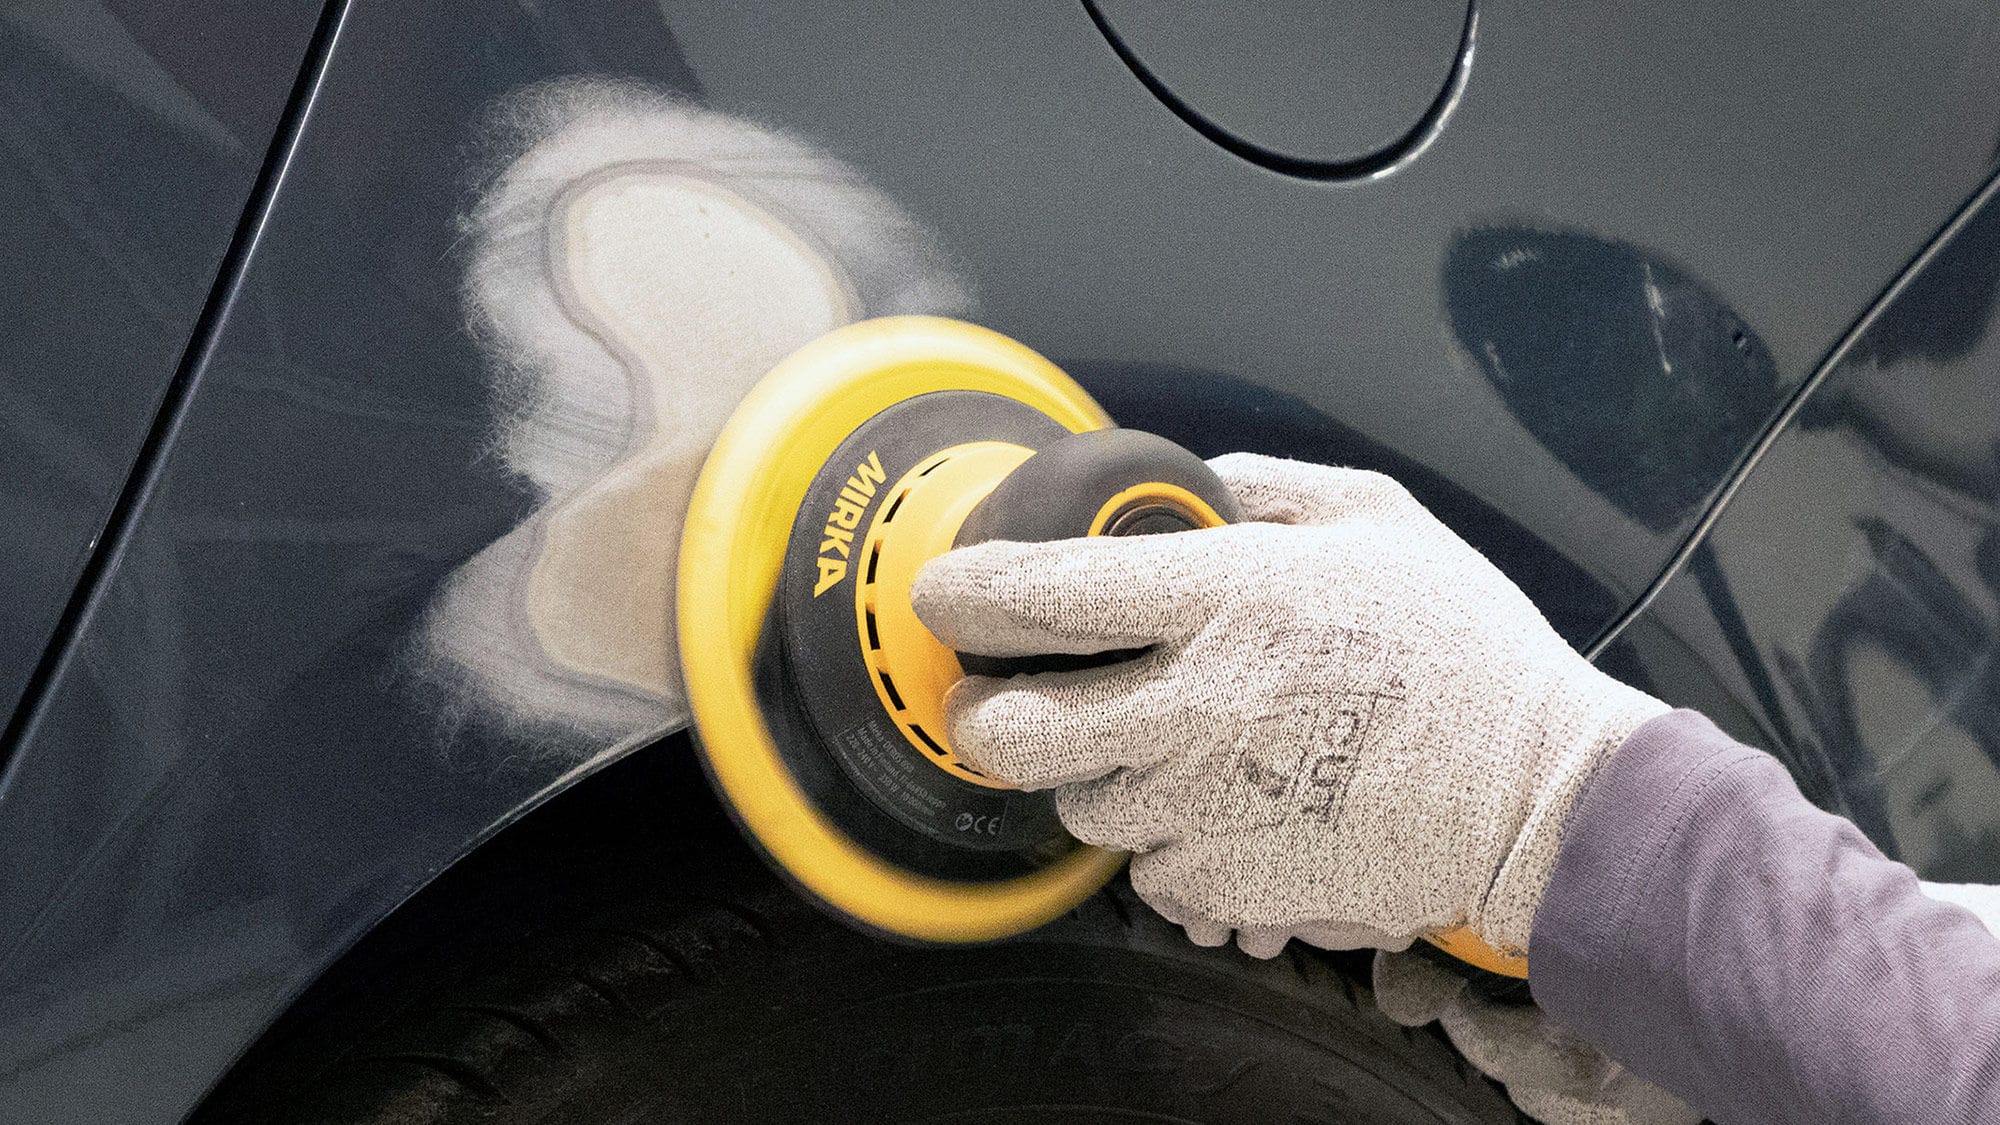
Credit: www.mirka.com
Common Mistakes To Avoid
Many beginners make these errors when removing paint with a sander:
- Using too much pressure: This causes gouges and uneven sanding.
- Skipping grits: Not moving from coarse to fine leaves visible scratches.
- Overlooking safety: Dust and paint particles can harm lungs and eyes.
- Not changing sandpaper: Worn paper is less effective and can burn the surface.
- Rushing the process: Removing paint takes time—hurrying will leave a poor finish.
Safety Precautions
Sanding is generally safe, but it produces a lot of dust. Protect yourself and those around you:
- Always wear a dust mask or respirator.
- Use safety glasses to protect your eyes from flying particles.
- Wear ear protection with loud sanders.
- Keep the work area clean—vacuum often to reduce dust.
- For old paint, especially pre-1978, test for lead. Lead dust is dangerous. If found, follow EPA guidelines or hire a professional.
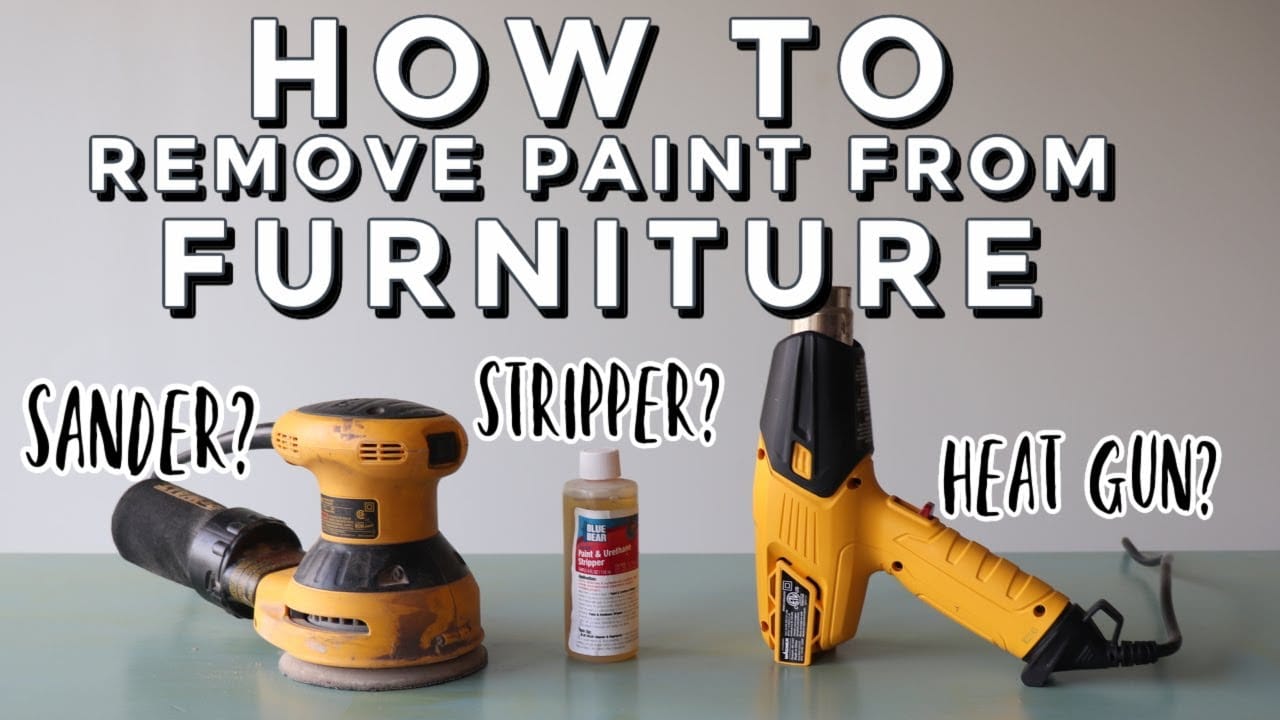
When To Use A Sander Vs. Other Methods
Sanders are great for flat, solid surfaces. But sometimes, other methods are better:
- For small, detailed areas: Use chemical paint strippers or heat guns.
- For thick paint layers: A scraper or heat gun may speed up the first stage.
- For delicate antiques: Hand sanding or chemical stripping is safer.
A combination of methods often works best. For example, scrape off thick paint, then use a sander for final cleaning and smoothing.
Environmental Considerations
Paint dust can be hazardous for pets, children, and plants. Always:
- Use drop cloths to catch debris.
- Seal off vents and doors when working indoors.
- Dispose of sanding dust according to local rules, especially if it may contain lead.
For more on paint removal safety and best practices, see the EPA Lead Information.
Frequently Asked Questions
What Is The Fastest Way To Remove Paint With A Sander?
The fastest way is to use a belt sander with coarse grit sandpaper for large flat areas. Work in small sections, change paper often, and follow up with medium and fine grits for a smooth finish.
Can I Use A Sander To Remove Paint From Metal?
Yes, a random orbital sander or an angle grinder with the right sanding disc works well on metal. Use medium grit to avoid deep scratches and always wear safety gear.
Is Sanding Paint Safe?
Sanding paint is safe if you wear a dust mask and safety glasses. For old paint, test for lead—lead dust is very harmful. Work in a ventilated area and clean up dust thoroughly.
How Do I Know When To Change Sandpaper?
If the sandpaper stops removing paint or feels smooth to the touch, it’s worn out. Change it regularly for best results. Dull paper can also burn or damage the surface.
What Should I Do If Paint Is Not Coming Off With Sanding?
If paint is very thick or stubborn, try scraping or using a paint stripper first. Then use the sander to smooth and finish the surface. Some paints, like epoxy, may need special abrasives or methods.
Removing paint with a sander is a practical, effective way to renew old surfaces. With the right tools, preparation, and safety steps, you’ll get professional results—and a perfect base for your next project.
