Sanding metal until it feels smooth is a skill that can make your projects look professional and last longer. Whether you’re restoring a rusty bike, preparing car parts, or making metal art, the right sanding technique matters. Many people think sanding metal is simple, but small mistakes can cause scratches, uneven surfaces, or even weaken the metal.
This guide will walk you through every step and give you practical tips that both beginners and experienced DIYers can use.
Why Sanding Metal Matters
Sanding is more than making the surface look nice. It improves how paint or coatings stick, removes sharp edges, and helps spot defects. Smooth metal is less likely to rust or collect dirt, so your finished piece stays in good shape longer. If you skip or rush sanding, you may see peeling paint, rough spots, or even metal fatigue later on.
Essential Tools And Materials
Before you begin, gather the right tools. This saves time and helps you avoid frustration.
Basic Tools
- Sandpaper: Get a range of grits, from coarse (60–80) to fine (400–2000).
- Sanding block or sponge: For flat or slightly curved surfaces.
- Power sander: Optional, but helpful for large or tough jobs.
- Wire brush: For heavy rust or old paint.
- Safety gear: Gloves, goggles, and a dust mask.
Materials For Better Results
- Lubricant: Water or mineral oil for wet sanding.
- Cloths: Lint-free rags for cleaning.
- Tack cloth: Removes fine dust before finishing.
Often, beginners skip safety gear or use the wrong sandpaper grit. Both can lead to injury or a poor result. Check your tools before starting to avoid delays.
Choosing The Right Sandpaper Grit
Not all sandpaper is the same. The grit number tells you how rough it is. Lower numbers are coarser and remove more material, while higher numbers are finer and make the surface smoother.
Here’s a quick comparison to help you pick:
| Grit Number | Use Case | Result |
|---|---|---|
| 60–80 | Remove rust, paint, or deep scratches | Rough, scratched surface |
| 120–180 | Smooth out coarse sanding marks | Smoother, but still dull |
| 220–400 | Final smoothing before polishing or painting | Very smooth surface |
| 600–2000 | Polishing or mirror finish (wet sanding) | Glossy, reflective finish |
If you use a grit that’s too coarse for finishing, you’ll see scratches that are hard to remove. Too fine, and you might not remove enough material. Always start coarse and move to finer grits.
Preparing The Metal Surface
Preparation is half the job. Here’s how to do it right:
- Clean the metal: Wash off oil, dirt, or grease with soap and water. Dry completely.
- Remove loose rust or paint: Use a wire brush or coarse sandpaper.
- Check for deep pits or gouges: Fill with metal filler if needed, and let it dry.
A common mistake is sanding over dirt or grease. This just pushes contaminants into the metal, making smooth sanding impossible.
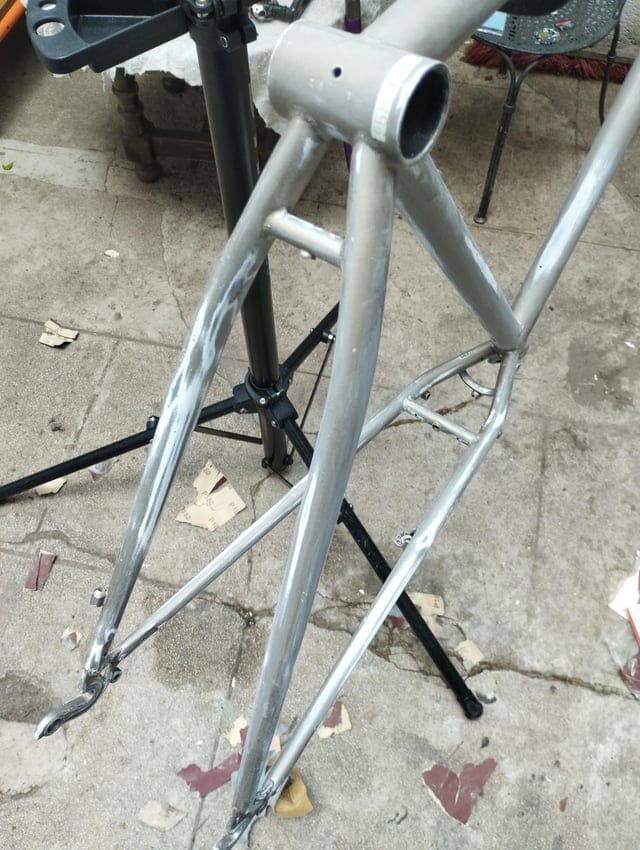
Credit: www.reddit.com
Dry Sanding Vs. Wet Sanding
Both methods have their uses. Dry sanding is faster and good for removing lots of material. Wet sanding, using water or oil, reduces dust and gives a finer finish.
| Method | Best For | Pros | Cons |
|---|---|---|---|
| Dry Sanding | Rust removal, shaping | Quick, easy to see results | Dusty, can clog sandpaper |
| Wet Sanding | Final smoothing, polishing | Smoother finish, less dust | Messy, can rust unprotected metal |
Tip: Always dry the metal completely after wet sanding to avoid flash rust.
Step-by-step: How To Sand Metal Smooth
Follow these steps for a flawless finish.
1. Secure The Metal
Clamp the metal to a stable surface. This stops it from moving and helps you sand evenly.
2. Start With Coarse Grit (60–80)
Use coarse sandpaper to remove major rust, paint, or scratches. Sand in the direction of the grain (if visible). Use steady, even pressure. Don’t press too hard—let the grit do the work.
3. Move To Medium Grit (120–180)
Switch to a medium grit to erase coarse scratches. This step is often skipped, but it’s key for a smooth transition. Sand over the whole area, overlapping your strokes.
4. Fine Grit For Smoothing (220–400)
Now use fine sandpaper. At this stage, the metal should start to look and feel smooth. Check under a bright light for any leftover scratches.
5. Wet Sand For Extra Smoothness (600–2000)
For a mirror finish or before painting, wet sand with very fine grit. Dip the sandpaper in water or mineral oil. Sand lightly in circles. Wipe often to check your progress.
6. Clean And Inspect
Wipe with a tack cloth to remove all dust. Inspect for any scratches or missed spots. Repeat finer grits if needed.
7. Apply Finish (optional)
If you plan to paint or coat the metal, sand to at least 400 grit first. Some finishes need even finer sanding.
Tips For Different Types Of Metal
Not all metals are the same. Here’s what you need to know:
- Steel: Tough, can handle more aggressive sanding. Watch for rust after wet sanding.
- Aluminum: Softer, scratches easily. Use lighter pressure and finer grits.
- Brass/Copper: Prone to scratching. Use extra-fine grits for best results.
- Stainless Steel: Hard, but can show swirl marks. Sand with the grain.
Each metal reacts differently, so adjust your pressure and grit choice. For example, using a coarse grit on aluminum can leave deep scratches that are hard to remove.
Using Power Sanders Vs. Hand Sanding
Power sanders save time, especially on large surfaces. But they can also remove too much metal quickly or leave swirl marks if you’re not careful.
Hand Sanding
- Best for small objects or detailed work
- More control
- Less likely to overheat the metal
Power Sanding
- Good for large, flat pieces
- Works faster
- Must use lighter touch and keep the sander moving
For most projects, start with a power sander for rough work, then switch to hand sanding for a fine finish.
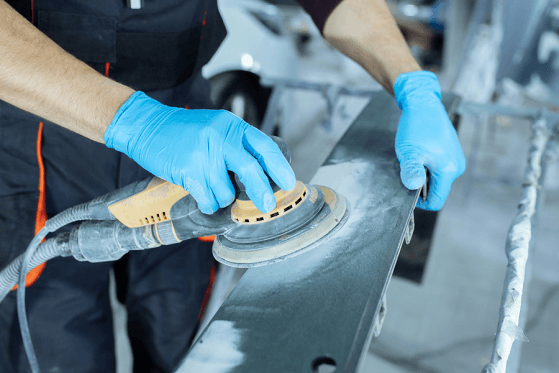
Credit: binictools.com
Common Mistakes To Avoid
Even experienced DIYers can make these errors:
- Skipping grits: Jumping from coarse straight to fine leaves scratches.
- Too much pressure: Causes uneven spots or gouges.
- Not cleaning between steps: Dust or grit from earlier stages can scratch the surface.
- Ignoring safety: Metal dust is harmful—always wear a mask and goggles.
A less obvious mistake is sanding too long in one spot. This can make the surface uneven or thin. Always keep your motion even.
How To Check Your Progress
Don’t rely only on how the metal feels. Look under a bright light at a low angle. This will show any remaining scratches or low spots. For a super-smooth finish, run a piece of clean cloth over the surface. If it snags, you need to sand more.
A pro tip: Mark the surface lightly with a marker before each new grit. When all the marks are gone, you know you’ve sanded evenly.
What To Do After Sanding
What you do next depends on your project:
- Painting: Wipe with a tack cloth, then apply primer and paint.
- Polishing: Move to polishing compound and a buffing wheel.
- Leaving bare: Apply a light coat of oil to prevent rust.
Never leave bare steel uncoated for long. Even the moisture from your hands can cause rust.
Real-world Examples
Let’s look at two scenarios:
Restoring A Rusty Tool
- Start with 80 grit to remove rust.
- Move to 180, then 320 grit.
- Finish with 600 grit wet sanding.
- Dry well and apply a rust inhibitor.
Preparing Car Body For Paint
- Remove old paint with 80 grit.
- Smooth with 180 and 320 grits.
- Wet sand with 600 grit.
- Clean and apply primer.
In both cases, the key is patience—rushing leads to poor results.
When To Stop Sanding
Knowing when to stop is a skill. If you see no more deep scratches, and the surface feels even and smooth, you’re ready to finish. Over-sanding wastes time and can even damage thin metal.
Safety Tips You Shouldn’t Ignore
- Always use eye protection and a mask.
- Work in a well-ventilated area.
- Keep your hands away from moving parts if using power tools.
- If you wet sand, dry the surface immediately.
Many injuries happen when people get comfortable and skip safety steps. Always double-check before you start.
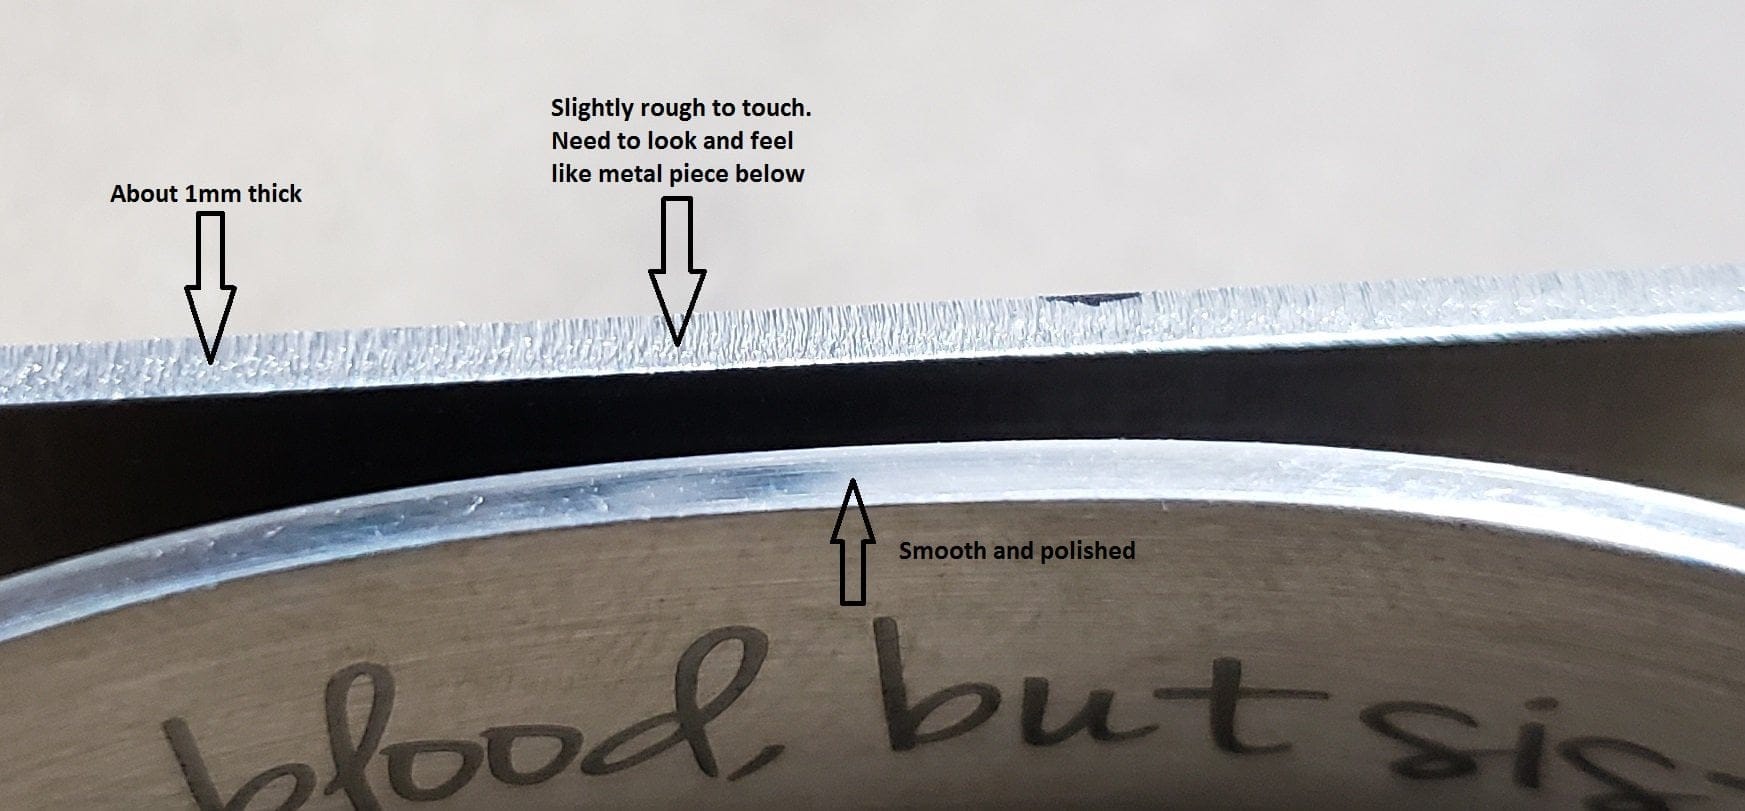
Credit: www.reddit.com
Advanced: Getting A Mirror Finish
For a truly mirror-like shine:
- Sand up to 2000 grit, wet.
- Use a polishing compound and a soft buffing wheel.
- Wipe with a microfiber cloth.
- Repeat until you see your reflection.
This level of finish is usually for show pieces or detailed work.
Non-obvious Insights Most Beginners Miss
- Quality of sandpaper matters: Cheap sandpaper wears out fast and can scratch the metal. Invest in a good brand.
- Keep used sandpaper for curves: Worn sandpaper is softer and can be wrapped around pipes or used on delicate edges.
- Use light, overlapping strokes: This prevents uneven surfaces and missed spots.
- Rest between steps: Metal heats up while sanding. Let it cool to avoid warping or burns.
Frequently Asked Questions
How Do I Know Which Sandpaper Grit To Start With?
Start with the lowest grit needed to remove rust or paint. For clean metal, begin with 120 or 180 grit. If the surface is rough, start at 60 or 80. Always test on a small area first.
Can I Use Wood Sandpaper On Metal?
Yes, but it wears out faster. Metal is harder than wood, so special aluminum oxide or silicon carbide sandpapers work better and last longer.
Is Wet Sanding Always Better For Metal?
Not always. Wet sanding is ideal for the last steps or for polishing. For heavy rust or paint removal, dry sanding is faster. Always dry the metal after wet sanding to avoid rust.
What’s The Best Way To Avoid Scratches On Soft Metals?
Use gentle pressure and start with a finer grit. Change sandpaper often, and always sand in the same direction. Polishing compounds can remove very fine scratches at the end.
Where Can I Learn More About Metal Finishing?
You can find more in-depth guides and resources on the Wikipedia Metalworking page.
Sanding metal smooth isn’t just about elbow grease. With the right tools, careful steps, and a bit of patience, you’ll get a finish that looks and feels professional. Remember, every minute you spend sanding pays off in the final result—whether you’re restoring, creating, or just fixing something up.
