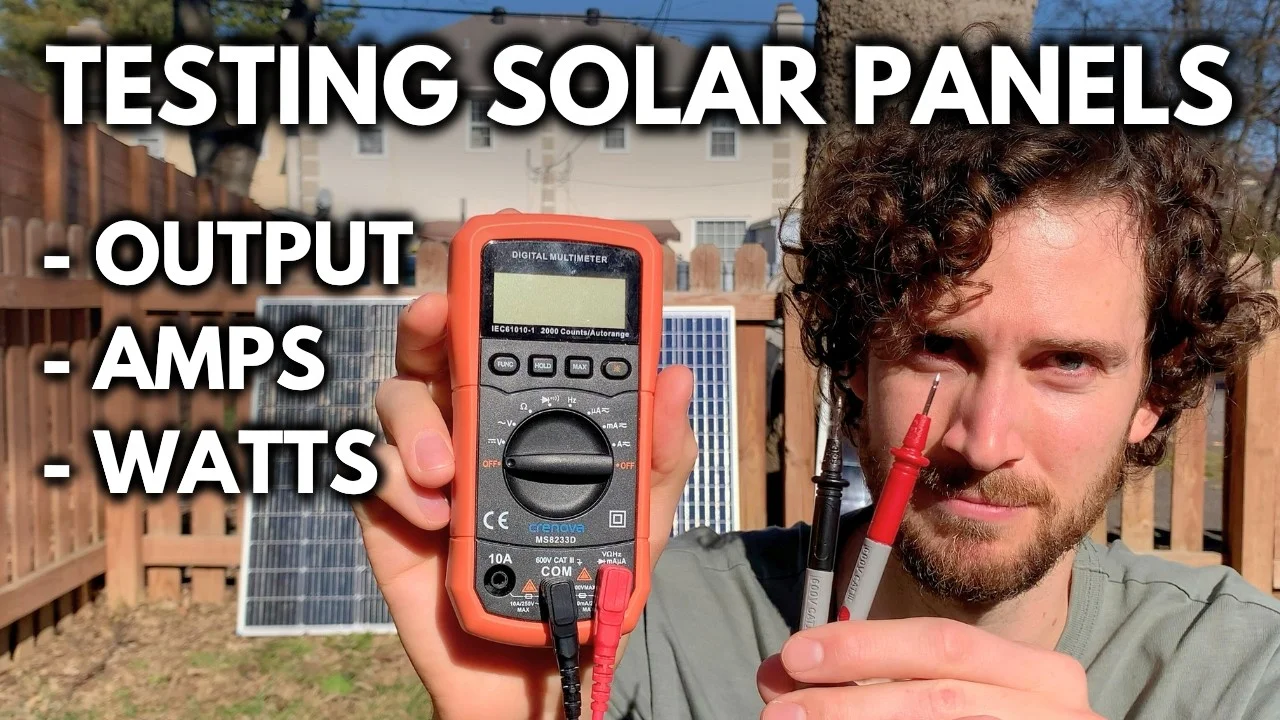
If you rely on solar panels for clean energy, knowing how to test them yourself can save you time and money. You don’t need to be an expert or hire a technician to check if your solar panel is working properly.
With just a simple tool—a multimeter—you can quickly measure your panel’s voltage and current. This helps you spot issues early and keep your system running efficiently. In this guide, you’ll learn clear, step-by-step instructions to test your solar panel using a multimeter.
By the end, you’ll feel confident checking your solar power setup anytime, ensuring you get the most from your investment. Ready to take control of your solar panel’s health? Let’s dive in!
Prepare Your Multimeter
Before testing your solar panel, get your multimeter ready. Proper preparation helps you get accurate readings. It also protects your device and yourself.
Follow simple steps to set your multimeter correctly. Each step ensures you measure the solar panel voltage safely and clearly.
Select Dc Voltage Mode
Solar panels produce direct current (DC). Set your multimeter to the DC voltage mode. This mode usually has a “V” with a straight line above it. Avoid AC voltage mode, which has a wavy line.
Set Appropriate Voltage Range
Solar panels have different voltage ratings. Choose a range slightly higher than your panel’s maximum voltage. For example, if your panel is 20 volts, set the range to 200 volts. This prevents damage to the multimeter and gives precise results.
Connect Probes Correctly
Attach the red probe to the multimeter’s voltage terminal. Connect the black probe to the common (COM) terminal. When measuring, touch the red probe to the panel’s positive terminal. Place the black probe on the negative terminal. Correct connections avoid false readings and protect your tools.
Position The Solar Panel
Positioning the solar panel correctly is key for accurate testing with a multimeter. The panel must receive enough sunlight to produce measurable voltage. Any dirt or debris on the surface can reduce the panel’s output and affect test results. Follow these simple steps to prepare your solar panel for testing.
Place In Direct Sunlight
Set the solar panel where sunlight shines directly on it. Avoid shadows or reflections that can lower the energy hitting the panel. Test during midday for the strongest sunlight. This ensures the panel generates its maximum voltage. Without direct sunlight, readings will be too low and unreliable.
Ensure Clean Surface
Wipe the panel’s surface clean before testing. Dust, dirt, or water drops block sunlight from reaching the cells. Use a soft cloth and mild water if needed. A clean panel gives accurate voltage readings. Check the panel for cracks or damage as well. Clean, intact panels perform best during testing.
Measure Open-circuit Voltage
Measuring the open-circuit voltage (Voc) is a key step in testing a solar panel’s health. This voltage shows the maximum potential difference the panel can produce under sunlight, without any load connected. Checking Voc helps verify if the panel works properly and meets its specifications.
Follow simple steps to measure this voltage safely and accurately using a multimeter.
Connect Probes To Terminals
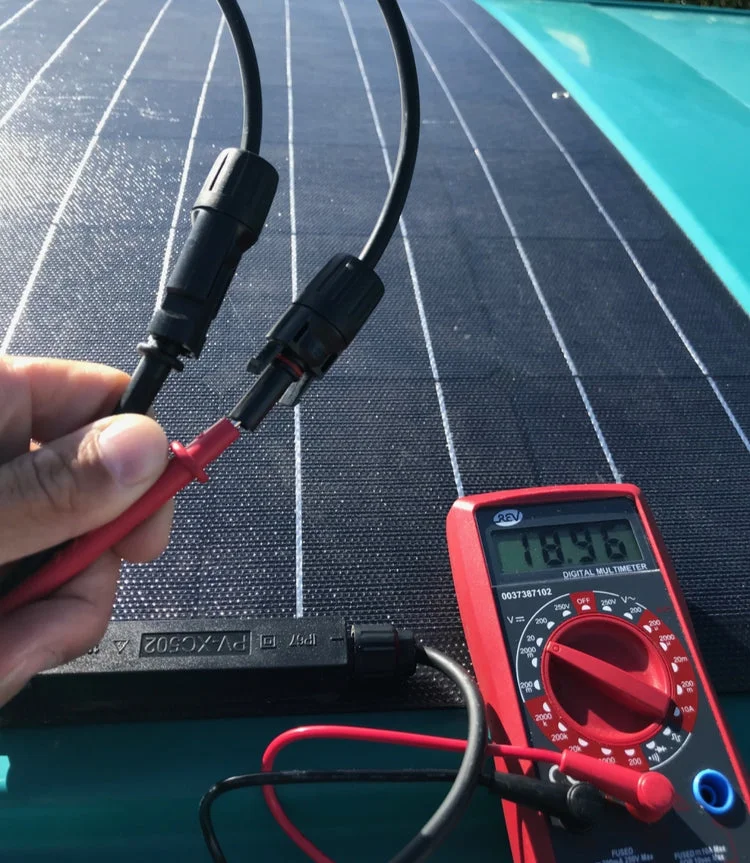
Set your multimeter to DC voltage, choosing a range above the panel’s rated voltage. Place the solar panel in direct sunlight for best results. Attach the red probe to the panel’s positive terminal. Connect the black probe to the negative terminal. Ensure firm contact to get a steady reading.
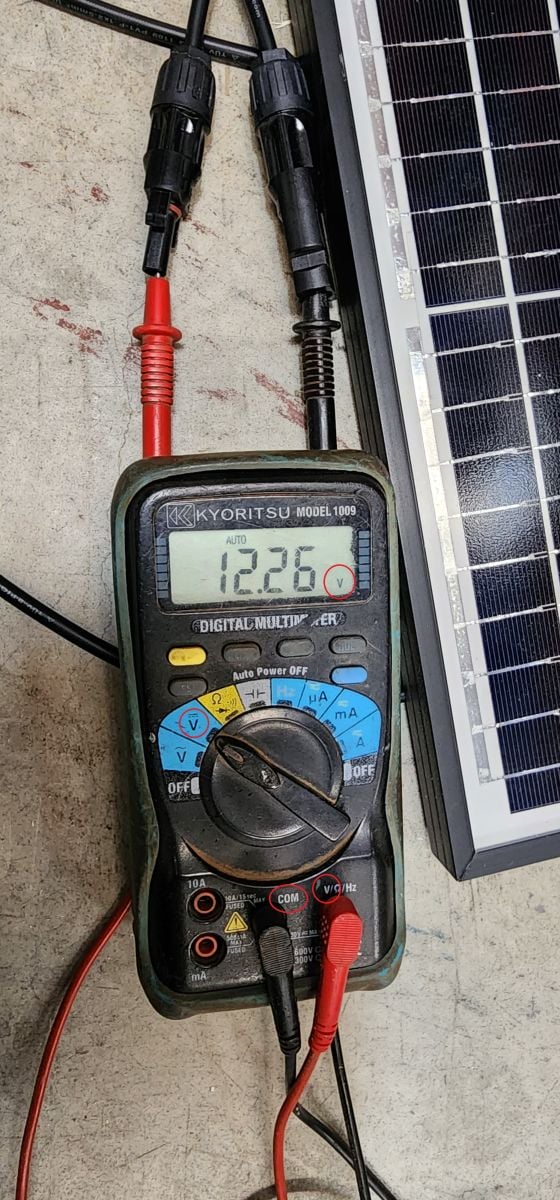
Read Voltage Value
Look at the multimeter display to see the voltage reading. This is the open-circuit voltage of the solar panel. The value should be stable and not fluctuate much. Take note of this number for the next step.
Compare To Rated Voltage
Find the rated open-circuit voltage on the panel’s label or datasheet. Compare the measured voltage with this rated value. A small difference is normal due to sunlight intensity and temperature. A large gap may indicate panel damage or faults.
Credit: www.youtube.com
Measure Short-circuit Current
Measuring the short-circuit current of a solar panel helps check its health and performance. This test shows how much current the panel can produce when its output terminals are directly connected. It is a simple way to see if the panel is working well or if it has any issues. Use a multimeter to perform this test safely and accurately.
Switch To Dc Current Mode
Turn your multimeter on and select the DC current (A) setting. Choose a range that covers the expected current from the solar panel. This setting lets you measure the flow of direct current safely.
Use Correct Multimeter Port
Plug the red probe into the multimeter’s port labeled for current (often marked as “10A” or “A”). The black probe stays in the common (COM) port. Using the right ports prevents damage to the multimeter and ensures accurate readings.
Cover Panel To Block Light
Before connecting probes, cover the solar panel with a dark cloth or box. Blocking sunlight stops the panel from generating electricity. This step protects the multimeter from sudden current spikes while setting up.
Connect Probes And Read Current
Touch the red probe to the panel’s positive terminal. Connect the black probe to the negative terminal. Slowly remove the cover to expose the panel to light. Watch the multimeter display. The number shows the short-circuit current in amps.
Check For Voltage Drops
Checking for voltage drops is essential when testing solar panels with a multimeter. Voltage drop means the loss of electrical energy as current moves through wires or connections. It affects the panel’s efficiency and output. Identifying voltage drops helps maintain optimal power generation and prevents system failures.
Inspect Wiring Connections
Start by examining all wiring connections in your solar setup. Loose or corroded connections cause resistance and voltage drops. Look for damaged wires, broken insulation, or rusted terminals. Tighten any loose screws and clean dirty contacts. Use the multimeter to measure voltage at different points along the wiring. A sudden drop indicates a poor connection that needs fixing.
Test Under Load Conditions
Measure voltage while the solar panel powers a device or battery. Testing under load shows how the panel performs in real use. Connect the multimeter to the panel’s output terminals during operation. Compare this voltage to the open-circuit voltage measured without load. A significant drop under load signals wiring or panel issues. Address these problems to improve energy efficiency and system reliability.
Credit: www.solar4rvs.com.au
Test Panel Output Under Load
Testing a solar panel’s output under load shows its real performance. This method checks how the panel works when it powers a device. It gives a clear idea about the panel’s actual energy production. Follow simple steps to connect the panel, measure its output, and calculate its power.
Connect To A Known Load
Choose a load with a known power rating. A resistor or a small appliance works well. Connect the solar panel’s positive terminal to the load’s positive input. Then, connect the panel’s negative terminal to the load’s negative input. This setup creates a working circuit for testing.
Measure Voltage And Current
Set your multimeter to measure DC voltage. Place the probes across the load terminals. Note the voltage reading. Next, switch the multimeter to measure current (amps). Connect the multimeter in series with the load. Record the current value carefully for accurate results.
Calculate Power Output
Multiply the voltage by the current to find power output. Use the formula: Power (Watts) = Voltage (Volts) × Current (Amps). This number shows how much energy the panel produces under load. Comparing this with the panel’s rated power helps spot issues early.
Identify Panel Faults
Identifying faults in a solar panel is key for maintaining its efficiency. Faults can reduce power output or stop the panel from working. Using a multimeter helps find these issues quickly and safely. This section explains how to spot common problems in solar panels.
Look For Low Voltage Or Current
Low voltage or current often signals a problem with the panel. Measure the voltage by setting the multimeter to DC volts. Place the probes on the panel terminals under sunlight. If the voltage is much lower than the panel’s rating, the panel may be faulty.
Next, check the current by setting the multimeter to DC amps. Connect the multimeter in series with the panel output. A low current reading means the panel might have damaged cells or poor connections. Both low voltage and current readings warn of performance issues.
Detect Open Or Shorted Cells
Open or shorted cells inside the panel reduce output and cause uneven power flow. To detect open cells, measure voltage across each cell or section. An open cell shows zero or very low voltage. This means the cell is broken or disconnected.
Shorted cells cause a drop in overall voltage and current. Use the multimeter to check resistance across cells. A very low resistance reading may indicate a short circuit. Identifying these cell faults helps decide if the panel needs repair or replacement.
Safety Tips During Testing
Testing a solar panel with a multimeter involves working with electricity and sunlight. Safety must be the top priority during the process. Following simple safety tips helps prevent accidents and damage. These guidelines keep you and your equipment safe while measuring voltage or current. Pay close attention to each tip to ensure a smooth testing experience.
Avoid Direct Eye Exposure
Never look directly at the solar panel under bright sunlight. The sunlight reflected from the panel can harm your eyes. Wear sunglasses or protective eyewear to shield your eyes. Protecting your vision is crucial during testing outdoors.
Handle Probes Carefully
Hold the multimeter probes firmly and avoid touching metal parts. Incorrect handling can cause short circuits or electric shocks. Always connect the positive probe to the positive terminal first. Then, connect the negative probe to the negative terminal. Handle probes gently to maintain accurate readings and safety.
Work In Dry Conditions
Ensure your hands and the solar panel are dry before testing. Moisture can cause electrical shorts and damage the multimeter. Avoid testing in rain or wet areas. Choose a dry, clean workspace to keep your testing safe and efficient.
Credit: lensunsolar.com
Frequently Asked Questions
How To Check If Solar Panels Are Working With A Multimeter?
Set the multimeter to DC voltage above panel rating. Connect probes to positive and negative terminals in sunlight. Check voltage matches panel’s open-circuit voltage. Switch to DC amps, connect probes to terminals with panel covered, and verify current matches short-circuit current rating.
What Is The 33% Rule In Solar Panels?
The 33% rule in solar panels means installing panels covering about one-third of your roof for optimal efficiency and cost-effectiveness.
How Can I Check If My Solar Panels Are Working Properly?
Set a multimeter to DC voltage above panel rating. Connect probes to panel terminals in direct sunlight. Compare voltage to panel’s open-circuit voltage (Voc). For current, switch to DC amps, connect probes, and cover the panel. Readings near rated Voc and short-circuit current (Isc) indicate proper function.
How Can You Tell If A Solar Panel Is Bad?
Test solar panels by measuring voltage and current with a multimeter in direct sunlight. Low or no output indicates a bad panel. Check for cracks, discoloration, or physical damage. Compare readings to the panel’s rated open-circuit voltage (Voc) and short-circuit current (Isc) for accuracy.
How Do I Measure Solar Panel Voltage With A Multimeter?
Set the multimeter to DC voltage above the panel’s rating. Connect probes to positive and negative terminals. Read the voltage displayed.
Can A Multimeter Check If A Solar Panel Is Working?
Yes, it measures voltage and current to confirm if the panel produces power in sunlight.
Conclusion
Testing solar panels with a multimeter is simple and effective. Always ensure correct multimeter settings before measuring. Check voltage in sunlight to see panel health. Measure current with covered panels for accurate results. Regular testing helps maintain your solar power system.
Understanding these steps saves time and avoids guesswork. Keep your solar panels working at their best. Testing often ensures you get the most energy possible.
