Using a multimeter can be confusing if you’re new to electronics or DIY work. One small but important step is learning how to zero a multimeter. This simple process helps you get accurate readings, avoid errors, and build good measurement habits. Many people skip zeroing, but that can lead to mistakes—even professionals sometimes forget. New to the device? Start with how to use a multimeter. In this guide, you’ll learn not only how to zero a multimeter, but also why it matters, common problems, and tips for reliable results.
What Does “zeroing” A Multimeter Mean?
Zeroing a multimeter means making sure the device reads exactly zero when it should. Imagine you want to measure the resistance of a wire. If your multimeter shows 0. 2 ohms before you even connect the wire, you know something is off.
That small error can change your result, especially in sensitive work. Zeroing removes this kind of error, usually caused by the device itself or the test leads.
Multimeters measure different things—voltage, current, and resistance. Zeroing is most important for resistance measurements (ohms), but it can also help in some voltage and current cases, especially with analog meters.
Why Accurate Zeroing Is Important
Some people think, “A small error doesn’t matter.” But even a tiny mistake can have big results:
- In electronics, small resistances make a difference in sensors and circuits.
- In automotive repair, misreading a sensor can waste hours.
- In labs or industrial settings, consistent errors can cause safety risks.
Zeroing helps you trust your measurements. It’s like taring a weighing scale before adding ingredients—the result is only as good as your starting point.

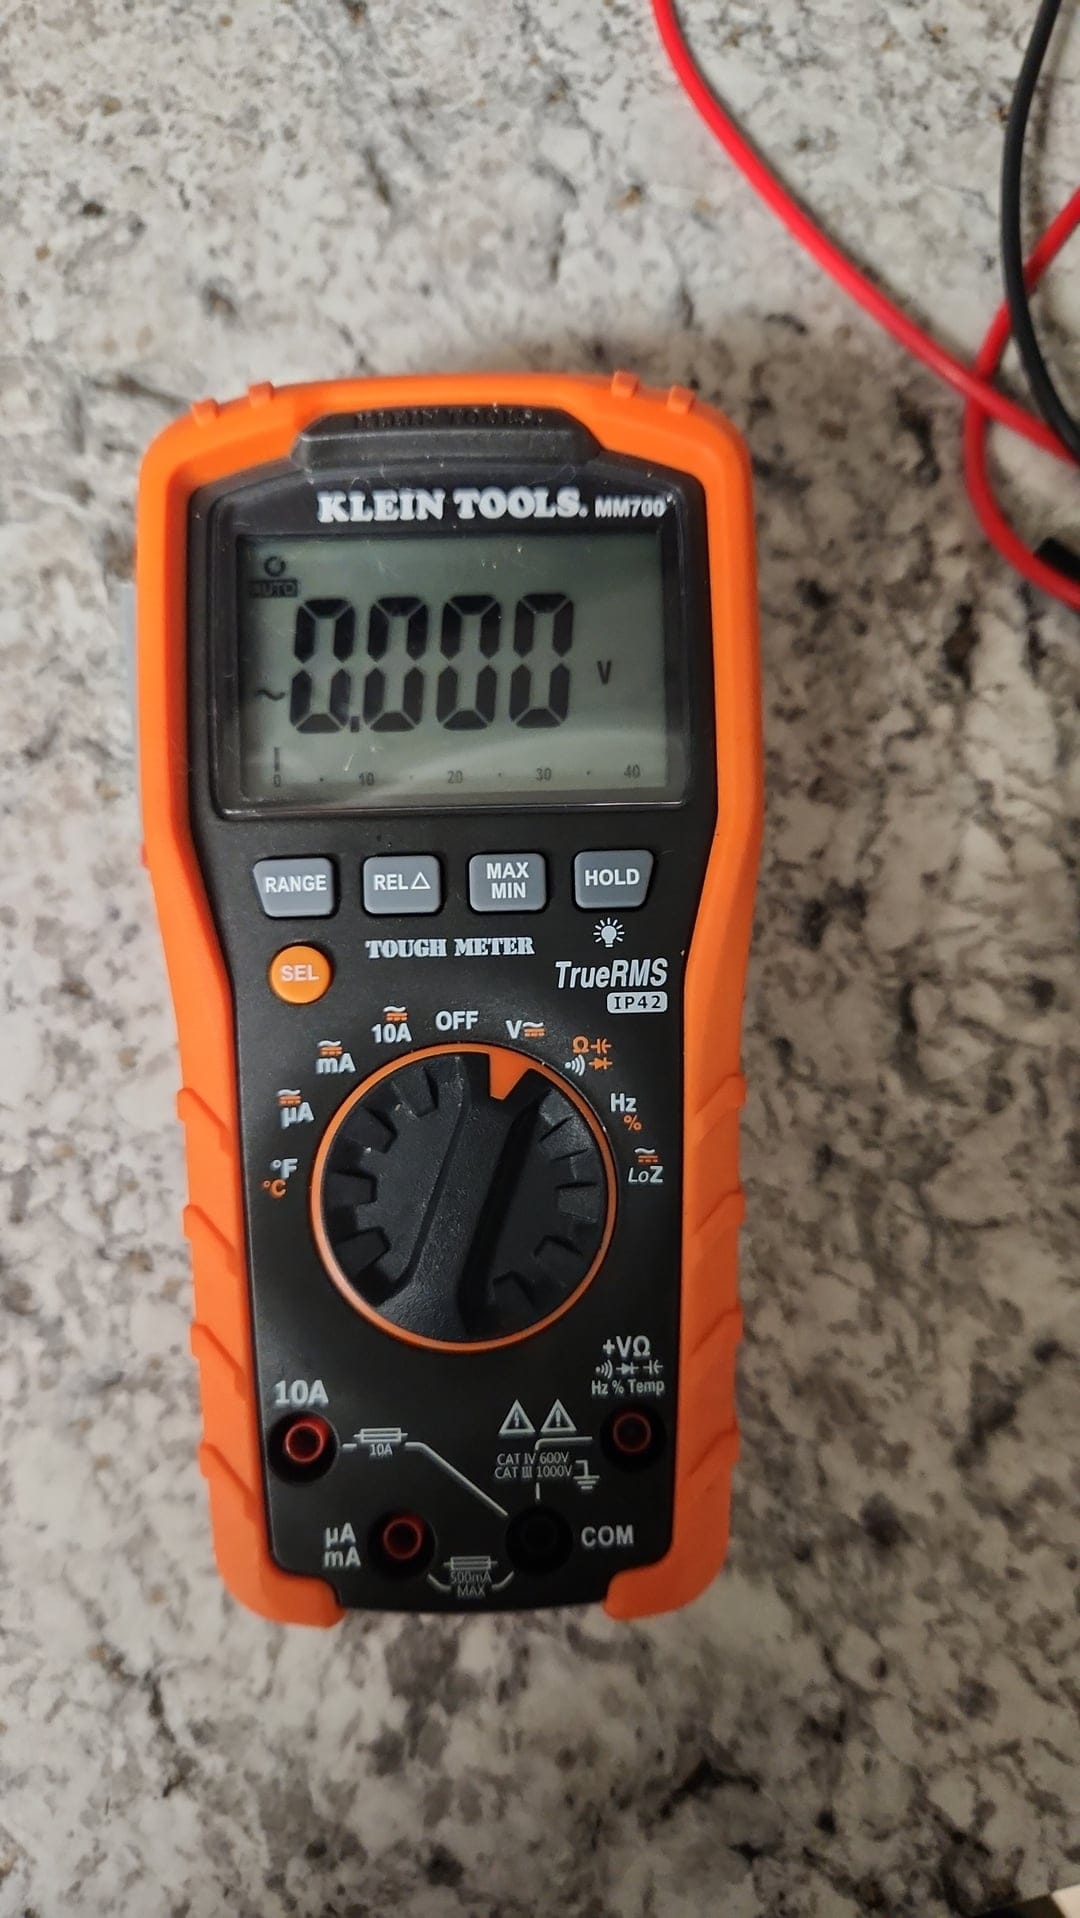
Credit: www.reddit.com
Types Of Multimeters And Their Zeroing Needs
Not all multimeters are the same. How you zero the device depends on its type.
| Type | Zeroing Needed? | How to Zero |
|---|---|---|
| Analog Multimeter | Yes | Manual zero adjust knob |
| Digital Multimeter | Sometimes | REL/Zero button or manual compensation |
| Auto-ranging Multimeter | Rarely | Usually self-zeroes, but REL function may help |
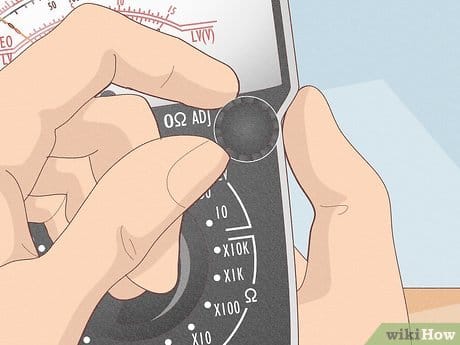
Analog multimeters nearly always need manual zeroing, especially for resistance. Digital multimeters often auto-zero, but not always. Some advanced models have a REL (relative) or zero button—this is your “tare” function.
Step-by-step: How To Zero A Multimeter
Zeroing is simple but must be done correctly. Here’s how to do it, especially for resistance mode.
1. Prepare Your Multimeter
- Make sure the multimeter is turned off.
- Plug in the test leads (red and black) into the correct ports. For resistance, usually COM (black) and Ω/V (red).
- Set the range switch to the ohms (Ω) setting.
2. Check The Batteries
Weak or old batteries can cause errors, especially in analog models. If the display is dim or the needle acts strange, replace the battery first. (Need to test a battery itself? See how to test a battery with a multimeter.)
3. Connect The Probes Together
Touch the two probes together—metal to metal. This makes a short circuit. The meter should show zero resistance, but often it does not.
4. Adjust To Zero
- On an analog multimeter: Turn the zero adjust knob (usually below the display) until the needle points to zero on the ohms scale.
- On a digital multimeter: If your meter has a REL or Zero button, press it while the probes are touching. The display should now read zero.
- If your digital meter does not have a zero function, note the small value (like 0.2Ω) and subtract it from your real measurements.
5. Release And Test
Separate the probes. The display should go to “infinite” or “OL” (open line). If not, check for dirty probes or faulty leads.
6. Start Measuring
Now you can measure resistance or continuity. If you change the range or move the meter, repeat the zeroing process.
Practical Example: Zeroing A Resistance Measurement
Let’s say you want to measure a 10-ohm resistor.
- You touch the probes together and the meter reads 0.3Ω.
- You press the REL button—now the display shows 0.0Ω when probes touch.
- Measure the resistor. The meter shows 10.2Ω.
- The real value is already corrected, thanks to zeroing. If you had not zeroed, you might think the resistor was 10.5Ω.
This small difference matters, especially for sensitive circuits.
Common Problems When Zeroing
Zeroing should be easy, but sometimes things go wrong. Here are some problems and fixes:
- Probes won’t zero: Check for dirty or corroded tips. Clean with a bit of alcohol or sandpaper.
- Reading jumps around: Weak battery, loose lead connection, or a damaged meter.
- Zero knob won’t adjust fully (analog): The meter might need a new battery or repair.
- Can’t get to exact zero: Some meters won’t show perfect zero. Always subtract the small leftover value from your result.
Zeroing For Voltage And Current
Zeroing is less common for voltage and current. Most modern meters auto-zero. But if you use an old analog meter, check that the needle sits at zero before measuring. If not, use the mechanical zero adjust screw (often found at the base of the needle). For digital meters, a REL button can help remove small offsets if you want extra accuracy.
Tips For Reliable Zeroing
- Always zero before each measurement session, especially if accuracy matters.
- If you change the measurement range, repeat zeroing.
- Store your meter and leads in a clean, dry place.
- Replace batteries regularly—low power causes errors.
- Use high-quality, tight-fitting test leads.
Real-world Table: Zeroing Effect On Measurements
This simple table shows how zeroing changes your results. Suppose you’re measuring a fuse with very low resistance.
| Probe Reading (Before Zeroing) | Fuse Reading | Corrected Value (After Zeroing) |
|---|---|---|
| 0.4Ω | 0.7Ω | 0.3Ω |
| 0.1Ω | 0.6Ω | 0.5Ω |
| 0.0Ω | 0.6Ω | 0.6Ω |
Notice how failing to zero makes a small resistance look much higher than it is. This is a common beginner mistake.
Zeroing: Digital Vs Analog Multimeters
Understanding the difference between analog and digital meters is important for zeroing.
Analog Multimeters
- Always need manual zeroing for resistance.
- Zero drift can happen due to temperature or battery changes.
- Use the physical knob and watch the needle.
Digital Multimeters
- Most auto-zero, but not all.
- REL or Zero button can help for precise work.
- Less drift, but may need manual compensation for test lead resistance.
Credit: www.reddit.com
How Often Should You Zero?
There’s no fixed rule, but here’s a general guide:
- Every time you change function or range
- When you move the meter or leads
- If you haven’t used the meter for a while
- Before critical measurements
- After changing the battery
Professional labs often zero before every measurement. For home or DIY, zero at least once per session.
Non-obvious Insights Most Beginners Miss
1. Test leads add resistance: Even high-quality test leads add small resistance (0.1–0.5Ω). Cheap leads can add more. Always include this in your zeroing.
2. Temperature affects measurements: Both analog and digital meters can drift with temperature changes. If you work in a cold garage or hot attic, re-zero your meter as conditions change.
3. Zeroing isn’t just for resistance: Some advanced meters let you use REL mode for voltage and current. This is useful for comparing two voltages or canceling out background noise.
4. Zeroing can spot bad leads: If your meter won’t zero or shows a high value when probes touch, you might have a bad wire or dirty contact.
5. Not all meters have REL/Zero: Some budget models require manual subtraction. Don’t expect every meter to make it automatic.
Safety Reminders When Zeroing
- Never try to zero the meter while connected to a live circuit.
- Always remove test leads from the circuit before zeroing.
- Replace damaged or worn test leads immediately.
- Don’t force the zero adjust knob; gentle turns are enough.
Table: Zeroing Features Of Popular Multimeter Brands
Here’s a quick look at how common multimeter brands handle zeroing.
| Brand | Analog/Digital | Zeroing Feature | Special Notes |
|---|---|---|---|
| Fluke | Digital | REL/Zero button | High accuracy, auto zeroing |
| Extech | Digital/Analog | Manual (analog), REL (digital) | Budget models may lack REL |
| Sanwa | Analog | Manual knob | Very sensitive to battery level |
| UNI-T | Digital | REL/Zero button | Entry-level models need manual correction |
Quick Troubleshooting For Zeroing Issues
- Meter won’t zero: Clean the probe tips, check the battery, try new leads.
- Display flickers: Replace the battery or check for loose connections.
- Analog needle won’t reach zero: Battery is probably weak, or the meter is faulty.
- REL button missing: Subtract the “shorted” value from your results manually.
External Resource
For more detailed technical information about multimeter zeroing and device calibration, you can read the official guide on the Wikipedia: Multimeter page.
Credit: www.wikihow.com
Frequently Asked Questions
How Often Should I Zero My Multimeter?
Zero your multimeter before every measurement session, and after changing the function or range. If you want the most accurate results, zero before each new measurement.
Why Does My Digital Multimeter Not Read Exactly Zero When Probes Touch?
Test leads and slight internal offsets cause small readings. If your meter has a REL or Zero button, use it. Otherwise, subtract the small value from your measurements.
Can I Zero A Multimeter While Connected To A Circuit?
No. Always disconnect the test leads from any circuit before zeroing. Zeroing on a live circuit can damage the meter or give incorrect results.
My Analog Multimeter’s Needle Won’t Return To Zero—what Should I Do?
Check the battery first; low power often causes this problem. If the battery is fine, the meter may need cleaning or repair.
Is Zeroing Necessary For All Types Of Measurements?
Zeroing is most important for resistance (ohms) measurements. For voltage and current, most digital meters auto-zero, but it can help in sensitive work or when using analog meters.
Zeroing a multimeter is a quick step, but it makes your measurements trustworthy. To understand the limits of those readings, read multimeter accuracy explained. With practice, it becomes second nature—and you’ll avoid common mistakes that frustrate beginners. Always take a moment to zero your meter, and you’ll work like a pro every time.
