Last Updated: March 21, 2026
If you’ve ever struggled with a worn-out sanding belt slowing down your project, you know how frustrating it can be. Changing the belt on your belt sander doesn’t have to be a hassle.
With the right steps, you can quickly replace the belt and get back to smooth, precise sanding. In this guide, you’ll learn exactly how to change a belt sander belt—no confusing jargon, no wasted time. By the end, you’ll feel confident handling your sander like a pro, keeping your tools in top shape and your projects moving forward.
Ready to master this simple but essential skill? Let’s dive in!
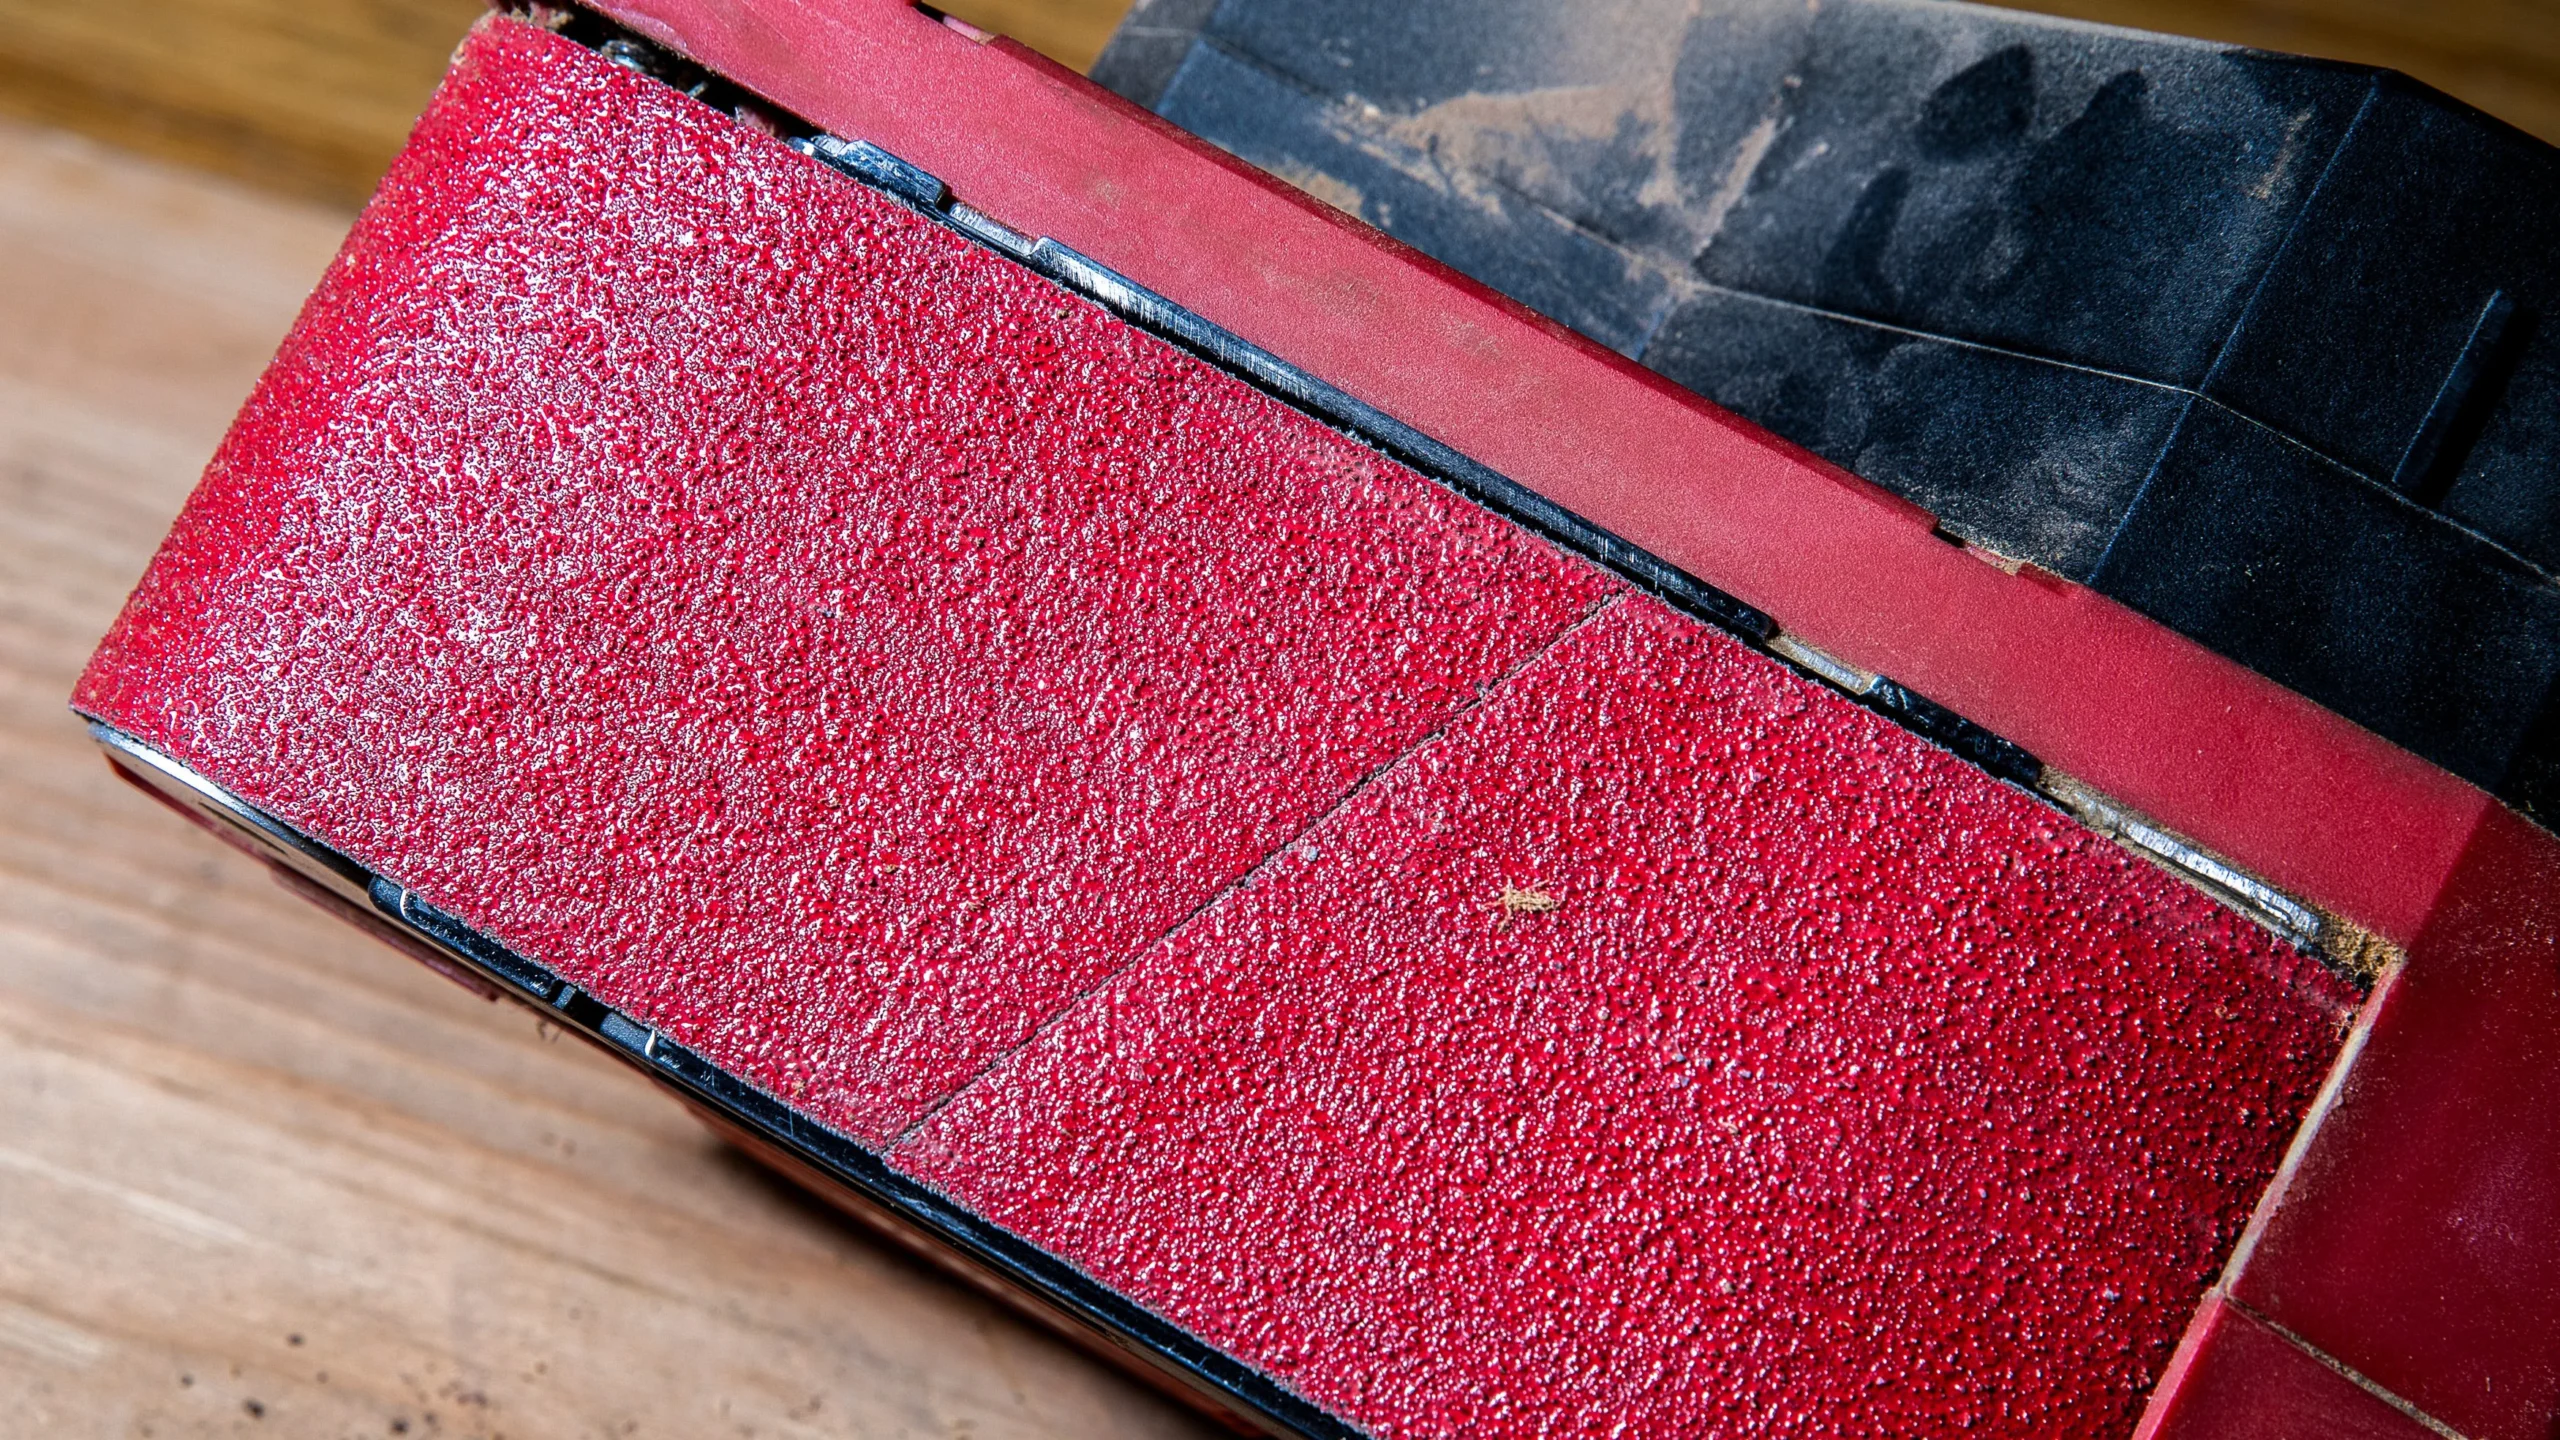
Credit: www.popularmechanics.com
Safety First
Safety is the top priority when changing a belt sander. Taking simple precautions protects you from injury. It also keeps your tool in good shape for longer use.
Before starting, always make sure the sander is unplugged. This stops accidental starts that can cause harm. Wear safety glasses to protect your eyes from dust and debris. Gloves can protect your hands from sharp edges and hot parts.
Unplug The Sander
Always disconnect the power before any work on the sander. This prevents the machine from turning on by mistake. Treat the unplugging step as the first rule of safety.
Wear Safety Gear
Put on safety glasses to shield your eyes. Dust and small particles can fly out during belt removal. Gloves help avoid cuts and scrapes on your hands.
Work In A Clean Area
Clear your workspace of clutter. A clean area reduces the chance of slips or accidents. Good lighting helps you see parts clearly.
Handle Parts Carefully
Belt sanders have moving parts that can pinch fingers. Move parts slowly and with control. Avoid rushing to prevent mistakes and injuries.
Locate Tension Mechanism
Start by finding the tension mechanism, usually a lever or knob on the sander’s side. This part loosens the belt, allowing easy removal and replacement. Identifying it correctly saves time and ensures a smooth belt change.
Before changing the sanding belt, find the tension mechanism on your sander. This part holds the belt tight during use. It allows you to release and tighten the belt easily.
The tension mechanism is usually a lever, knob, or button on the side of the sander. It controls the pressure on the rollers that hold the sanding belt. Knowing its location helps in removing the old belt smoothly.
Identify The Type Of Tension Mechanism
Look closely to see if your sander uses a lever or a knob. Some models have a spring-loaded lever. Others use a twist knob to adjust tension. Each type works a bit differently but serves the same purpose.
Levers often need to be pulled or pushed to release the belt. Knobs require turning to loosen or tighten the belt. Check your sander’s manual if unsure about the mechanism.
Prepare To Release The Belt
Make sure the sander is unplugged for safety. Locate the tension mechanism and get ready to release it. This step frees the belt from tight grip on the rollers.
Use your hand to move the lever or turn the knob slowly. You will feel the belt loosen. Keep moving the tension part until the belt can slide off easily.
Common Locations Of The Tension Mechanism
Most belt sanders have the tension mechanism near the front or side. Check around the top area close to the sanding belt. It might be hidden under a cover or guard.
Some sanders have a quick-release lever that snaps easily. Others need a firm twist of a knob. Spotting this part quickly speeds up belt changes and maintenance.
Release Belt Tension
Releasing belt tension is the first step to change a belt sander. This step loosens the sanding belt from the rollers. It makes removing the old belt easier and allows installing a new one smoothly.
Most belt sanders have a tension lever or knob. This tool controls the tightness of the sanding belt. Releasing tension prevents damage to the belt or sander parts during replacement.
Locate The Tension Lever Or Knob
Find the tension lever or knob near the sanding belt area. It may be on the side or top of the sander. Check the user manual if unsure.
Move The Lever Or Turn The Knob
Push or pull the lever to release the belt tension. For knobs, turn it counterclockwise to loosen. The belt should slacken and become easy to move.
Check Belt Slackness
After releasing the tension, gently press the belt. It should move freely and not feel tight. This slack makes removing the old belt simple and safe.
Remove Old Belt
Removing the old belt is the first important step in changing a belt sander. Start by making sure the sander is unplugged to keep safe.
Next, release the tension on the belt. This makes the belt loose and easier to take off.
Carefully sliding the old belt off the rollers takes some patience. The belt may fit tightly, so move it slowly and evenly.
Unplug The Belt Sander
Always unplug the sander before starting. This stops the tool from turning on accidentally. Safety is key.
Release The Belt Tension
Locate the tension lever or knob on your sander. Push or pull it to loosen the belt. This frees the belt from the rollers.
Slide Off The Old Belt
Hold the belt firmly and slide it off the rollers. Work the belt bit by bit if it feels stuck. Avoid tearing the belt.
Check Belt Direction
Checking the belt direction is a crucial step when changing a belt sander. The sanding belt has arrows that show the direction it should move. Installing the belt in the wrong direction can cause poor sanding performance and damage the belt or sander.
Always look for these arrows on the inside of the sanding belt. They guide you to place the belt so it spins correctly on the sander’s rollers. Aligning the belt with the arrows ensures smooth operation and longer belt life.
Locate The Directional Arrows On The Belt
Turn the sanding belt over and find the printed arrows. These arrows indicate which way the belt should run. If the arrows are missing, check the packaging or manual for guidance.
Match The Arrows With The Sander’s Rotation
Before sliding the new belt on, note the sander’s roller rotation direction. Place the belt so the arrows point the same way the rollers turn. This keeps the belt moving properly during use.
Double-check The Belt Placement
After fitting the belt, spin the rollers by hand. Make sure the belt moves smoothly in the correct direction. If it feels tight or wrong, remove and flip the belt before tightening.
Install New Belt
Installing a new belt on your belt sander is simple and important for smooth sanding. This step ensures the sander works efficiently and safely.
Follow these steps carefully to place the new belt correctly. Proper installation helps avoid belt slipping or damage.
Look for arrows on the new belt. These arrows show the correct rotation direction.
Align the arrows with the sander’s wheel movement. Installing the belt backward causes poor sanding and belt wear.
Position The Belt On Rollers
Slide the new belt over the front and rear rollers. Make sure it sits evenly on both rollers.
The belt should be centered and straight without twists. Twisted belts cause uneven sanding and can break faster.
Tighten The Belt
Use the tension lever or knob to tighten the belt. Pull or push it until the belt feels firm and secure.
A tight belt reduces slipping and keeps the sanding consistent. Avoid overtightening as it may damage the belt or sander parts.
Plug in and turn on the sander. Observe the belt movement on the rollers.
Use the tracking knob to center the belt. Turn the knob slowly until the belt stays in the middle during sanding.
Proper tracking prevents the belt from slipping off or wearing unevenly.
Re-tension The Belt
Re-tensioning the belt is a crucial step after placing a new sanding belt on your belt sander. Proper tension ensures the belt stays tight and runs smoothly during use. A loose belt can slip, causing uneven sanding or damage to the tool. Tightening the belt correctly extends the life of both the belt and the sander.
Each belt sander has a tensioning system, often a lever or a knob. This system allows you to adjust the belt’s tightness easily. Knowing how to re-tension helps keep your sander working at its best.
Locate The Tension Lever Or Knob
Find the tension control on your belt sander. It is usually on the side or near the front. The lever or knob releases or tightens the belt. Some models may require you to push down on a wheel to lock the belt in place.
Adjust The Belt Tension
Move the lever or turn the knob to tighten the belt. The belt should feel firm but not overly stretched. Avoid making the belt too tight, which can strain the motor or rollers. Aim for a snug fit that prevents slipping.
Check Belt Alignment
After tensioning, check that the belt runs straight on the rollers. Turn the sander on briefly to observe the belt’s path. Use the tracking adjustment knob if the belt veers to one side. Proper alignment prevents belt wear and improves sanding quality.
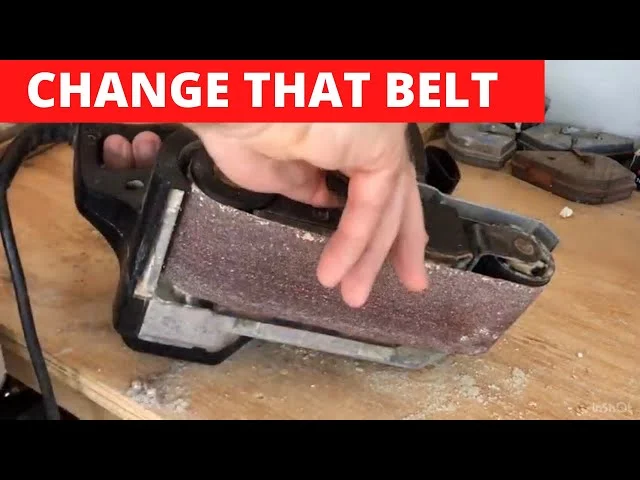
Credit: www.youtube.com
Adjust Belt Tracking
Adjusting belt tracking is essential for a belt sander’s smooth operation. Proper tracking keeps the sanding belt centered on the rollers.
Without correct tracking, the belt may slip off or wear unevenly. This section explains how to adjust belt tracking easily and safely.
Locate The Tracking Adjustment Knob
Find the tracking knob on your belt sander. It is usually near the front roller or side of the sander. This knob controls the belt’s position on the rollers.
Turn On The Sander To Test Belt Movement
Plug in the sander and turn it on. Watch the belt as it moves around the rollers. Check if it runs straight and stays centered.
Adjust The Tracking Knob Slowly
Turn the tracking knob slowly while the sander runs. Turn it one way if the belt moves left. Turn it the other way if it moves right.
Stop Adjusting When Belt Runs Smoothly
Keep adjusting until the belt stays centered without drifting. The belt should not touch the sander edges or slip off.
Turn Off The Sander And Inspect Belt Alignment
Turn off the sander and unplug it. Check the belt again to ensure it is tight and properly aligned on the rollers.

Credit: www.reddit.com
Frequently Asked Questions
What Is The Procedure For Changing A Sanding Belt?
Unplug the sander and release belt tension using the lever or knob. Remove the old belt carefully. Slide on the new belt, aligning directional arrows with rotation. Re-tension the belt, plug in the sander, and adjust tracking to center the belt on the rollers.
Which Way Do The Arrows Go On A Belt Sander?
Align the arrows on the sanding belt to match the sander’s rotation direction. This ensures proper belt movement and efficient sanding.
How To Change The Belt On A Rigid Belt Sander?
Unplug the sander and release belt tension using the lever or knob. Remove the old belt, align the new belt’s arrows with rotation, install it, re-tension, then adjust tracking for proper alignment. Plug in and test the sander.
How To Change The Belt On A Wen Belt Sander?
Unplug the Wen belt sander. Press the tension lever to release the belt. Remove the old belt and slide on the new one, aligning arrows with rotation. Re-engage the tension lever. Plug in the sander and adjust tracking for proper belt alignment.
How Do I Safely Remove The Old Sanding Belt?
Unplug the sander, release the belt tension lever or knob, then slide the old belt off carefully.
Conclusion
Changing a belt on your sander is simple and quick. Always unplug the tool before starting. Loosen the tension, remove the old belt carefully, and slide on the new one. Align the arrows to match the sander’s direction. Tighten the belt, plug in the sander, and adjust the tracking knob.
This keeps the belt running straight and smooth. With practice, belt changes will feel easy and safe. Keep your sander ready for any project by changing belts regularly.
{ “@context”: “https://schema.org”, “@type”: “Article”, “headline”: “How to Change a Belt Sander: Quick & Easy Step-by-Step Guide”, “description”: “Learn how to change a belt sander by safely removing the old belt and fitting a new one to maintain efficient sanding performance.”, “url”: “https://www.powertoolstoday.com/how-to-change-a-belt-sander/”, “datePublished”: “2025-12-10”, “dateModified”: “2026-03-18”, “author”: { “@type”: “Organization”, “name”: “Power Tools Today”, “url”: “https://www.powertoolstoday.com” }, “publisher”: { “@type”: “Organization”, “name”: “Power Tools Today”, “url”: “https://www.powertoolstoday.com” }, “mainEntityOfPage”: { “@type”: “WebPage”, “@id”: “https://www.powertoolstoday.com/how-to-change-a-belt-sander/” }, “image”: { “@type”: “ImageObject”, “url”: “https://www.powertoolstoday.com/wp-content/uploads/2025/11/how-to-change-a-belt-sander.jpg” } }{ “@context”: “https://schema.org”, “@type”: “Article”, “headline”: “How to Change a Belt Sander: Quick & Easy Step-by-Step Guide”, “description”: “Learn how to change a belt sander by safely removing the old belt and fitting a new one to maintain efficient sanding performance.”, “url”: “https://www.powertoolstoday.com/how-to-change-a-belt-sander/”, “datePublished”: “2025-12-10”, “dateModified”: “2026-03-19”, “author”: { “@type”: “Organization”, “name”: “Power Tools Today”, “url”: “https://www.powertoolstoday.com” }, “publisher”: { “@type”: “Organization”, “name”: “Power Tools Today”, “url”: “https://www.powertoolstoday.com” }, “mainEntityOfPage”: { “@type”: “WebPage”, “@id”: “https://www.powertoolstoday.com/how-to-change-a-belt-sander/” }, “image”: { “@type”: “ImageObject”, “url”: “https://www.powertoolstoday.com/wp-content/uploads/2025/11/how-to-change-a-belt-sander.jpg” } }nnnn