
Installing hardwood flooring can completely change the look and feel of your home. The rich, warm tones of real wood bring both elegance and value. While many people think installing hardwood is a job only for professionals, with the right tools and careful preparation, it’s a project you can tackle yourself. Using a flooring nailer makes the process smoother, faster, and produces professional results. However, to get a floor that lasts for decades, each step must be done correctly. This guide will walk you through every detail, from preparation to finishing touches, so you can install hardwood floor with a nailer confidently.
Understanding The Basics Of Hardwood Flooring
Before you start, it’s important to know what makes hardwood floors unique. Unlike laminate or engineered wood, hardwood planks are solid wood from top to bottom. They come in different species, sizes, and finishes. The most common types are oak, maple, and walnut. Each type has its own level of hardness, color, and grain pattern.
A key point many beginners miss is the difference between pre-finished and unfinished hardwood. Pre-finished planks have a factory-applied finish and can be walked on right after installation. Unfinished planks need to be sanded and finished on site, which adds time and complexity.
Another factor is plank thickness. Standard solid hardwood is usually 3/4-inch thick, but thinner options exist. Thicker planks can be refinished more times in the future.
Tools And Materials You’ll Need
To install hardwood with a nailer, you’ll need the right tools and materials. This not only makes the job easier, but also ensures a long-lasting floor.
Essential tools:
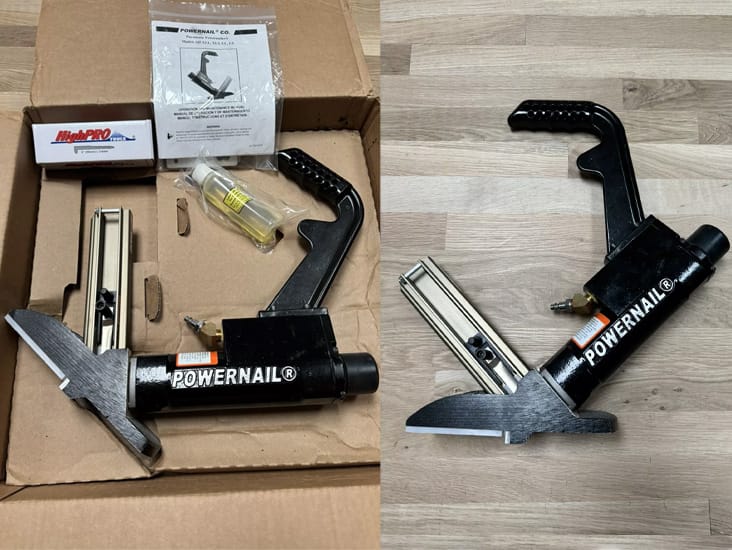
- Flooring nailer (manual or pneumatic)
- Mallet (usually comes with the nailer)
- Air compressor (for pneumatic nailers)
- Measuring tape
- Chalk line
- Carpenter’s square
- Pry bar
- Drill and bits
- Hammer
- Nail set
- Level
- Moisture meter
- Table saw or miter saw
- Pull bar
- Tapping block
- Safety glasses and ear protection
- Utility knife
Materials:
- Hardwood flooring planks
- Flooring nails or cleats (follow nailer’s recommendation)
- Vapor barrier or underlayment (as needed)
- Wood filler (for face nailing holes)
- Floor adhesive (sometimes for first and last rows)
- Spacers
- Blue painter’s tape
Pro tip: Rent a pneumatic flooring nailer if you don’t want to buy one. Manual nailers are slower and require more effort.
Preparing The Subfloor
A strong, level subfloor is the foundation of a great hardwood floor. Skipping this step is a common mistake.
Checking Subfloor Type
Most hardwood installations go over a plywood subfloor. Concrete is not ideal for nailing, so engineered wood or glue-down methods are better for that surface.
Leveling And Cleaning
Sweep and vacuum the floor thoroughly. Check for high spots or dips. The floor should be flat within 3/16 inch over 10 feet. Use a long level or straightedge to check. Fill dips with leveling compound and sand down any bumps.
Moisture Control
Moisture is one of hardwood’s biggest enemies. Use a moisture meter to check both subfloor and flooring. The difference should be less than 4%. Install a vapor barrier if the subfloor is over a crawl space or basement.
Securing The Subfloor
Drive screws every 6-8 inches along the joists to secure loose areas. This helps prevent squeaks later.
Acclimating Your Hardwood Planks
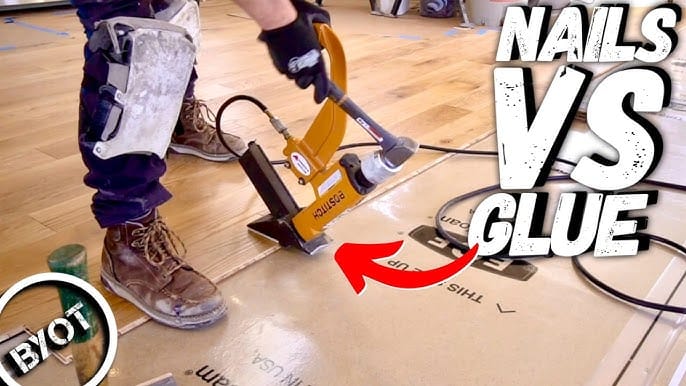
Hardwood expands and contracts with humidity. Let the planks sit in the room where they’ll be installed for at least 72 hours before installation. Stack them in small piles with air gaps between each plank. This step is easy to overlook but prevents gaps or buckling later.
Credit: www.youtube.com
Planning Your Layout
Measure the room’s width and length. Decide which direction to run the planks. Usually, planks run perpendicular to the joists for stability and parallel to the longest wall for visual flow.
Snap a chalk line 3/8 inch from the starting wall. This space allows for expansion. If the room is not square, measure from both ends and snap lines to ensure the first row is straight.
Non-obvious insight: Always check the width of the final row. If it’s less than 1 inch, cut the first row narrower so both the first and last rows look good.
Starting The First Row
The first row is the most important because it sets the tone for the whole floor. Lay the planks with the groove side facing the wall.
Face nailing is usually required for the first row since the nailer cannot fit against the wall. Drill pilot holes and nail through the face of the board every 6-8 inches. Countersink the nails and fill with wood filler later.
Use spacers to keep the expansion gap against the wall.
Credit: www.reallycheapfloors.com
Installing The Main Floor With A Nailer
Now comes the main part—using the flooring nailer.
Setting Up The Nailer
- Load the nailer with the correct cleats or nails (usually 1 1/2 to 2 inches for 3/4-inch flooring).
- Connect to the air compressor if using a pneumatic model.
- Adjust the pressure (typically 70-90 PSI).
Nailing Technique
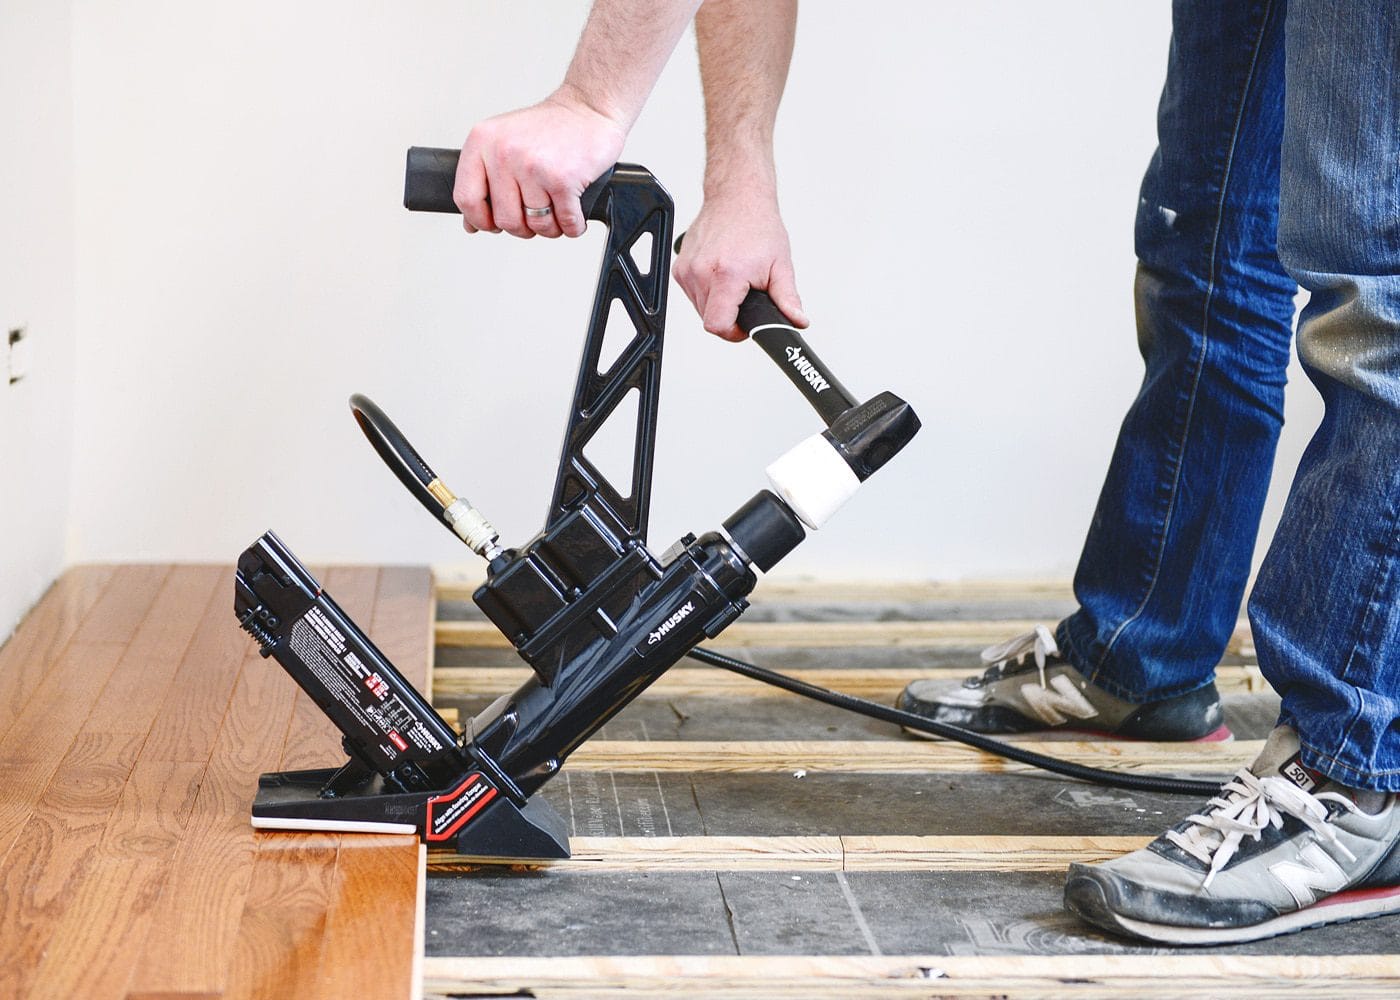
Position the nailer’s base on the tongue side of the plank. Strike the nailer’s plunger with the mallet. This drives a nail at the correct angle (usually 45 degrees).
Continue installing boards, staggering the end joints at least 6 inches. Use cut-offs from one row to start the next whenever possible.
Practical tip: If a plank is warped, use a pry bar or flooring jack to pull it tight before nailing.
Working Around Obstacles
When you reach vents, doorways, or other obstacles, cut planks to fit with a jigsaw. Always leave a small gap at walls or fixed objects for movement.
Installing The Last Rows
As you reach the end of the room, the nailer may not fit. Switch to face nailing using a finish nailer or by hand. Drill pilot holes to prevent splitting. Remember to fill nail holes with wood filler.
Dealing With Common Challenges
Creaks And Squeaks
Squeaks usually come from boards not tightly nailed or movement in the subfloor. Drive extra nails where needed. If a board still moves, use a flooring adhesive to glue it to the subfloor.
Gaps Between Boards
This can happen if the boards weren’t acclimated or if the subfloor isn’t flat. If gaps are small, colored filler can help. For large gaps, consider removing and reinstalling the affected boards.
Splintered Edges
Striking the nailer too hard or using the wrong nails can split the tongue. Practice on scrap pieces to get the feel of your nailer before starting.
Cleaning And Finishing Touches
Once all boards are installed, remove spacers. Sweep and vacuum the floor thoroughly. For unfinished floors, sand and apply your finish of choice—polyurethane is the most popular.
Install baseboards or quarter-round molding to cover the expansion gaps along the walls. Nail these to the wall, not the floor, so the floor can move as needed.
Comparing Flooring Nailer Types
Choosing the right nailer can make a big difference. Here’s a quick comparison:
| Type | Speed | Effort | Best For |
|---|---|---|---|
| Manual Nailer | Medium | High | Small jobs, tight budgets |
| Pneumatic Nailer | Fast | Low | Large rooms, faster installation |
| Staple Nailer | Fast | Low | Engineered flooring, thinner planks |
Non-obvious insight: Pneumatic nailers are less tiring and help avoid inconsistent nailing depth, a common problem with manual models.
Maintenance Tips For Your New Floor
- Sweep or vacuum regularly to remove grit.
- Use mats at entryways.
- Wipe spills immediately.
- Avoid wet mopping; use a damp cloth instead.
- Add felt pads to furniture legs to prevent scratches.
Following these simple habits will keep your floor looking great for years.
Cost Breakdown Example
Budgeting is key for any DIY project. Here’s an example cost breakdown for a 200-square-foot room:
| Item | Estimated Cost (USD) |
|---|---|
| Hardwood Planks | $800 |
| Underlayment/Vapor Barrier | $60 |
| Nails/Cleats | $25 |
| Tool Rental (Nailer + Compressor) | $60 |
| Miscellaneous (wood filler, tape, etc.) | $35 |
| Total | $980 |
Pro tip: Always buy 10% more flooring than your room’s area to account for cuts and waste.
Safety Considerations
- Wear safety glasses and hearing protection.
- Keep fingers away from the nailer’s path.
- Unplug or disconnect the nailer before clearing jams.
- Always follow the manufacturer’s instructions for all tools.
Accidents can happen quickly, so never rush this step.
When To Call A Professional
If your subfloor is badly damaged, extremely uneven, or if you find mold or water damage, it’s best to call an expert. Likewise, if you’re not comfortable using power tools or if your layout has many angles and obstacles, professional help can save time and money.
Frequently Asked Questions
What Is The Best Direction To Lay Hardwood Floor?
Planks are usually installed perpendicular to floor joists for strength. In open spaces, laying planks parallel to the longest wall often looks best. Always consider the room’s shape and natural light direction for the most pleasing result.
How Far Apart Should I Nail Hardwood Flooring?
Nails or cleats should be placed every 6 to 8 inches along each plank, and within 2 to 3 inches of board ends. This keeps boards tight and prevents movement.
Can I Install Hardwood Over Concrete With A Nailer?
No, you cannot nail directly into concrete. Instead, use a floating or glue-down engineered wood floor. If you want solid hardwood, install a plywood subfloor first.
What’s The Difference Between A Nailer And A Stapler For Flooring?
A nailer uses steel cleats, while a stapler uses staples. Cleats allow for more movement and are preferred for solid hardwood. Staples are common for engineered flooring but can sometimes cause squeaks.
How Long Does It Take To Install Hardwood Flooring With A Nailer?
For a beginner, installing a 200-square-foot room usually takes two to three days. This includes prep, acclimation, and cleanup. Experienced installers may finish in a single day.
Installing hardwood floor with a nailer is a rewarding project that adds beauty and value to your home. With the right preparation, tools, and a careful approach, you can achieve professional-quality results. If you want more information about hardwood types and installation, check out this Family Handyman guide for additional insights.
Take your time, plan every step, and your new floor will bring you joy for decades.
Credit: yellowbrickhome.com
