
The right sandpaper grit for metal depends on the starting surface and the finish you need. Use only enough coarseness to remove the defect efficiently, then move finer as needed. There is no universal progression such as 80 → 120 → 220 → 400 → 2000 that every metal job must follow.
This article focuses on grit selection for metal. A separate metal-sanding process guide can cover the broader sanding workflow.
Start With the Surface Condition
Heavy rust, mill scale, thick coating, weld blending, light scuffing, paint preparation, and polishing are different jobs. Start at the least aggressive grit that still cuts efficiently enough for the task.
If the surface is already close to finished, beginning too coarse creates scratches you then have to remove.
Coarse Abrasives
Coarse grits are useful for heavy material removal, thick coatings, or severe corrosion when the abrasive and tool are appropriate for the metal. Do not use a fixed 40–80 rule across every surface; thin sheet, soft aluminum, plated parts, and precision surfaces can be damaged quickly.
Medium Grits
Medium grits are often used after heavy removal to refine scratches, blend repairs, or prepare metal for a coating. The correct stopping grit should match the coating or finishing-system manufacturer’s recommendation.
Fine and Very Fine Grits
Fine abrasives are useful for surface refinement and polishing preparation. A mirror finish may require several increasingly fine steps, but the exact sequence depends on alloy, starting condition, abrasive system, previous scratches, and the polishing compound that follows.
Abrasive Type Matters as Much as Grit
- Aluminum oxide: common general-purpose abrasive for many steels and other metals.
- Silicon carbide: sharp abrasive commonly used for wet/dry finishing and some nonferrous applications.
- Ceramic abrasives: designed for high stock removal and demanding applications.
- Other engineered abrasives: may be specified for stainless, aluminum, coatings, or specialty finishing.
Use the abrasive manufacturer’s material guidance instead of assuming one mineral is universally best for one metal.
Steel
For steel, choose grit by whether you are stripping, blending, preparing for coating, or polishing. If corrosion is deep, sanding cannot restore lost cross-section or structural strength.
Stainless Steel
Use abrasives dedicated to stainless where contamination control matters. Carbon-steel contamination can cause later rust staining. Also remember that stainless dust and grinding fumes can require more careful exposure control.
Aluminum
Aluminum can load some abrasives quickly. Use products intended for aluminum and avoid excessive heat or pressure. Wet sanding may help in some finishing systems, but only when the abrasive and process allow it.
Brass and Copper
These softer metals can scratch quickly. Start conservatively and use finishing abrasives appropriate to the desired surface rather than treating them like steel.
Weld Blending
Do not choose grit alone. First decide how much weld reinforcement can be removed without reducing required weld size or damaging the base metal. On structural work, do not grind a weld flush unless the drawing, procedure, or specification permits it.
Paint and Coating Preparation
Follow the coating manufacturer’s surface-preparation requirements. A generic “120–180 before paint” rule may be wrong for a primer, epoxy, powder coat, or automotive finish system.
Wet vs Dry Sanding
Wet sanding can reduce clogging and improve some fine-finishing operations when waterproof abrasive and the metal/finish system permit it. Do not introduce water where it creates electrical, corrosion, or contamination problems.
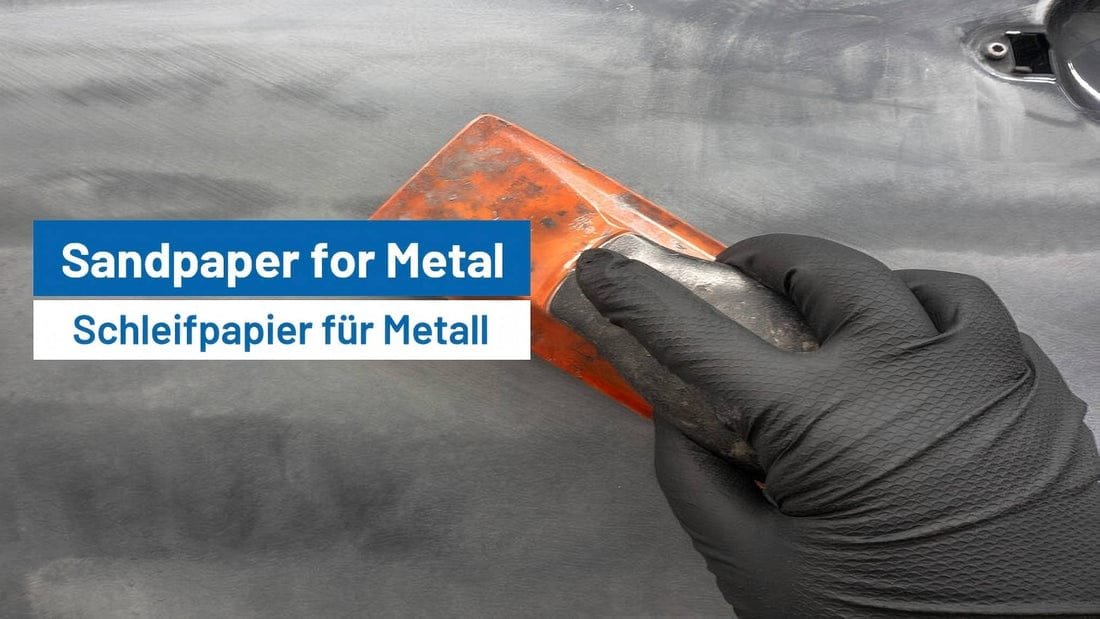
Credit: fastplus.eu
Do Not Skip Based on a Formula
Change grit when the current abrasive has removed the defects from the previous stage. You do not need every grit number in between, but jumping too far can leave scratches that the next abrasive cannot remove efficiently.
Safety
Metal sanding can create sharp debris, fine dust, sparks, and hot particles. Use eye protection, suitable respiratory controls, hearing protection for powered sanding where needed, and keep combustible materials away from spark-producing work.
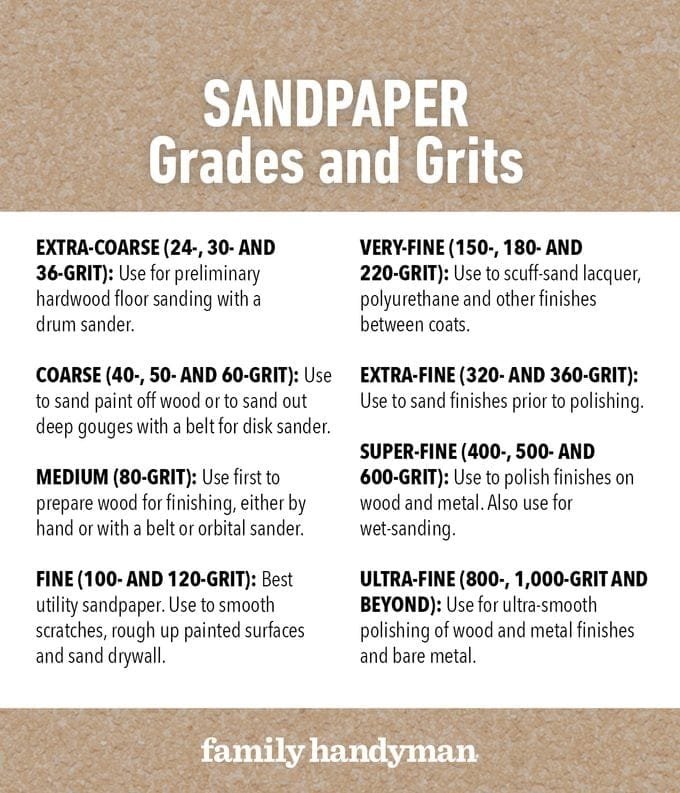
Credit: www.familyhandyman.com
Common Mistakes
- Using one grit chart for every alloy and finish.
- Starting too coarse on thin or soft metal.
- Forcing a fixed multi-step progression.
- Using contaminated abrasives on stainless.
- Grinding away weld metal without checking required weld size.
- Ignoring the coating manufacturer’s prep requirement.
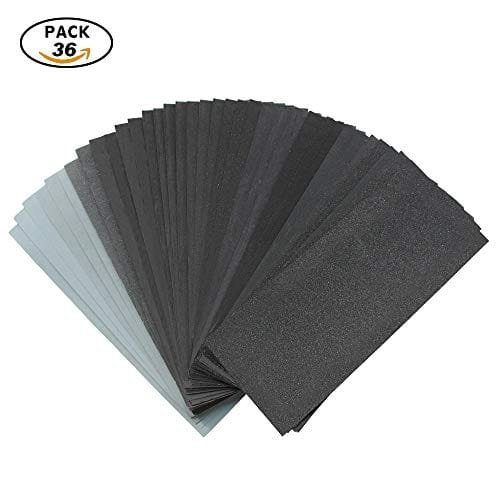
Credit: viz-pro.com
Choose Grit by the Job, Not One Universal Number
The appropriate abrasive sequence depends on whether the task is removing rust, blending a weld, preparing a surface for primer, or producing a cosmetic finish. A coarse grit removes material quickly but can leave scratches that later steps must eliminate. Begin with a test area, then move through progressively finer grits as required by the coating or finish specification. A fixed grit chart cannot replace the actual substrate condition and product instructions.
For weld blending, avoid grinding away sound weld metal or thinning the surrounding parent material merely to achieve a smooth appearance. For painted metal, follow the primer or coating manufacturer’s specified surface profile; polishing too smooth can compromise adhesion. Stainless steel may need dedicated abrasives to reduce cross-contamination from carbon steel tools.
Check that the abrasive is compatible with the metal and tool, and keep the work secured. Wet sanding should be used only where the abrasive, substrate, and equipment permit it. Dust from coatings or certain alloys can be hazardous, so assess exposure and use suitable extraction and personal protection rather than treating every metal sanding job as ordinary household dust.
Build the Grit Sequence Around the Finish
Start by identifying whether the goal is rust removal, deburring, weld blending, surface preparation for paint, or decorative polishing. These tasks require different starting abrasives and end finishes. Coarse grits remove material quickly but leave deeper scratches; fine grits refine the pattern without efficiently correcting deep defects. Test a small area first and stop when the surface meets the coating or fabrication requirement.
For bare metal preparation, remove grease and contaminants before sanding so they are not spread across the surface. Choose an abrasive compatible with the alloy and avoid cross-contaminating stainless steel with tools previously used on carbon steel when corrosion resistance matters. When preparing for paint, follow the coating manufacturer’s specified surface profile and cleaning procedure instead of assuming the finest grit gives the best adhesion.
Abrasive mineral, backing, and attachment method matter as much as the grit number. Aluminum oxide and silicon carbide products may behave differently, and powered tools must use discs or sheets rated for their equipment. Keep the pad moving with light, controlled pressure to avoid excessive heat, gouges, and premature abrasive loading.
Metal dust and sparks can present fire and inhalation hazards, particularly around combustible materials or reactive metals. Use appropriate ventilation, protective equipment, and manufacturer-approved dust collection; never collect potentially combustible metal dust in an unsuitable system. Wet sanding is appropriate only where the work, abrasive, and equipment permit it.
Frequently Asked Questions
What Grit Removes Rust?
Use the least aggressive abrasive that removes the corrosion efficiently without damaging the part. Heavy rust may need coarse abrasion or another removal method; light surface rust may not.
What Grit Should I Use Before Paint?
Use the grit or surface profile specified by the primer or coating system.
What Grit Gives a Mirror Finish?
There is no single final grit. Mirror finishing depends on alloy, starting scratches, abrasive progression, buffing compound, and the required surface standard.
Can I Use Wood Sandpaper on Bare Metal?
Only if the abrasive maker approves it for the particular metal and finish. Abrasive mineral, backing and contamination matter as well as grit.
Does Higher Grit Always Produce a Mirror Finish?
No. Polishing also depends on metal condition, progressive scratch removal and compatible compound or buffing stages.
Choose a Starting Grit With a Small Test Patch
Begin with a clean test area on the actual material. Identify whether you are removing light surface rust, flattening a small scratch, stripping old coating, blending a weld, or preparing metal for primer. The appropriate starting grit is the least aggressive abrasive that makes measurable progress while preserving the part’s required thickness, flatness and finish. If the first abrasive barely changes the defect, consult the abrasive manufacturer’s material guidance before selecting a more aggressive product. If it removes material too quickly, step finer before continuing.
Do not assume a sanding chart used for body filler also applies to stainless cutlery, polished brass, delicate sheet, cast iron or structural welds. Vehicle bodywork may require different grits for filler shaping, featheredging and primer preparation, but those stages do not establish universal abrasive choices for every metal project. Follow the exact primer and repair-system instructions. If an old coating may contain lead, consult OSHA’s lead exposure guidance before sanding or creating dust.
How to Tell When to Move to a Finer Grit
Inspect the part under consistent lighting after each short sanding pass. A finer grit refines an existing scratch pattern; it does not quickly erase deep grooves left by an earlier stage. Before moving finer, make sure unwanted deep scratches have been removed to an acceptable level. Remove abrasive particles and residue between stages so a stray coarse particle does not scratch the newly refined surface. A small test area can show whether the next grit makes the surface uniform or simply polishes the peaks while deep damage remains.
For painted parts, use the specific coating or primer maker’s required surface profile and final grit. For decorative bare metal, evaluate the target reflectivity and whether a compatible compound or buffing step follows. For stainless or aluminum, choose abrasives approved for the alloy and manage contamination and heat. Do not use the same abrasive consumable across carbon steel and a finished stainless surface where embedded iron particles could cause rust staining.
Stop Conditions: When Sanding Can Make the Metal Unsafe
Sanding does not restore metal lost to pitting, deep corrosion or cracks. If the part is thin, load-bearing, pressure-containing, highly stressed or dimension-critical, stop before removing material that may be required for safe service. A cosmetic finish is not permission to grind a weld flush on a structural connection. Sanding plated or coated parts can expose a base metal that corrodes more readily and may remove safety labels or protective finishes.
Unknown old paint may contain hazardous pigments or other contaminants; evaluate the coating before abrading it. Mechanical sanding can create airborne particles, sparks and heat. Use suitable collection, respiratory protection, eye protection, and fire controls specified for the material and tool. The published metal sanding process guide covers technique, while this article concentrates on choosing and sequencing abrasive grit.
Bottom Line
Choose metal-sanding grit from the defect you need to remove and the finish that comes next. Let the metal, abrasive, coating system, and final appearance determine the sequence rather than a universal chart.