
To sand wood smooth, begin with the least aggressive grit that removes the existing defects, keep the sanding pattern controlled, remove dust between stages, and stop at a grit appropriate for the finish you plan to apply. There is no universal 80 → 120 → 180 → 220 sequence for every wood species and project.
This guide focuses on the wood-sanding process. Grit-specific selection is a separate decision that should follow the wood condition, veneer thickness, and finish manufacturer’s instructions.
Inspect the Surface Before Sanding
Look for planer marks, glue residue, dents, torn grain, old finish, deep scratches, veneer, and end grain. These conditions determine where you should start.
If the surface is already smooth, starting with a coarse grit wastes material and creates deeper scratches.
Start With the Least Aggressive Grit That Works
Rough-sawn lumber, old coatings, and deep machining marks may need a coarser starting abrasive than a factory-sanded panel or already-smooth board. Do not choose a starting grit from species alone.
Thin veneer deserves extra caution because sanding through the face layer cannot be repaired by using a finer grit later.
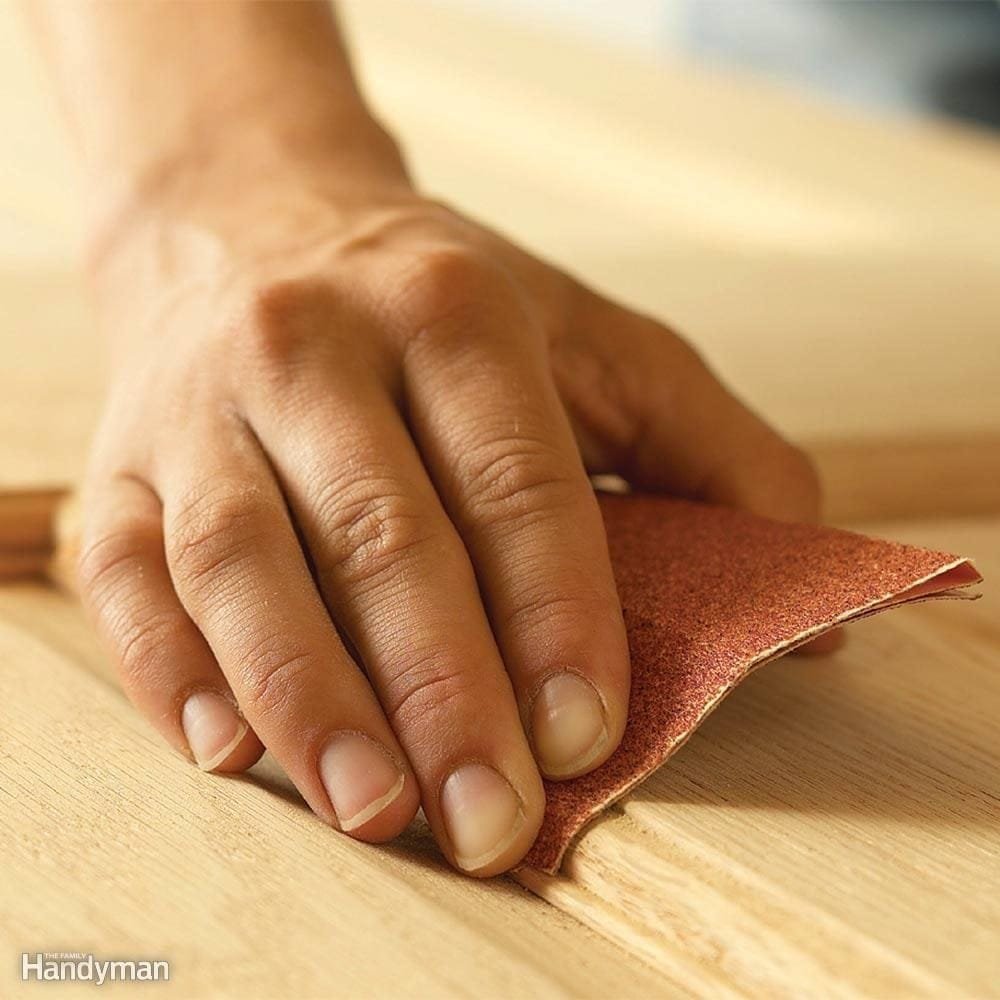
Sand With the Grain When Hand Sanding
On visible surfaces, hand sanding with the grain helps reduce cross-grain scratches. Random-orbit sanders move differently by design, so use the machine according to its manufacturer instructions and finish with hand sanding if the project demands it.
Use Even Pressure
Pressing harder usually does not make sanding better. Excess pressure can create dips, heat, swirl marks, edge rounding, and faster abrasive wear.
Remove the Previous Scratch Pattern
Move to the next finer grit only after the current stage has removed the defects and deeper scratches you intended to correct. You do not need every grit number, but the jump should be small enough that the next abrasive can efficiently remove the previous scratch pattern.
Do Not Over-Sand Before Stain
Very fine sanding can reduce how some stains penetrate or change color intensity, while stopping too coarse can leave visible scratches. Follow the stain or finish manufacturer’s prep recommendation and test on scrap from the same wood.
End Grain Needs Separate Attention
End grain often absorbs finish differently from face grain. It may benefit from finer sanding or another preparation method, but a universal “always sand end grain to 320” rule is too broad. Test the complete finish system on scrap.
Power Sanders
Random-orbit sanders are efficient on flat surfaces but can leave swirl marks if the abrasive is clogged, the pad is tilted, the tool is moved poorly, or dust becomes trapped. Belt sanders remove material much faster and are better suited to leveling or heavy stock removal than final finishing.
Edges, Corners, and Profiles
Hand sanding blocks, contour pads, sponges, and shaped backing tools help preserve profiles. Do not soften crisp edges unless the design calls for it.
Dust Removal Between Grits
Vacuum the surface and work area before moving to finer abrasives. Loose coarse grit or dust can create scratches during the next stage.
Use tack cloths or damp wiping only when compatible with the wood and finish system; some products can leave residue.
Raising the Grain
Some water-based finishes or dyes can raise wood fibers. Pre-wetting may be useful in some workflows, but do it only when it fits the finish manufacturer’s instructions. It is not automatically required before every stain.
Different Woods Need Different Handling
Softwood, hardwood, plywood, veneer, MDF, and reclaimed wood can all respond differently to abrasion. Resin, knots, silica, previous finish, and grain structure may matter more than whether the species is simply labeled “hard” or “soft.”
Credit: www.familyhandyman.com
Preparing for Finish
Before finishing, inspect the surface under raking light and wipe or vacuum away dust. Glue spots, swirl marks, and cross-grain scratches are easier to fix before stain or clear coat.
Between finish coats, use only the abrasion method recommended for that finish. A fixed “320 or 400 between every coat” rule is not universal.
Credit: www.reddit.com
Safety
Wood dust can irritate or harm the respiratory system, and some species or old coatings create additional hazards. Use effective dust extraction, eye protection, and respiratory protection appropriate to the exposure. Unknown old paint or finish may require lead or other hazard assessment before sanding.
Credit: www.reddit.com
Common Mistakes
- Starting too coarse.
- Forcing a fixed grit progression.
- Sanding veneer as aggressively as solid wood.
- Pressing down hard on a power sander.
- Ignoring glue spots before stain.
- Using one final grit for every finish system.
- Failing to remove dust between abrasive stages.
Build a Sanding Sequence Around the Surface
Start by inspecting the board under angled light and identifying milling marks, dents, glue residue, and areas of raised grain. Choose the coarsest grit needed to remove the actual defect without creating deep scratches unnecessarily. On a reasonably smooth board, starting excessively coarse can add work rather than improve the result. Use a flat block for flat faces and keep the abrasive moving with the grain during the final hand-sanding passes.
Between grit changes, remove dust and inspect the surface so remaining scratches are visible before moving finer. Do not assume every project needs the same final grit: the wood species, stain or finish system, and manufacturer’s preparation guidance affect the stopping point. Very fine sanding before certain stains can change absorption and appearance, so make a sample panel when the final color matters.
Keep edges supported to avoid rounding them, and treat veneer carefully because the face layer may be thin. If the wood will receive a water-based finish, follow that finish’s guidance on grain raising and de-nibbing. Use effective dust collection and suitable protection, especially when sanding engineered wood or unknown old coatings.
A Practical Sanding Workflow
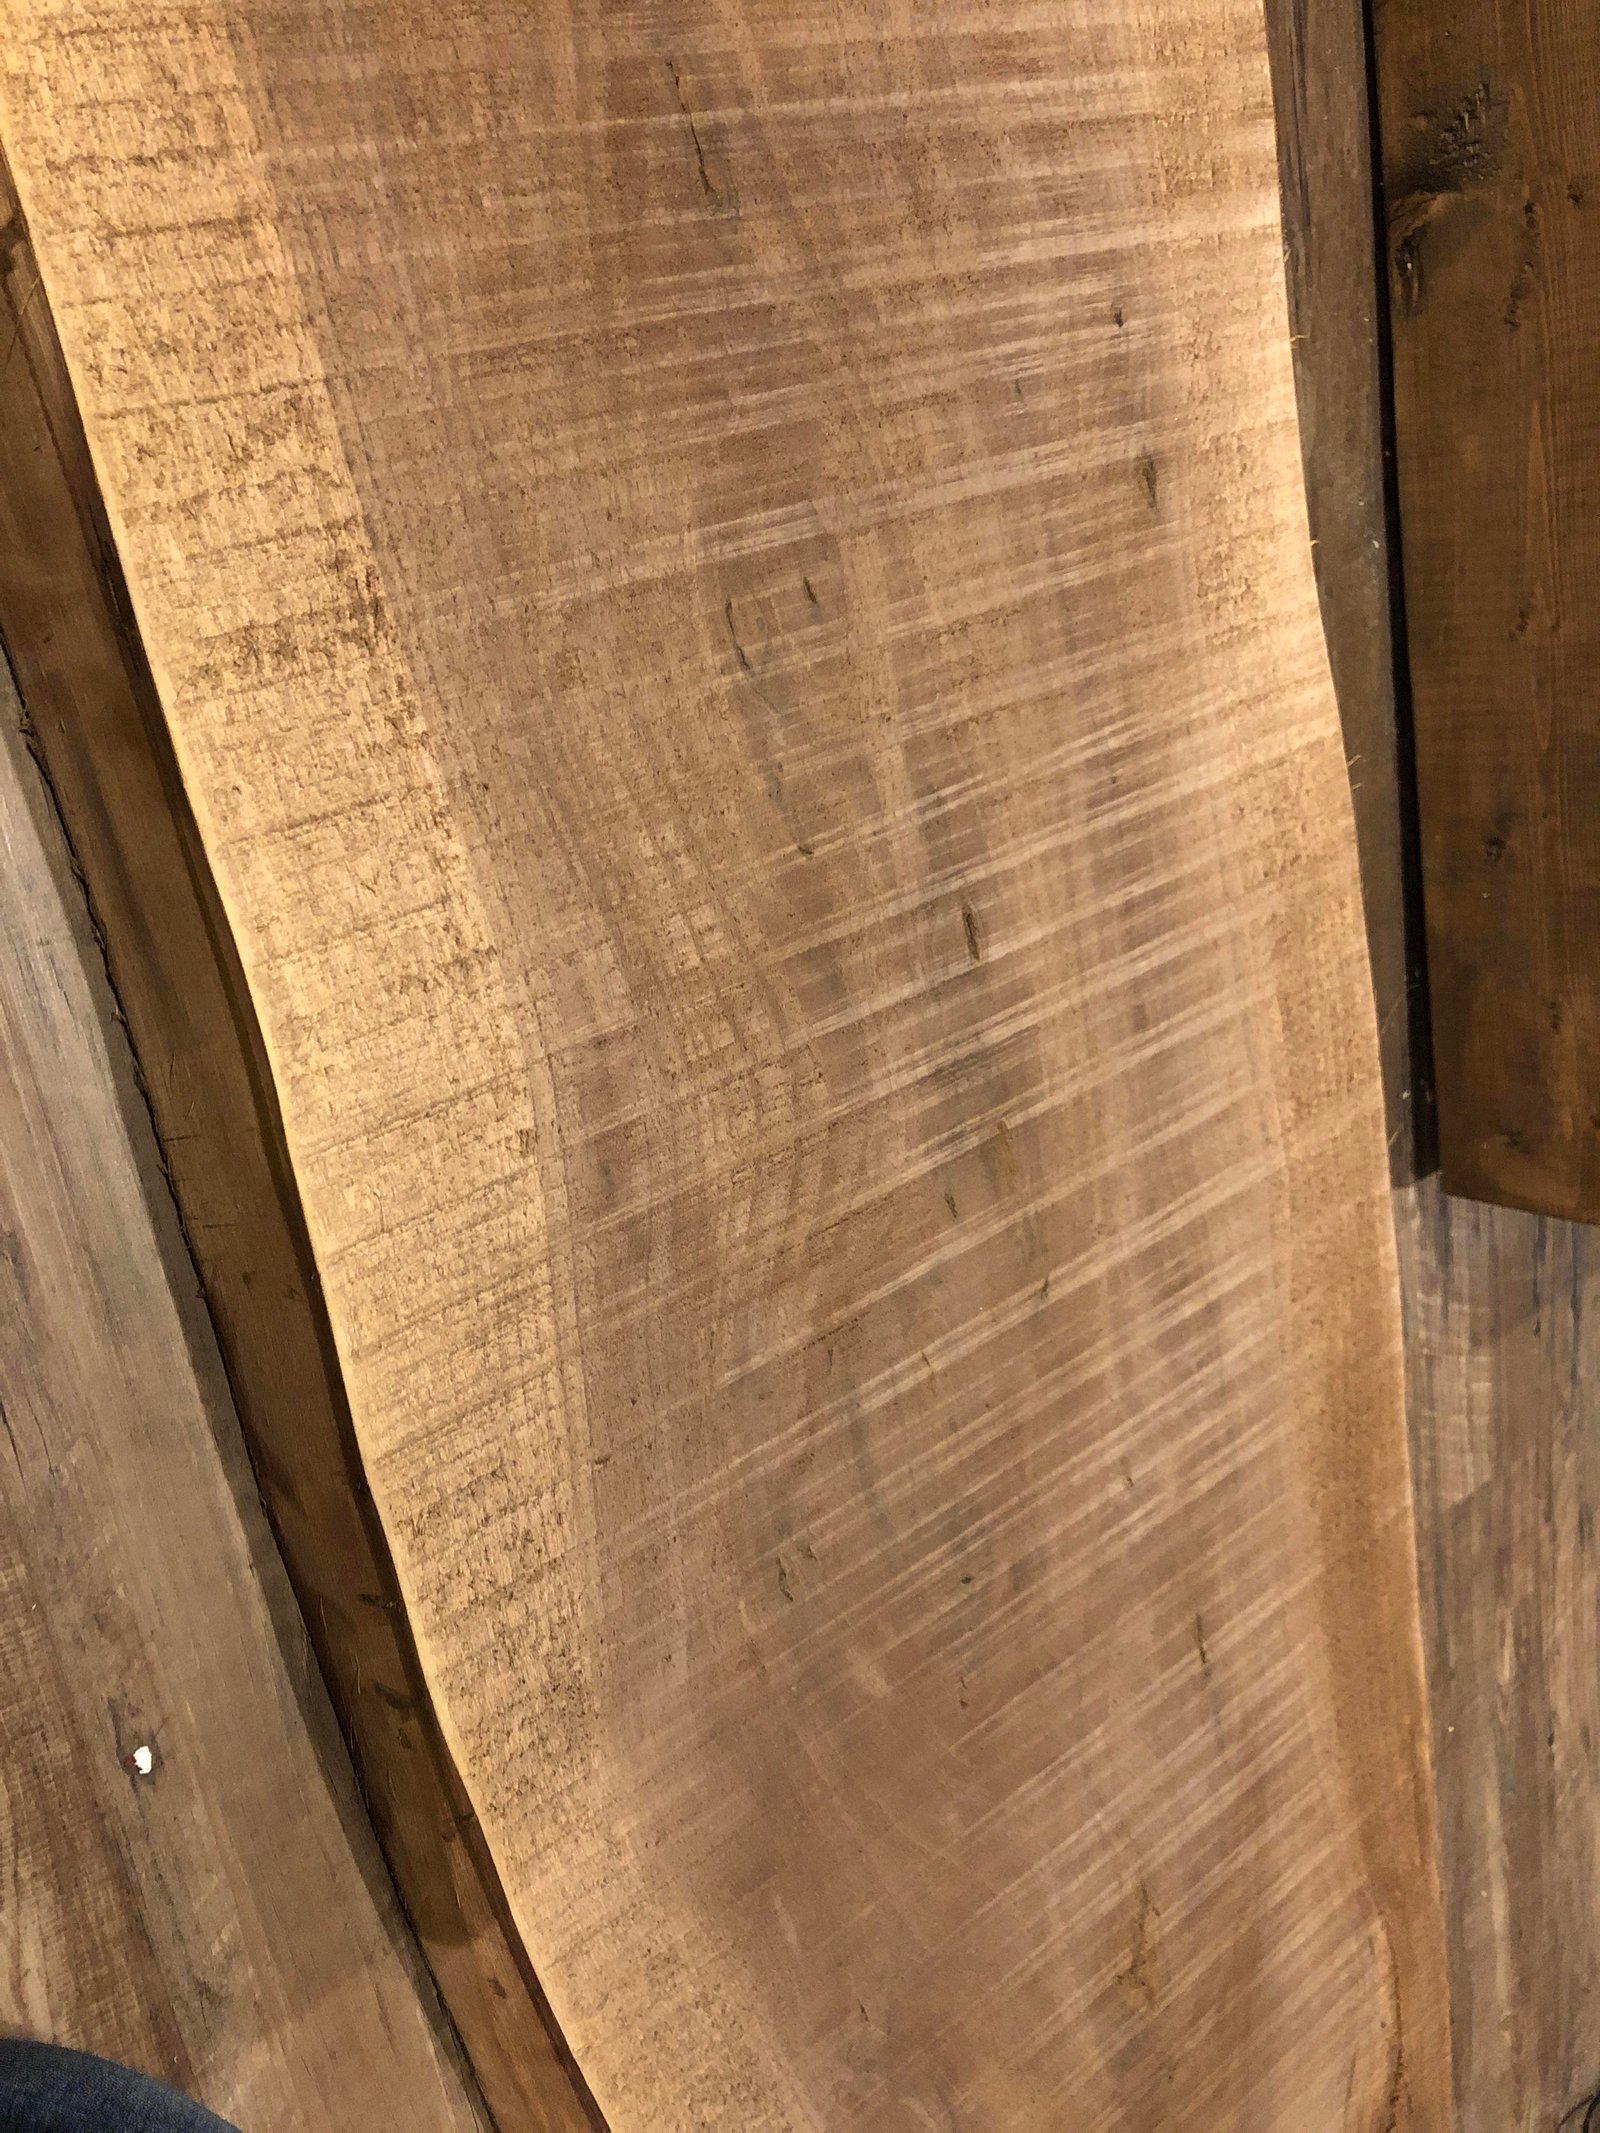
Inspect the board under angled light before sanding. Pencil marks, planer tracks, glue residue, and cross-grain scratches become more visible after stain or clear finish. Remove glue carefully before sanding because it can block stain absorption. For a flat panel, use a sanding block or a properly controlled random-orbit sander, keeping the pad flat rather than tipping it onto an edge.
Select a starting grit based on the actual surface condition, not a fixed recipe. Rough stock may need coarser abrasive, but an already smooth planed board may require only moderate and fine grits. Sand enough at each stage to remove scratches from the preceding grit; jumping several grades can leave deep marks beneath a polished-looking surface. Vacuum or wipe away dust between stages so loose particles do not scratch the wood.
Check end grain separately because it absorbs finish differently and may need more careful preparation. On veneer, limit sanding pressure and depth because the face layer can be thin. Before applying finish, inspect the wood in raking light and follow the finish manufacturer’s final-grit and cleaning instructions. Some water-based finishes benefit from controlled grain raising and a light final sanding after drying; do not wet wood indiscriminately.
Wood dust is a respiratory and housekeeping hazard. Connect suitable extraction to powered sanders and use appropriate respiratory and eye protection. Never sand unknown old paint or coatings without first assessing potential hazardous constituents.
Frequently Asked Questions
What Grit Should I Start With?
Start with the least aggressive grit that removes the defects present on your actual surface.
Should I Always Finish at 220?
No. Final grit depends on the wood and the finish or stain system.
Why Do Swirl Marks Show After Staining?
They often come from orbital sanding errors, clogged abrasives, trapped dust, or stopping before the scratch pattern was fully refined.
Should I Remove Dust Before Moving to a Finer Grit?
Yes. Remove loose abrasive particles with a surface-compatible method and inspect the scratch pattern before advancing.
Is Power Sanding Better for Every Wooden Edge?
No. Small profiles, veneer and fragile edges may require a controlled hand block to avoid removing too much material.
How to Sand Wood Smooth Without Leaving Swirl Marks
Swirl marks are easier to prevent than to hide with stain. Before starting a random-orbit sander, confirm that the disc is the correct size, sits flat on the pad, and has the dust-extraction holes aligned where the product requires them. Replace a torn, clogged or contaminated disc. Keep the pad flat on the work rather than tilting it onto an edge; tipping concentrates abrasion and can leave a shallow hollow. Use the pressure and movement pattern recommended by the sander maker, and avoid stopping the moving pad in one spot.
After each grit stage, remove sanding dust and inspect under low-angle light. If circular scratches remain, return to the abrasive that can remove them without cutting too deeply. Moving straight to an ultra-fine grit often polishes the surrounding surface without erasing a deeper scratch. A short hand-sanding pass with the grain can be appropriate before finishing on certain wood surfaces, but it should not be treated as mandatory for every machine and coating system. Our separately published orbital sander guide covers the tool’s operating technique in more detail.
Wood Sanding Checklist Before Applying Stain or Clear Coat
First inspect the wood for glue smears, dents, planer tracks, torn fibers, end-grain defects and a veneer face that might be thin. Remove cured glue with a suitable controlled method because glue can resist stain and leave pale blotches. Test the final grit on a sample from the same wood species and with the same finish. Too-coarse sanding may leave visible scratches; excessively fine sanding may change absorption for some stains. The coating manufacturer’s instructions should determine the final preparation, not a generic grit chart.
Vacuum loose abrasive dust before changing grits. If using a tack cloth or damp wipe, make sure it is compatible with the wood and finishing product; residues and retained water may interfere with the next coat. Check corners with raking light for rounded edges or sanding-through. A flat sanding block can protect an intended sharp edge, while shaped backing helps preserve decorative profiles. For a finish-specific checklist, see our published finishing sanding tips guide.
Troubleshooting After the First Finish Test
| Visible problem | Likely cause to investigate | Conservative response |
|---|---|---|
| Cross-grain scratches appear after stain | Previous abrasive pattern not fully refined | Test the right earlier grit on matching scrap; correct before recoating |
| Pale spots after stain | Glue or surface contamination | Identify and remove contamination where safely possible; retest |
| Rounded cabinet edge | Excessive pressure or unsupported abrasive | Stop sanding and evaluate whether the geometry can be restored |
| Uneven end-grain color | Different absorption from face grain | Test manufacturer-approved end-grain preparation on scrap |
| Dust trapped in a clear finish | Insufficient dust removal or dirty workspace | Let the finish cure and follow its approved between-coat process |
Wood dust can be hazardous even when the surface looks clean. Use suitable extraction, eye protection and respiratory controls for the wood and equipment. Avoid uncontrolled sanding of unknown old coatings; assess possible lead exposure or other hazards before disturbing them. The goal is a surface that meets the intended finish specification with the least unnecessary wood removal, not a universal number of sanding passes.
Bottom Line
Smooth wood comes from matching the abrasive to the surface condition, refining scratches only as far as needed, protecting profiles and veneer, controlling dust, and preparing specifically for the finish that follows.