
Choosing the right nail size for finish trim is a detail that separates a professional-looking project from an amateur one. Trim work, such as installing baseboards, crown molding, and window casings, adds beauty and detail to a room. But the strength, appearance, and even safety of your trim depend on using the correct finish nails. Get the nail size wrong, and you might see cracks, splits, or loose trim months later.
Homeowners and even some professionals make the mistake of thinking any nail will do for trim. But finish trim has its own needs. The wood is often thin and delicate. The trim must sit flush, with no visible holes or cracks.
At the same time, it must be held securely for years.
In this guide, you’ll learn exactly what size nails are best for finish trim, why size matters, and how to choose for different trim types. We’ll also cover nail gauges, lengths, and the tools you need. If you want your trim to look sharp and last long, this guide is for you.
What Is Finish Trim And Why Nail Size Matters
Finish trim is the decorative woodwork that covers gaps where walls meet floors, ceilings, or doors. Common types include baseboards, crown molding, window and door casings, and chair rails. These pieces are usually thin, light, and visible.
The right nail size is important for two main reasons:
- Strength: Too short or thin, and the trim may pull away from the wall.
- Appearance: Too thick or long, and the wood can split, or large holes may be left behind.
Selecting the right size reduces the chances of damaging your trim and makes filling holes easier.
Understanding Nail Gauge And Length
Nails used for finish trim are described by two numbers: gauge and length.
- Gauge is the thickness of the nail. The higher the number, the thinner the nail. For example, a 16-gauge nail is thicker than an 18-gauge.
- Length is measured in inches. Common lengths for finish trim are from 1 inch up to 2.5 inches.
Finish nails usually come in 15, 16, and 18 gauge. Brads, which are even thinner (usually 18 or 23 gauge), are used for very delicate trim.
Nail Gauge Comparison
Below is a comparison of common gauges used in finish trim:
| Gauge | Diameter (Inches) | Best Use |
|---|---|---|
| 15 | 0.072 | Thick, heavy trim or door jambs |
| 16 | 0.064 | Baseboards, crown molding |
| 18 (Brad) | 0.047 | Thin, delicate trim, shoe molding |
| 23 (Pin) | 0.023 | Very fine trim, temporary holding |
Pro tip: For most finish trim, 15 or 16 gauge gives the best balance of holding power and a small hole to fill.
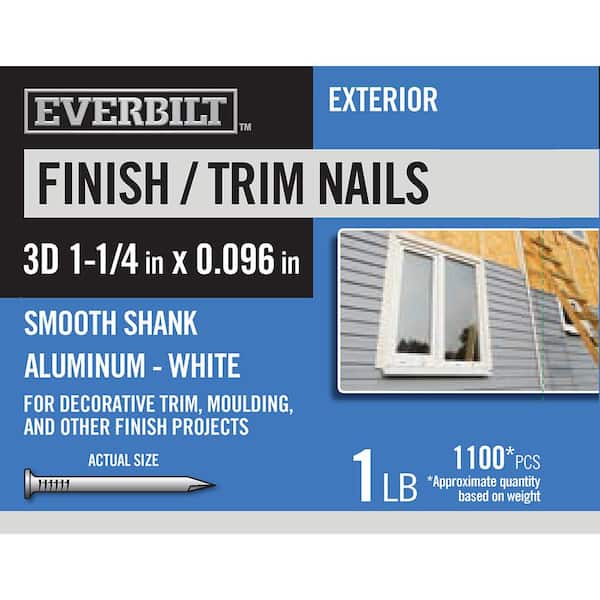
Credit: www.homedepot.com
The Best Size Nails For Common Finish Trim Types
Different trim pieces need different nails. Here’s what you should use for the most common types:
Baseboards
Baseboards are the trim boards along the bottom of a wall. They are often 1/2 to 3/4 inch thick.
- Best size: 16 gauge, 2 to 2.5 inch long finish nails
- Why: They are thick enough to hold the baseboard to the wall studs, but not so thick that they split the wood.
- Tip: For MDF baseboards, a 16-gauge nail is less likely to split the material.
Crown Molding
Crown molding is the decorative trim where the wall meets the ceiling.
- Best size: 15 or 16 gauge, 2 to 2.5 inch long nails
- Why: Crown molding is often wide and must be held at an angle. A thicker nail provides more holding power.
- Extra tip: Use a stud finder to nail into the ceiling joists or wall studs for the strongest hold.
Window And Door Casings
Casings frame windows and doors, usually 5/8 to 3/4 inch thick.
- Best size: 16 gauge, 1.5 to 2 inch long finish nails
- Why: These nails provide strong attachment without splitting the casing.
Shoe Molding And Quarter Round
These are the thin strips at the base of baseboards.
- Best size: 18 gauge (brad), 1.25 to 2 inch long nails
- Why: The wood is thin and can split easily, so a thinner nail is better.
Chair Rail
Chair rail is trim mounted about 1/3 up from the floor to protect walls from chairs.
- Best size: 16 gauge, 1.5 to 2 inch long finish nails
- Why: This trim is light, but you still want a strong hold.
Delicate Or Decorative Trim
For very thin or detailed trim, such as small quarter round or panel molding:
- Best size: 18 or 23 gauge brad or pin nails, 3/4 to 1.25 inch long
- Why: Thicker nails can split the trim.
Nail Size Vs. Trim Type Reference
Here’s a quick reference comparing nail size and trim type:
| Trim Type | Recommended Gauge | Recommended Length (inches) |
|---|---|---|
| Baseboard | 16 | 2 – 2.5 |
| Crown Molding | 15 or 16 | 2 – 2.5 |
| Window/Door Casing | 16 | 1.5 – 2 |
| Shoe Molding | 18 (Brad) | 1.25 – 2 |
| Chair Rail | 16 | 1.5 – 2 |
| Delicate Trim | 18 – 23 | 3/4 – 1.25 |
How Nail Length Affects Strength
The nail length you pick should be about three times the thickness of your trim. For example, if your baseboard is 1/2 inch thick, use a nail at least 1.5 inches long. This gives enough grip in the wall or stud behind the trim.
But don’t go too long. If the nail is much longer than needed, it can push through the wall or hit wires or pipes hidden behind the wall.
When To Use Shorter Nails
- For thin, delicate trim
- Over hard surfaces, like masonry or tile, where deep nailing isn’t possible
- Where there are hidden wires or plumbing
When To Use Longer Nails
- For thick or heavy trim
- When attaching through drywall into studs
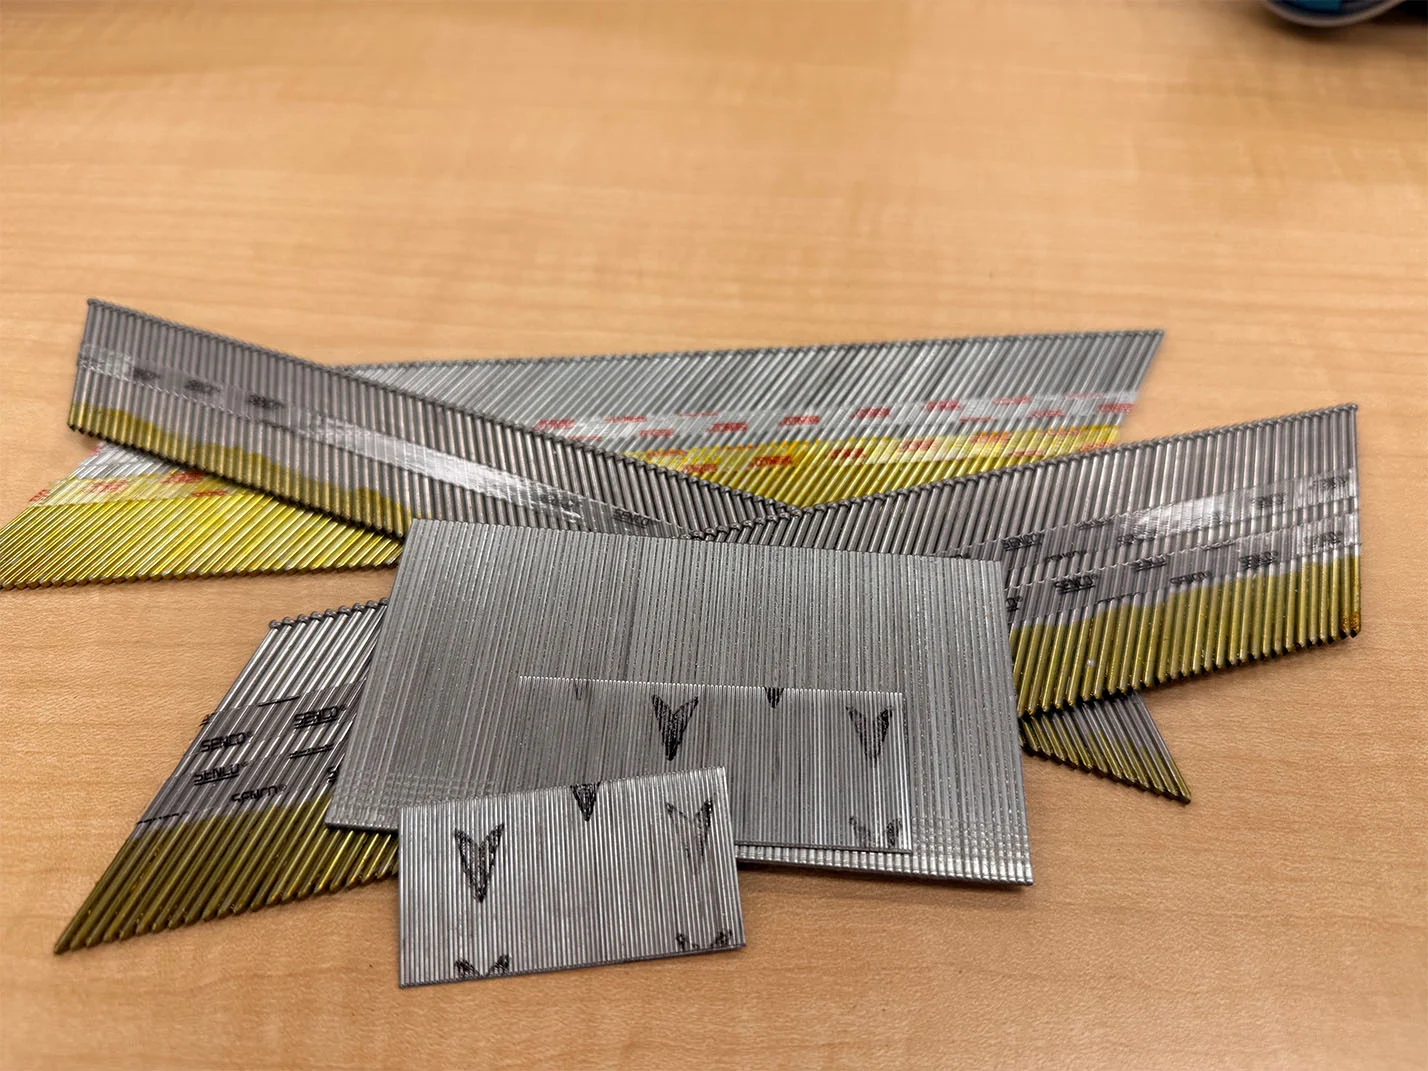
Credit: www.senco.com
Finish Nailer Types: What Tool Should You Use?
The tool you use is as important as the nail. The three main finish nailers are:
- 15-gauge finish nailer: Fires thick, strong nails. Best for heavy trim like crown molding or door jambs.
- 16-gauge finish nailer: The most common, good for most trim jobs.
- 18-gauge brad nailer: Best for delicate trim where you want a tiny hole.
For most home trim projects, a 16-gauge finish nailer will cover your needs. But if you plan to do wide crown molding or thick door casings, consider a 15-gauge tool.
Expert insight: Many professionals keep both a 16-gauge finish nailer and an 18-gauge brad nailer. Use the finish nailer for the main work, and the brad nailer for small or fragile trim.
Nail Head Types: Closer Look At Finish Nails
Finish nails have smaller heads than framing nails. This keeps holes small and easy to fill. Here are the main types:
- Finish Nails: Small, rounded heads. Need filling but hold strong.
- Brad Nails: Even smaller heads. Holes can sometimes be left unfilled if painted.
- Pin Nails: Almost headless. Good for delicate work and temporary holds.
For visible trim, brads and finish nails are best because they balance grip and appearance.
Mistakes To Avoid When Choosing Nail Size
Even experienced DIYers make mistakes with nail size. Here are common errors and how to avoid them:
- Using nails that are too thick: This can split thin trim or MDF. Always match the nail gauge to the trim thickness.
- Nails too short: The trim may pull away over time. Always use a nail at least three times longer than the trim is thick.
- Nailing only into drywall: Drywall does not hold nails well. Try to hit studs, especially for heavier trim.
- Leaving nail heads proud: If you don’t drive the nail below the surface, it will show. Use a nail set or adjust your nail gun depth.
- Overdriving nails: If you drive the nail too deep, you weaken the trim and create a large hole.
Expert Tips For Perfect Finish Trim
- Test first: Try nailing a scrap of your trim with your chosen nail size to make sure it doesn’t split.
- Space nails properly: For most trim, space nails 12 to 16 inches apart. For thin trim, 8 to 10 inches is better.
- Use glue plus nails: For a super-strong hold, run a bead of wood glue along the trim before nailing.
- Fill holes right away: Use wood filler or caulk for a smooth finish, then sand before painting.
Real-world Example: Installing Baseboards
Imagine you’re installing 3/4 inch thick MDF baseboards in a room. The wall behind is drywall over wood studs.
- Choose a 16-gauge nail, 2 to 2.5 inches long.
- Use a finish nailer, aiming for the studs every 16 inches.
- Add extra nails at the ends and at any joints.
- Use an 18-gauge brad nailer (with 1.25 inch nails) for shoe molding at the bottom.
- Fill all nail holes and sand before painting.
This approach prevents splitting, keeps your trim tight, and makes the finished look flawless.
Non-obvious Insights Most Beginners Miss
1. Nail direction matters: If you angle some nails slightly toward each other (toe-nailing), the trim will be much harder to pull off, especially on door casings where doors slam.
2. Wood species affects nail choice: Hardwoods like oak or maple are more likely to split with thick nails. In these cases, use 18-gauge brads for thin trim, or pre-drill holes for 16-gauge nails.
Alternative Fastening Methods
While finish nails are the standard, some situations call for alternatives:
- Adhesive only: For very thin, delicate trim, some pros use only glue. This leaves no holes but requires clamping and waiting for the glue to dry.
- Screws with wood plugs: For extra strength (such as heavy window casings), use trim screws and cover the heads with wood plugs. This is common in historic renovations.
Safety Tips When Using Finish Nails
- Always wear eye protection when nailing trim. Nails can bounce or bend.
- Keep fingers away from the nail’s path, especially with nail guns.
- If using a nailer, check for hidden wires or pipes before firing.
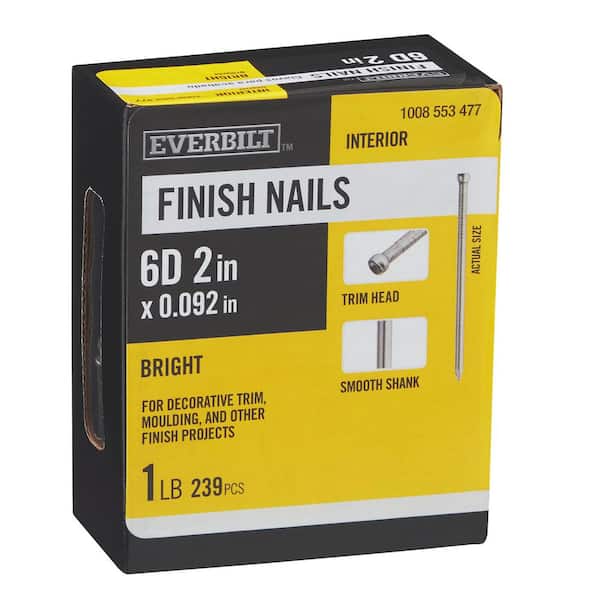
Credit: www.homedepot.com
When To Call A Professional
If your trim is expensive, intricate, or you’re unsure about hidden wires or old plaster walls, consider hiring a finish carpenter. They’ll have the right tools and experience to avoid costly mistakes.
Frequently Asked Questions
What Happens If I Use Nails That Are Too Short For Trim?
Nails that are too short won’t hold the trim securely. Over time, the trim might pull away from the wall, especially in areas where doors are slammed or there is movement.
Can I Use A Hammer And Finish Nails For Trim, Or Do I Need A Nail Gun?
You can use a hammer and finish nails, but a nail gun is much faster and leaves a smaller hole. If you use a hammer, tap the nail until it is just below the surface with a nail set.
Is It Okay To Use Brad Nails For All Trim?
Brad nails work for thin, delicate trim but are usually too weak for larger pieces like baseboards or crown molding. For these, use 15 or 16-gauge finish nails.
How Do I Fill Nail Holes In Finish Trim?
Use a wood filler or paintable caulk. Apply with a putty knife, let it dry, then sand smooth before painting or staining.
What’s The Difference Between 15, 16, And 18 Gauge Nails For Trim?
15-gauge nails are thick and strong, best for heavy trim. 16-gauge is the most common and works for most trim. 18-gauge (brad nails) are thin and best for delicate trim that might split.
If you want more technical details about nail gauges and their uses, check the Wikipedia Nail Fastener article.
Choosing the right nail size for finish trim is a small detail that makes a big difference. With the right gauge and length, your trim will look great and stay in place for years. Take your time, match your nails to your trim, and you’ll have a professional result every time.
