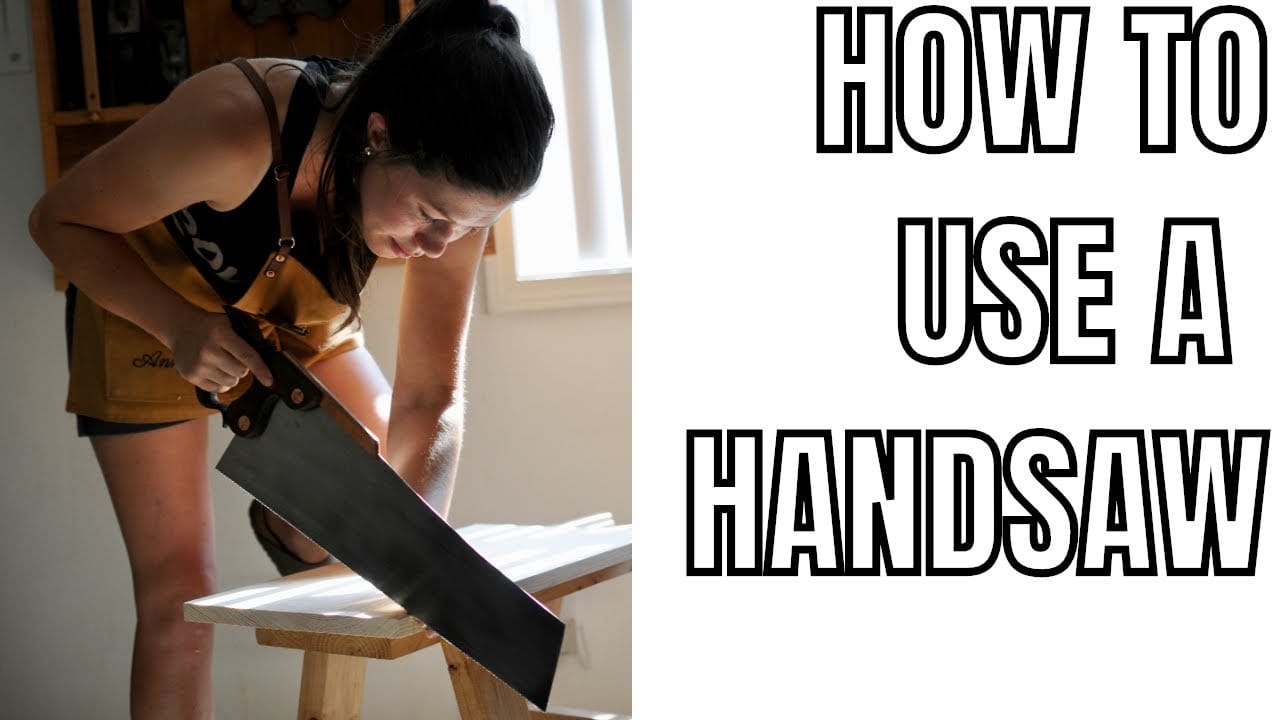
Using a hand saw might seem simple, but doing it well makes a big difference in your results. Many people buy a new saw, try it a few times, then give up because they struggle to cut straight or get tired quickly.
With the right steps and a little practice, you can cut wood cleanly, safely, and with less effort. Whether you want to build a shelf, fix a broken chair, or start a new DIY project, knowing how to use a hand saw is a skill you’ll use for life.
This guide will show you how to choose the right hand saw, prepare your workspace, and use the saw safely and efficiently. You’ll learn practical tips, see mistakes beginners often make, and discover how small changes in your technique can lead to better results.
Let’s get started and help you master the basics of using a hand saw.
Understanding Hand Saws
Hand saws come in different shapes and sizes. Each type is designed for a specific task, so knowing what you need is the first step.
Common Types Of Hand Saws
- Crosscut Saw: This saw is best for cutting across the grain of wood. The teeth are angled to slice through wood fibers cleanly.
- Rip Saw: Used for cutting along the grain. The teeth are shaped more like small chisels, helping the saw move with the wood’s grain.
- Back Saw: This saw has a stiff spine for added control and is often used for precise cuts, like making joints in woodworking.
- Panel Saw: Shorter and lighter, good for cutting thin boards or panels.
- Coping Saw: Has a thin, replaceable blade for making curved or intricate cuts.
Each saw has its purpose. For most home projects, a crosscut or rip saw will be your main tool.
Hand Saw Vs. Power Saw
While power saws are faster, hand saws give you more control, are safer for beginners, and do not require electricity. They are also quieter and easier to maintain.
Key Parts Of A Hand Saw
- Blade: The long, flat cutting part.
- Teeth: Small points along the edge that do the cutting.
- Handle: Where you grip the saw.
Some modern saws have extra features, like ergonomic handles or special coatings to reduce friction.
Choosing The Right Hand Saw
Selecting the right saw depends on your task and the material you’re cutting.
Factors To Consider
- Type of Cut: Crosscut for across the grain, rip saw for along the grain.
- Material Thickness: Thicker wood needs a longer blade.
- Tooth Count (TPI): TPI means “teeth per inch.” Fewer teeth (5-8 TPI) cut faster but rougher. More teeth (10-14 TPI) cut slower but smoother.
| Saw Type | Best For | Average TPI |
|---|---|---|
| Crosscut | Across grain | 8-12 |
| Rip Saw | With grain | 5-8 |
| Back Saw | Precise cuts | 12-14 |
| Panel Saw | Thin boards | 8-10 |
| Coping Saw | Curves | 15-17 |
Practical Tip
If you’re just starting, buy a universal hand saw with medium TPI (8-10). It can handle both crosscuts and rip cuts for most simple projects.
Preparing Your Workspace
A good workspace makes sawing easier and safer.
Setting Up
- Flat Surface: Work on a sturdy table or workbench.
- Good Lighting: See your lines and avoid mistakes.
- Clamps or Vise: Hold the wood steady. This frees both hands for safe, accurate sawing.
- Clear Area: Remove clutter to prevent accidents.
| Workspace Feature | Why It Matters |
|---|---|
| Flat surface | Keeps cuts straight and prevents wobbling |
| Clamps | Reduces risk of slipping and injury |
| Good lighting | Makes cutting lines easier to see |
Safety First
Always wear safety glasses to protect your eyes from sawdust. If you’re cutting indoors, consider a dust mask. Keep your hands away from the blade path.
Marking Your Cut
Careful marking leads to better results.
- Measure Twice: Always double-check your measurements before cutting.
- Straight Edge or Ruler: Use a solid guide to draw your line.
- Sharp Pencil: A thin, clear line is easier to follow.
- Mark Waste Side: Make a small “X” on the side of the wood you plan to discard. This helps you cut on the correct side of your line.
Pro Tip
For extra accuracy, use a combination square to keep your lines at the right angle, especially for 90-degree cuts.
Holding And Starting The Saw
How you hold the saw affects your control and the quality of your cut.
Grip
- Hold the handle firmly but not too tight—like a strong handshake.
- Your index finger can point forward along the handle for extra control.
Body Position
- Stand with your feet shoulder-width apart.
- The hand holding the wood should be clear of the cutting path.
Starting The Cut
- Place the saw teeth just outside the cut line, on the waste side.
- Use your thumb as a guide: Rest the blade against your thumb knuckle to steady it (keep your thumb well above the teeth).
- Make a few short, gentle strokes to create a groove. This helps the saw stay on course.
Sawing Technique
A smooth technique means less effort and better results.
The Sawing Motion
- Let the saw do the work. Don’t force it.
- Use long, even strokes that use the full length of the blade.
- Keep the saw at a low angle (about 45 degrees for crosscuts, 60 degrees for rip cuts).
Keeping The Cut Straight
- Watch the blade and the line at the same time.
- Correct the angle early if you see the saw drifting.
- Keep your wrist and arm relaxed for smoother movement.
Example
If you feel the saw binding (getting stuck), you may be twisting the blade or putting too much pressure. Stop, reset, and continue with lighter strokes.
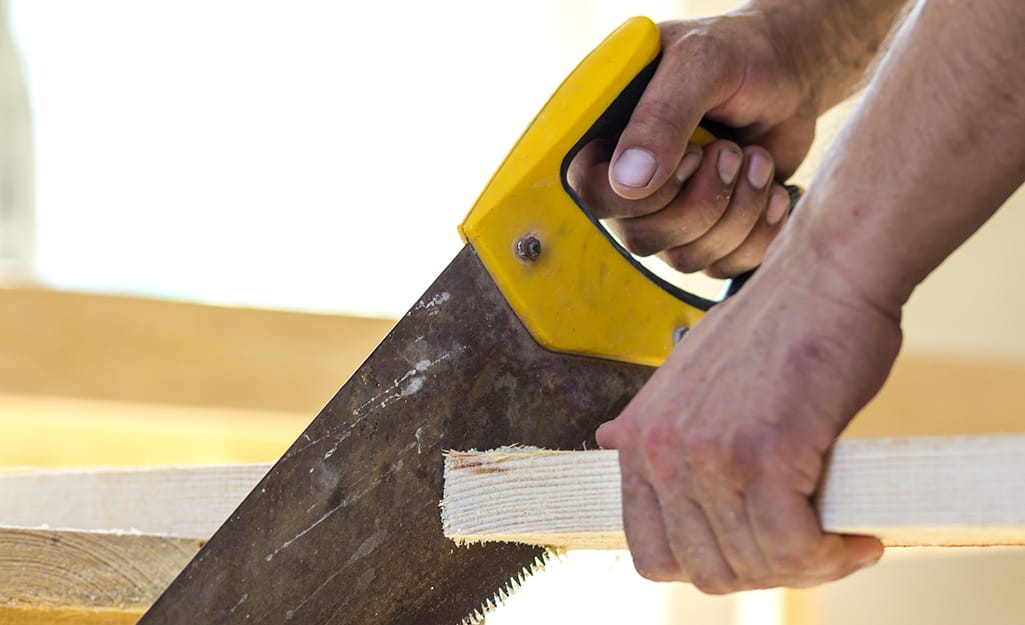
Credit: www.homedepot.com
Finishing The Cut
As you reach the end, the wood will become weaker. Support the piece so it doesn’t split or tear.
- Slow Down: Use slow, careful strokes for the last few inches.
- Support the Offcut: Hold or clamp the piece that will fall away to prevent breakage.
Practical Insight
Many beginners rush the finish and tear the wood. Take your time—this last part matters for a clean edge.
Common Mistakes And How To Avoid Them
- Sawing Too Fast: Leads to rough, crooked cuts and tired arms. Use steady, controlled strokes.
- Not Supporting the Wood: Causes splintering or broken pieces.
- Dull Blade: Makes sawing hard and unsafe. Replace or sharpen blades as needed — and apply the same approach to other edges, like learning how to sharpen drill bits by hand.
- Cutting on the Wrong Side of the Line: Always cut on the waste side to keep your workpiece the right size.
- Poor Body Position: Can make you lose control and lead to accidents.
Maintaining Your Hand Saw
A well-kept saw cuts better and lasts longer. For broader habits, see our hand tool maintenance tips.
Cleaning
Wipe the blade after each use to remove sap, dust, and moisture. This prevents rust.
Sharpening
Most basic hand saws can be sharpened with a saw file. If you’re unsure, take it to a professional. A dull saw is dangerous and tiring to use. The same hand-sharpening skills carry over to other tools — see how to sharpen a hand plane blade.
Storing
Store your saw in a dry place, preferably hanging or in a toolbox. Avoid dropping or bending the blade.
| Maintenance Task | How Often | Why |
|---|---|---|
| Cleaning blade | After each use | Prevents rust and buildup |
| Sharpening teeth | Every few months | Ensures smooth cutting |
| Checking handle | Monthly | Prevents loose or unsafe grip |
Advanced Tips For Better Results
- Bevel the Edge: For cleaner cuts on plywood, score the cut line with a utility knife before sawing.
- Use Beeswax: Rubbing a little beeswax or soap on the blade reduces friction, making sawing easier.
- Clamp Scrap Wood: Clamp a thin piece of scrap wood along your cut line to act as a guide for a straighter cut.
- Practice on Scrap: Always test your saw on a spare piece before your real project.
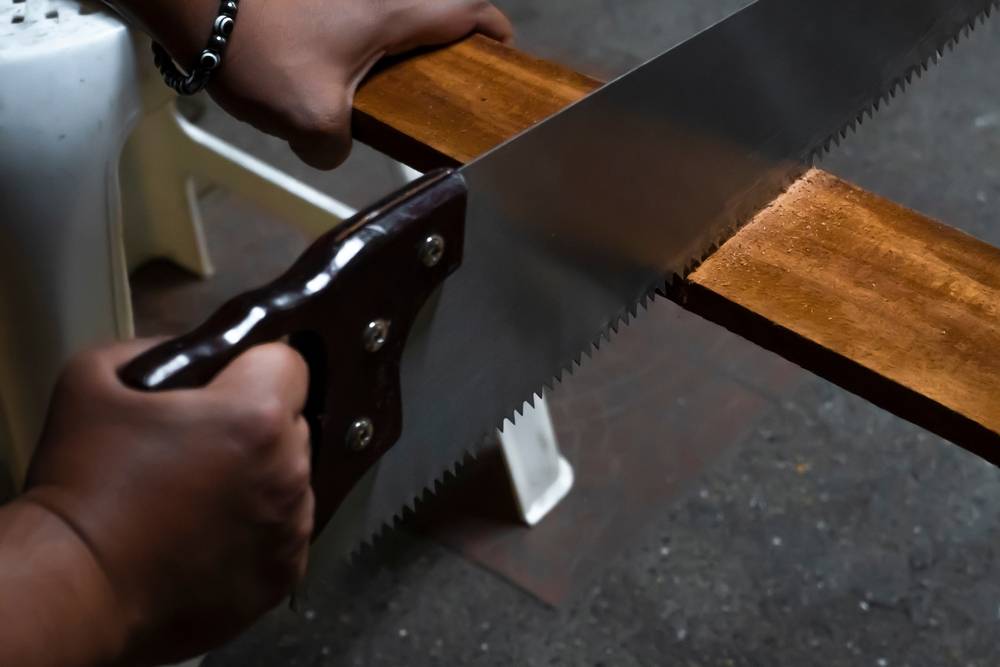
Non-obvious Insight
Many people forget to check the wood for nails or screws before cutting. This can damage your saw or cause injuries. Always inspect your material first.
Another tip: If you’re struggling to keep the saw straight, it may help to relax your grip. A tight grip can twist the blade.
Credit: www.youtube.com
When To Use A Hand Saw
Hand saws are ideal for:
- Cutting boards for shelves or repairs
- Trimming small branches in the garden
- Making furniture joints
- Working in places with no power
They are not the best choice for very thick lumber or high-volume work, where a power saw may be better.
Safety Reminders
- Always cut away from your body.
- Keep your fingers clear of the blade.
- Wear safety glasses and gloves if needed.
- Never rush—accuracy and safety are more important than speed.
If you want to see different types of hand saws and their uses, you can check a reliable resource like the Wikipedia hand saw page.
Credit: dycoventures.com
Frequently Asked Questions
What Is The Best Saw For Beginners?
A universal hand saw with medium teeth (8-10 TPI) is a great choice for beginners. It works for most basic wood cutting tasks and is easier to control than more specialized saws.
How Do I Keep My Saw Cuts Straight?
Use a clear, straight line as your guide. Start the cut slowly to create a groove, and use steady, relaxed strokes. Support your workpiece and correct your angle early if the saw starts to drift.
How Do I Know If My Saw Is Dull?
If your saw feels harder to push, binds in the wood, or the cut edges look rough, the blade may be dull. You can sharpen it with a saw file, or replace the blade if it’s a replaceable type.
Can I Cut Metal Or Plastic With A Wood Hand Saw?
No, wood hand saws are designed only for wood. For metal or plastic, use a hacksaw or a saw made for those materials. Using the wrong saw can damage the blade and give poor results.
What Should I Do If The Saw Gets Stuck?
Stop sawing and check your cut. The saw may be pinched by the wood or your angle may be off. Try loosening your grip, sawing with lighter strokes, or slightly widening the cut with a wedge if needed.
Using a hand saw is about skill, not just strength. With practice, you’ll be able to cut wood easily and safely for many different projects. Remember, preparation and patience matter as much as the tool itself. Happy sawing!
