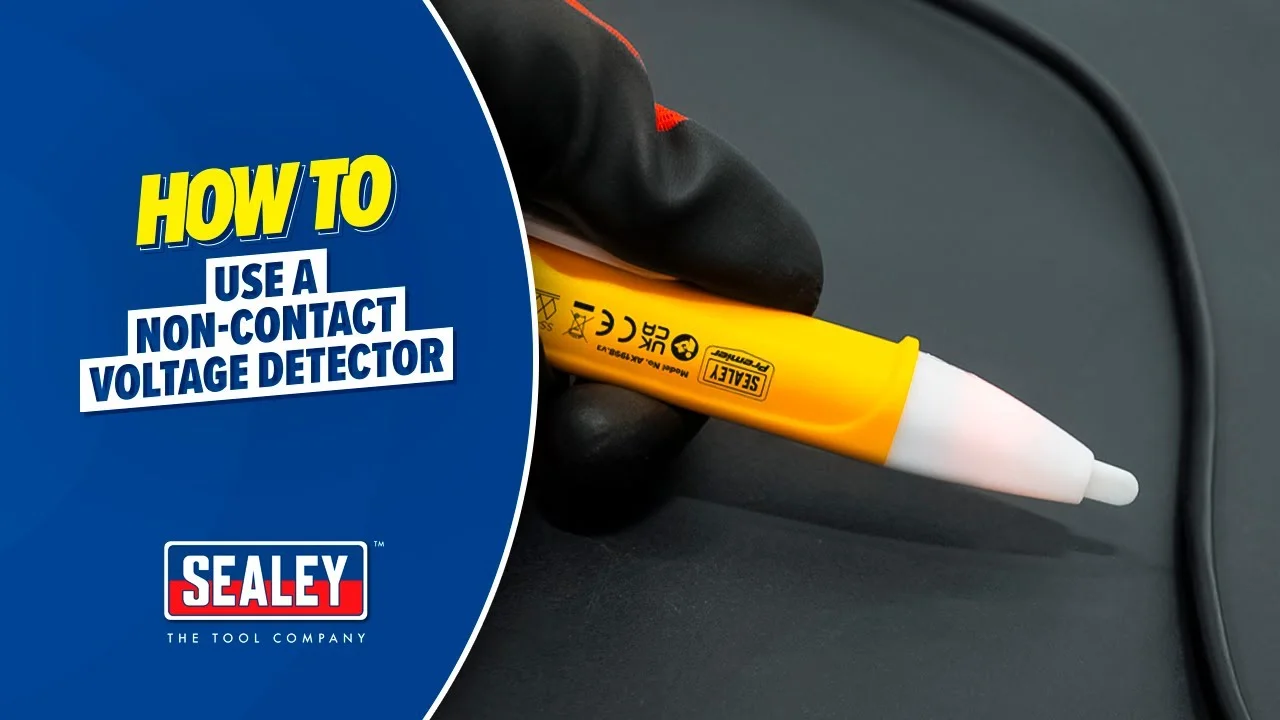
Are you about to tackle an electrical task but worried about safety? Knowing how to use a non-contact voltage tester can be a game-changer for you.
This handy tool lets you check if wires, outlets, or switches carry live electricity—without ever touching them. Imagine avoiding shocks and costly mistakes with just a quick test. In this guide, you’ll learn simple steps to use this device correctly and confidently.
By the end, you’ll feel empowered to handle your electrical projects safely and smartly. Ready to protect yourself and get the job done right? Let’s dive in.
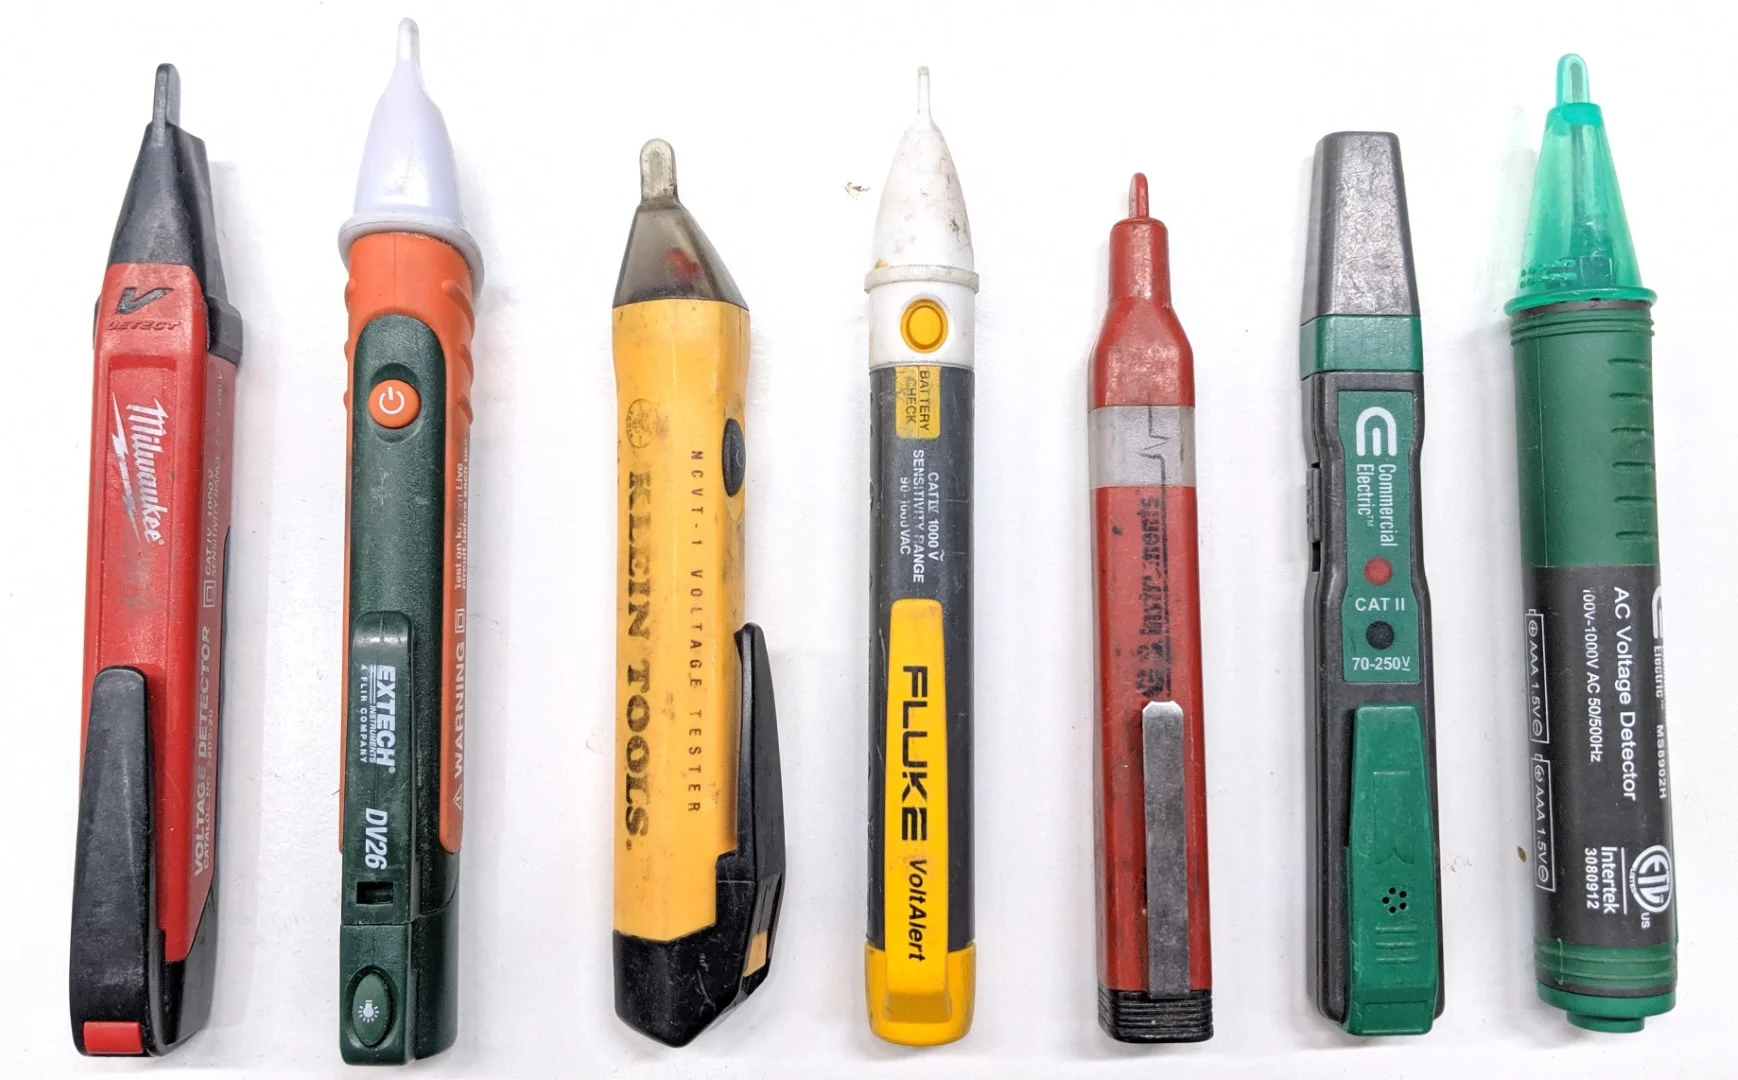
Choosing The Right Tester
Choosing the right non-contact voltage tester is key to safe and easy electrical work. A good tester fits your needs and helps you check voltage without touching wires. This saves time and reduces risks.
Testers vary in size, sensitivity, and features. Picking the right one ensures accurate results and user comfort. Consider the type of projects you do most often and how much power you need to test.
Understanding Voltage Range
Choose a tester that covers the voltage levels you will test. Some testers work only with low voltage, like in home wiring. Others handle high voltage for industrial use. Check the specs before buying.
Checking Sensitivity And Accuracy
High sensitivity helps detect even small voltage leaks. This is important for precise safety checks. Some testers beep or light up at different strengths. Find one that clearly shows when voltage is present.
Considering Power Source And Battery Life
Most testers use batteries. Look for models with long battery life or easy battery replacement. Some testers have auto-off features to save power. This keeps the tester ready when you need it.
Evaluating Design And Ease Of Use
Choose a tester that feels comfortable in your hand. A lightweight, compact design makes testing easier in tight spaces. Clear displays and simple controls reduce mistakes and speed up work.
Looking For Safety Certifications
Make sure your tester meets safety standards. Certifications like UL or CE indicate reliable quality. Safety-rated testers protect you from shocks and false readings. This is vital for your protection.
Credit: www.youtube.com
Preparing For Testing
Preparing for testing with a non-contact voltage tester is key for safe and accurate results. This step ensures the device works correctly and protects you from electric shock.
Follow a clear process before starting any electrical test. Check your tools and environment carefully.
Check The Tester’s Battery And Function
Always verify the battery level before use. A low battery can cause wrong readings. Turn the tester on and test it on a known live source. This confirms it is working properly.
Wear Proper Safety Gear
Use insulated gloves and safety glasses. These protect you from accidental shocks. Avoid loose clothing or jewelry that might catch on wires or devices.
Turn Off Power At The Main Panel
Switch off the circuit breaker for the area you will test. This lowers the risk of electric shock. Confirm power is off by testing the tester on the wire or outlet.
Clear The Testing Area
Remove any water, clutter, or conductive materials nearby. A dry and clean workspace reduces hazards. Make sure you have good lighting to see clearly.
Understand Your Tester’s Features
Read the manual to know how your tester signals voltage. Some beep, flash lights, or vibrate. Knowing this helps you interpret results quickly and correctly.
Safety Precautions
Using a non-contact voltage tester is simple, but safety must come first. This tool helps detect electrical current without touching wires. Still, careful steps prevent accidents and injuries. Following safety rules keeps you protected while testing.
Wear Proper Protective Gear
Always wear insulated gloves before testing. Safety glasses protect your eyes from sparks. Avoid loose clothing that might catch on wires. Proper gear reduces the risk of electric shock.
Check The Tester Before Use
Test the voltage tester on a known live source first. This ensures it works correctly and gives accurate readings. A faulty tester can give a false sense of safety.
Keep Hands Dry And Steady
Dry hands prevent electric shock when using the tester. Hold the tester firmly but gently. Avoid touching metal parts of the tester during use.
Turn Off Power When Possible
Switch off the main power before starting any electrical work. Use the tester to confirm no voltage is present. This step minimizes the chance of shock.
Maintain Safe Distance From Live Parts
Keep your body and tools away from live wires. The tester can detect voltage from a short distance. Avoid direct contact with electrical parts.
Use Tester According To Manufacturer Instructions
Read and follow the user manual carefully. Each tester model may have specific usage rules. Proper use ensures accurate testing and safety.
Credit: structuretech.com
Testing Electrical Outlets
Testing electrical outlets is a key step before any electrical work. It helps confirm if the outlet has power or is safe to touch. Using a non-contact voltage tester makes this process quick and safe.
This tool detects voltage without touching wires or metal parts. It is especially useful for checking outlets, switches, and cords. Follow simple steps to test outlets correctly and avoid electric shocks.
Prepare The Non-contact Voltage Tester
First, switch on your voltage tester. Most testers light up or beep when active. Hold the tester by its handle. Avoid touching the tip to keep it clean and sensitive.
Test A Known Live Outlet
Check the tester on an outlet you know has power. This confirms the tester works properly. Place the tester tip near the slots of the outlet. The tester will beep or light up if voltage is present.
Test The Outlet You Want To Check
Place the tester tip close to each slot of the outlet. Check both the live and neutral slots. The tester will alert you if voltage is detected. If there is no signal, the outlet may be off or faulty.
Check Multiple Points On The Outlet
Test the outlet’s ground slot as well. Voltage testers can sometimes detect voltage on the ground. Testing all slots ensures the outlet is properly wired and safe.
Turn Off Power And Retest
Switch off the circuit breaker for the outlet. Use the tester again to confirm no voltage remains. This step is crucial before touching or repairing the outlet.
Checking Light Fixtures
Checking light fixtures with a non-contact voltage tester is a safe way to find live wires. This tool helps avoid electric shocks. It detects voltage without touching the wire or metal parts.
Follow simple steps to test light fixtures before any repair or bulb change. This keeps you safe and ensures the fixture is working properly.
Turn Off Power And Prepare The Fixture
Switch off the power at the main circuit breaker. Keep the light switch in the ON position. Remove the light bulb to access the socket safely.
Test The Socket With The Voltage Tester
Hold the tester near the center button inside the socket. The tester will light up or beep if voltage is present. This confirms the socket is live and ready for work.
Check Both Switch Positions On Three-way Fixtures
For lights controlled by two switches, test voltage with each switch up and down. This ensures both switches control power correctly. It helps find wiring or switch issues.
Verifying Switches And Wiring
Verifying switches and wiring is a key step when working with electricity. It ensures safety and confirms that circuits are live or off. Using a non-contact voltage tester makes this process quick and safe. This tool detects voltage without touching wires directly.
Before starting, always turn off the power at the main breaker. Then, use the tester to check if switches or wires still carry voltage. This prevents electric shocks and helps find wiring problems.
Testing Light Switches Safely
First, switch off the power from the circuit breaker. Next, turn the light switch on. Hold the non-contact voltage tester close to the switch terminals or wires. If the tester lights up or beeps, voltage is present. If not, the circuit is off and safe to work on.
Checking Wiring Connections
Expose the wiring by removing switch or outlet covers carefully. Place the tester near each wire. The tester will detect any live wires without touching them. This helps identify which wires carry current and which do not. It also shows if wires are properly connected or if there is a fault.
Verifying Three-way Switches
Three-way switches control one light from two locations. Test each switch separately by turning them on and off. Use the tester near the switch terminals. The tester indicates if voltage flows correctly in both switch positions. This confirms the wiring is correct and safe.
Common Tester Limitations
Non-contact voltage testers are handy tools for quick electrical checks. Yet, they have certain limits that users should know. These limits affect accuracy and safety during testing. Understanding these helps avoid mistakes and ensures better use of the tester.
Limited Voltage Range Detection
Non-contact testers detect only specific voltage ranges. Low or very high voltages may not trigger the tester. This can cause false negatives, where voltage is present but not detected. Always check the tester’s voltage range before use.
Sensitivity To Environmental Factors
Strong electromagnetic fields nearby can interfere with the tester. This may cause false alarms or no detection at all. Weather conditions like rain or humidity can also reduce tester sensitivity. Use the tester in stable environments for best results.
Cannot Measure Current Or Power
These testers only detect the presence of voltage. They do not measure current flow or power consumption. For detailed electrical analysis, other tools like multimeters are needed. Use the tester only for quick voltage presence checks.
Limited Detection Through Insulation
Non-contact testers may not detect voltage through thick insulation or metal covers. This reduces their effectiveness on certain wires or devices. Direct contact testers might be necessary for hidden or shielded wires.
False Positives From Nearby Live Wires
The tester can sense voltage from wires close to the target wire. This may cause confusion about which wire is live. Keep the tester close and steady to reduce false positives. Confirm results with other testing methods if unsure.
Maintaining Your Tester
Maintaining your non-contact voltage tester ensures it works safely and reliably. Regular care helps detect voltage without mistakes. Proper upkeep extends the life of your tester and protects you from electrical hazards.
Cleaning Your Tester
Keep the tester free from dirt and dust. Use a soft, dry cloth to wipe the surface. Avoid using water or cleaning chemicals. Clean the sensor tip gently to avoid damage. A clean tester gives accurate readings every time.
Checking The Battery
Testers need fresh batteries to work correctly. Check the battery level before each use. Replace batteries if the tester shows weak signals. Remove batteries if you won’t use the tester for a long time. This prevents battery leakage and damage.
Storing Your Tester Safely
Store the tester in a dry, cool place. Avoid places with high heat or moisture. Use a protective case if available. Keep it away from heavy objects that may cause damage. Proper storage keeps the tester ready for use.
Inspecting For Damage
Look for cracks or broken parts on the tester. Check the sensor tip for wear or damage. Do not use the tester if it looks damaged. A damaged tester can give false readings and risk your safety. Replace or repair it as needed.
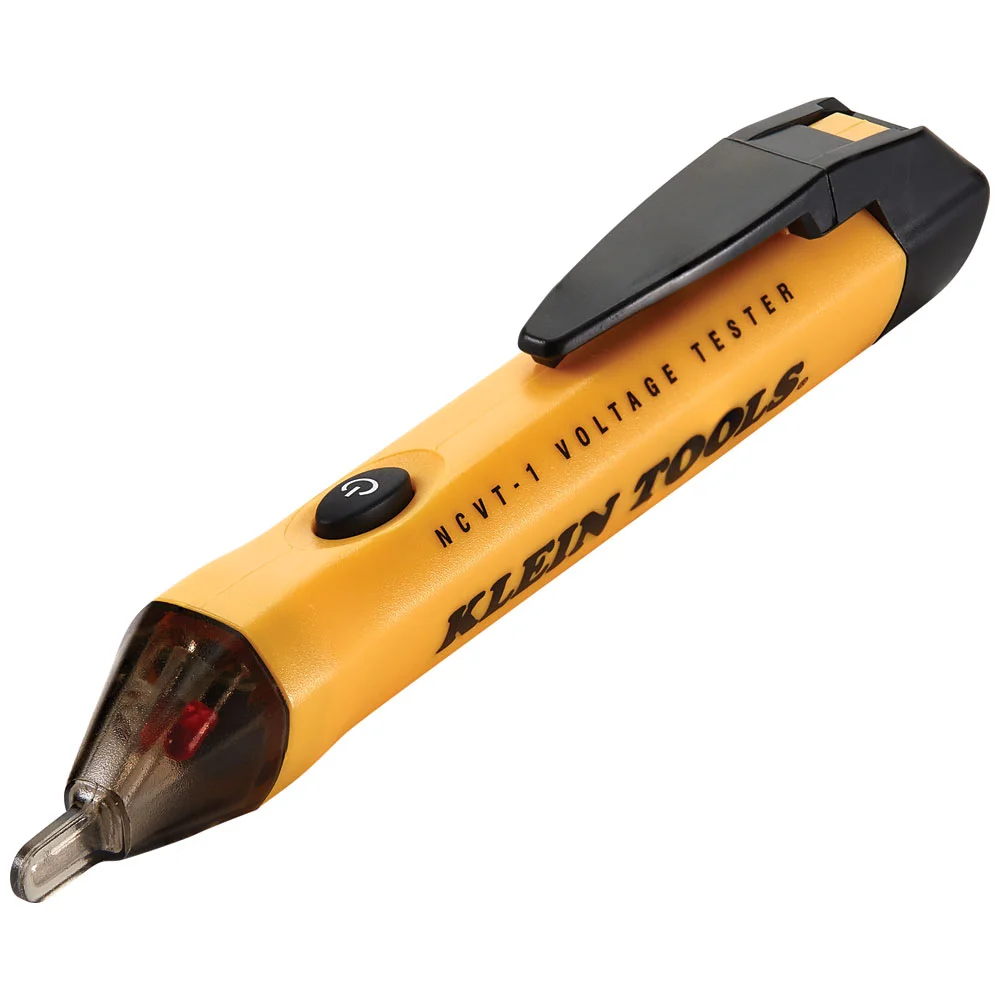
Credit: www.kleintools.com
Frequently Asked Questions
How To Test Light Switch With Non-contact Voltage Tester?
Turn off power at the main panel, switch on the light switch, remove the bulb, and place the tester near the socket center. Test both switch positions if it’s a three-way switch.
When To Use A Non-contact Voltage Tester?
Use a non-contact voltage tester to quickly detect live electrical wires without touching them. It ensures safety before electrical work. Ideal for checking outlets, switches, and wires to avoid shocks. Use it anytime you need to confirm voltage presence safely and efficiently.
How To Measure Voltage Without Contact?
Use a non-contact voltage tester by holding its insulated handle near a wire or outlet. It detects voltage without touching.
How Do You Use A Voltmeter For Beginners?
Turn on the voltmeter and set it to the correct voltage type. Connect the probes to the circuit points. Read the voltage value displayed. Reverse probes if the reading is negative to check polarity. Always hold probes by insulated handles for safety.
What Is A Non-contact Voltage Tester Used For?
It detects live electrical wires without touching them, ensuring safety before work.
Conclusion
Using a non-contact voltage tester keeps electrical work safer and simpler. Always test the tool on a known live source first. Hold the tester near wires or outlets without touching them. A light or sound will indicate voltage presence quickly.
This tool helps avoid shocks and saves time checking circuits. Practice using it often to build confidence and skill. Remember, safety comes first when working with electricity. With care and the right steps, anyone can use a non-contact voltage tester effectively.
Related reading: Best Multimeters for Electricians.
Related reading: Best Digital Multimeters.
Related reading: Best Multimeters for HVAC.
