
Many woodworkers want to make their projects look smooth and professional. One of the easiest ways to do this is by using a roundover bit. This small router bit can transform sharp edges into soft, rounded profiles. With the right technique, you can add a gentle touch to furniture, shelves, frames, and more. But if you are new to woodworking, using a roundover bit might seem confusing or even intimidating. You might worry about ruining your workpiece, making a mistake, or picking the wrong size. The good news is, with some basic knowledge and practice, you can use a roundover bit safely and get great results every time.
This guide will show you how to use a roundover bit step by step. You will learn what a roundover bit is, how to choose the right one, how to set up your router, and how to avoid common mistakes.
If you want your woodworking projects to look and feel better, keep reading to find out everything you need to know.
What Is A Roundover Bit?
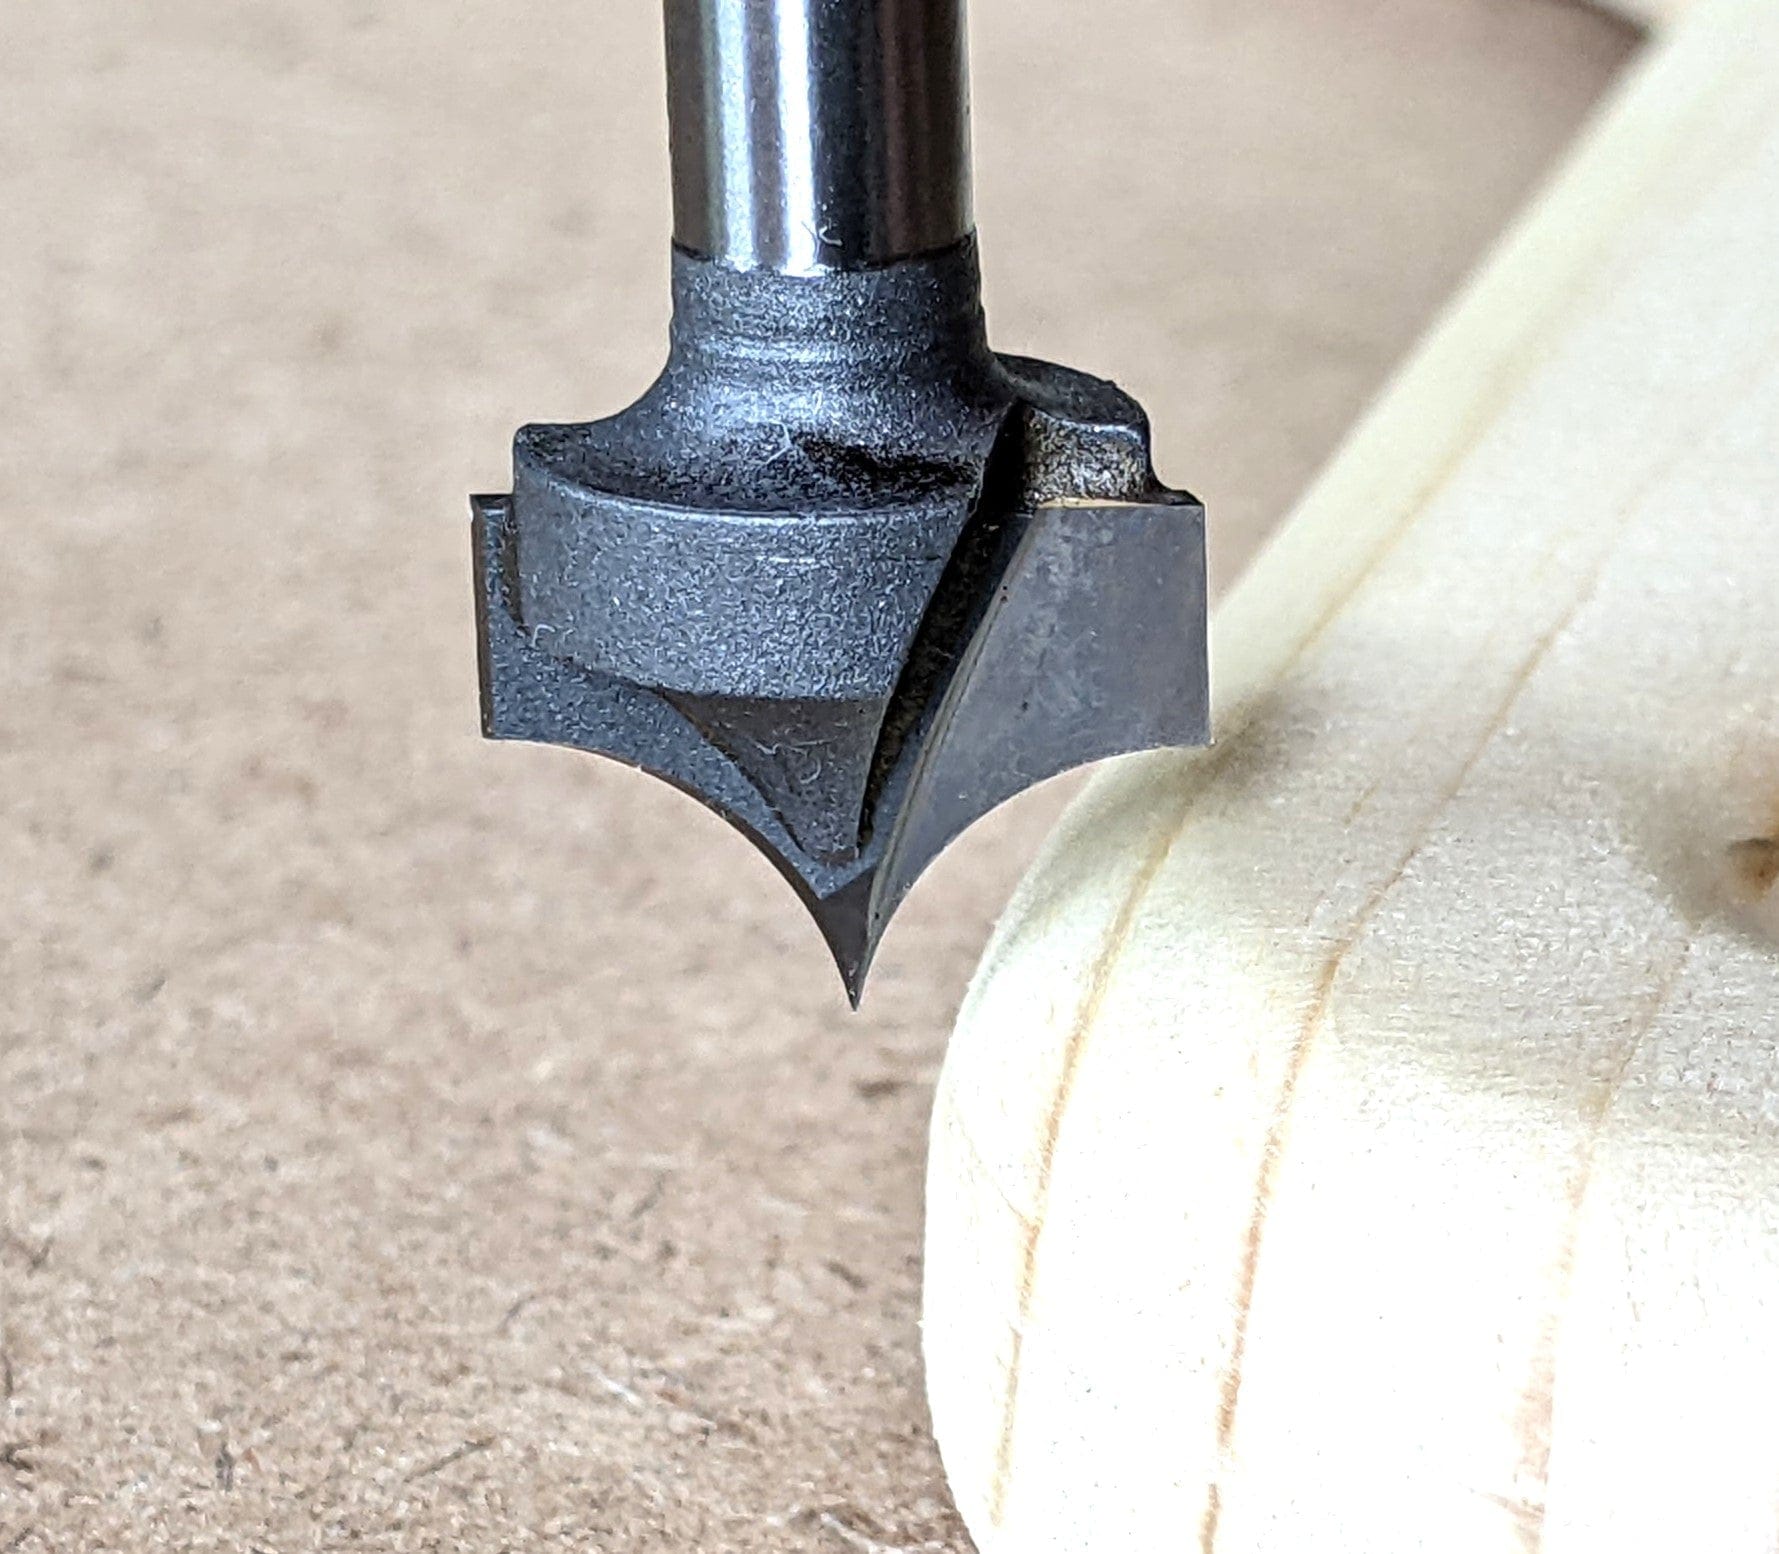
A roundover bit is a special router bit designed to cut a smooth, rounded edge along the corner of a piece of wood. Instead of a sharp, straight corner, you get a soft curve. This is helpful for both looks and comfort—rounded edges are safer and more pleasant to touch.
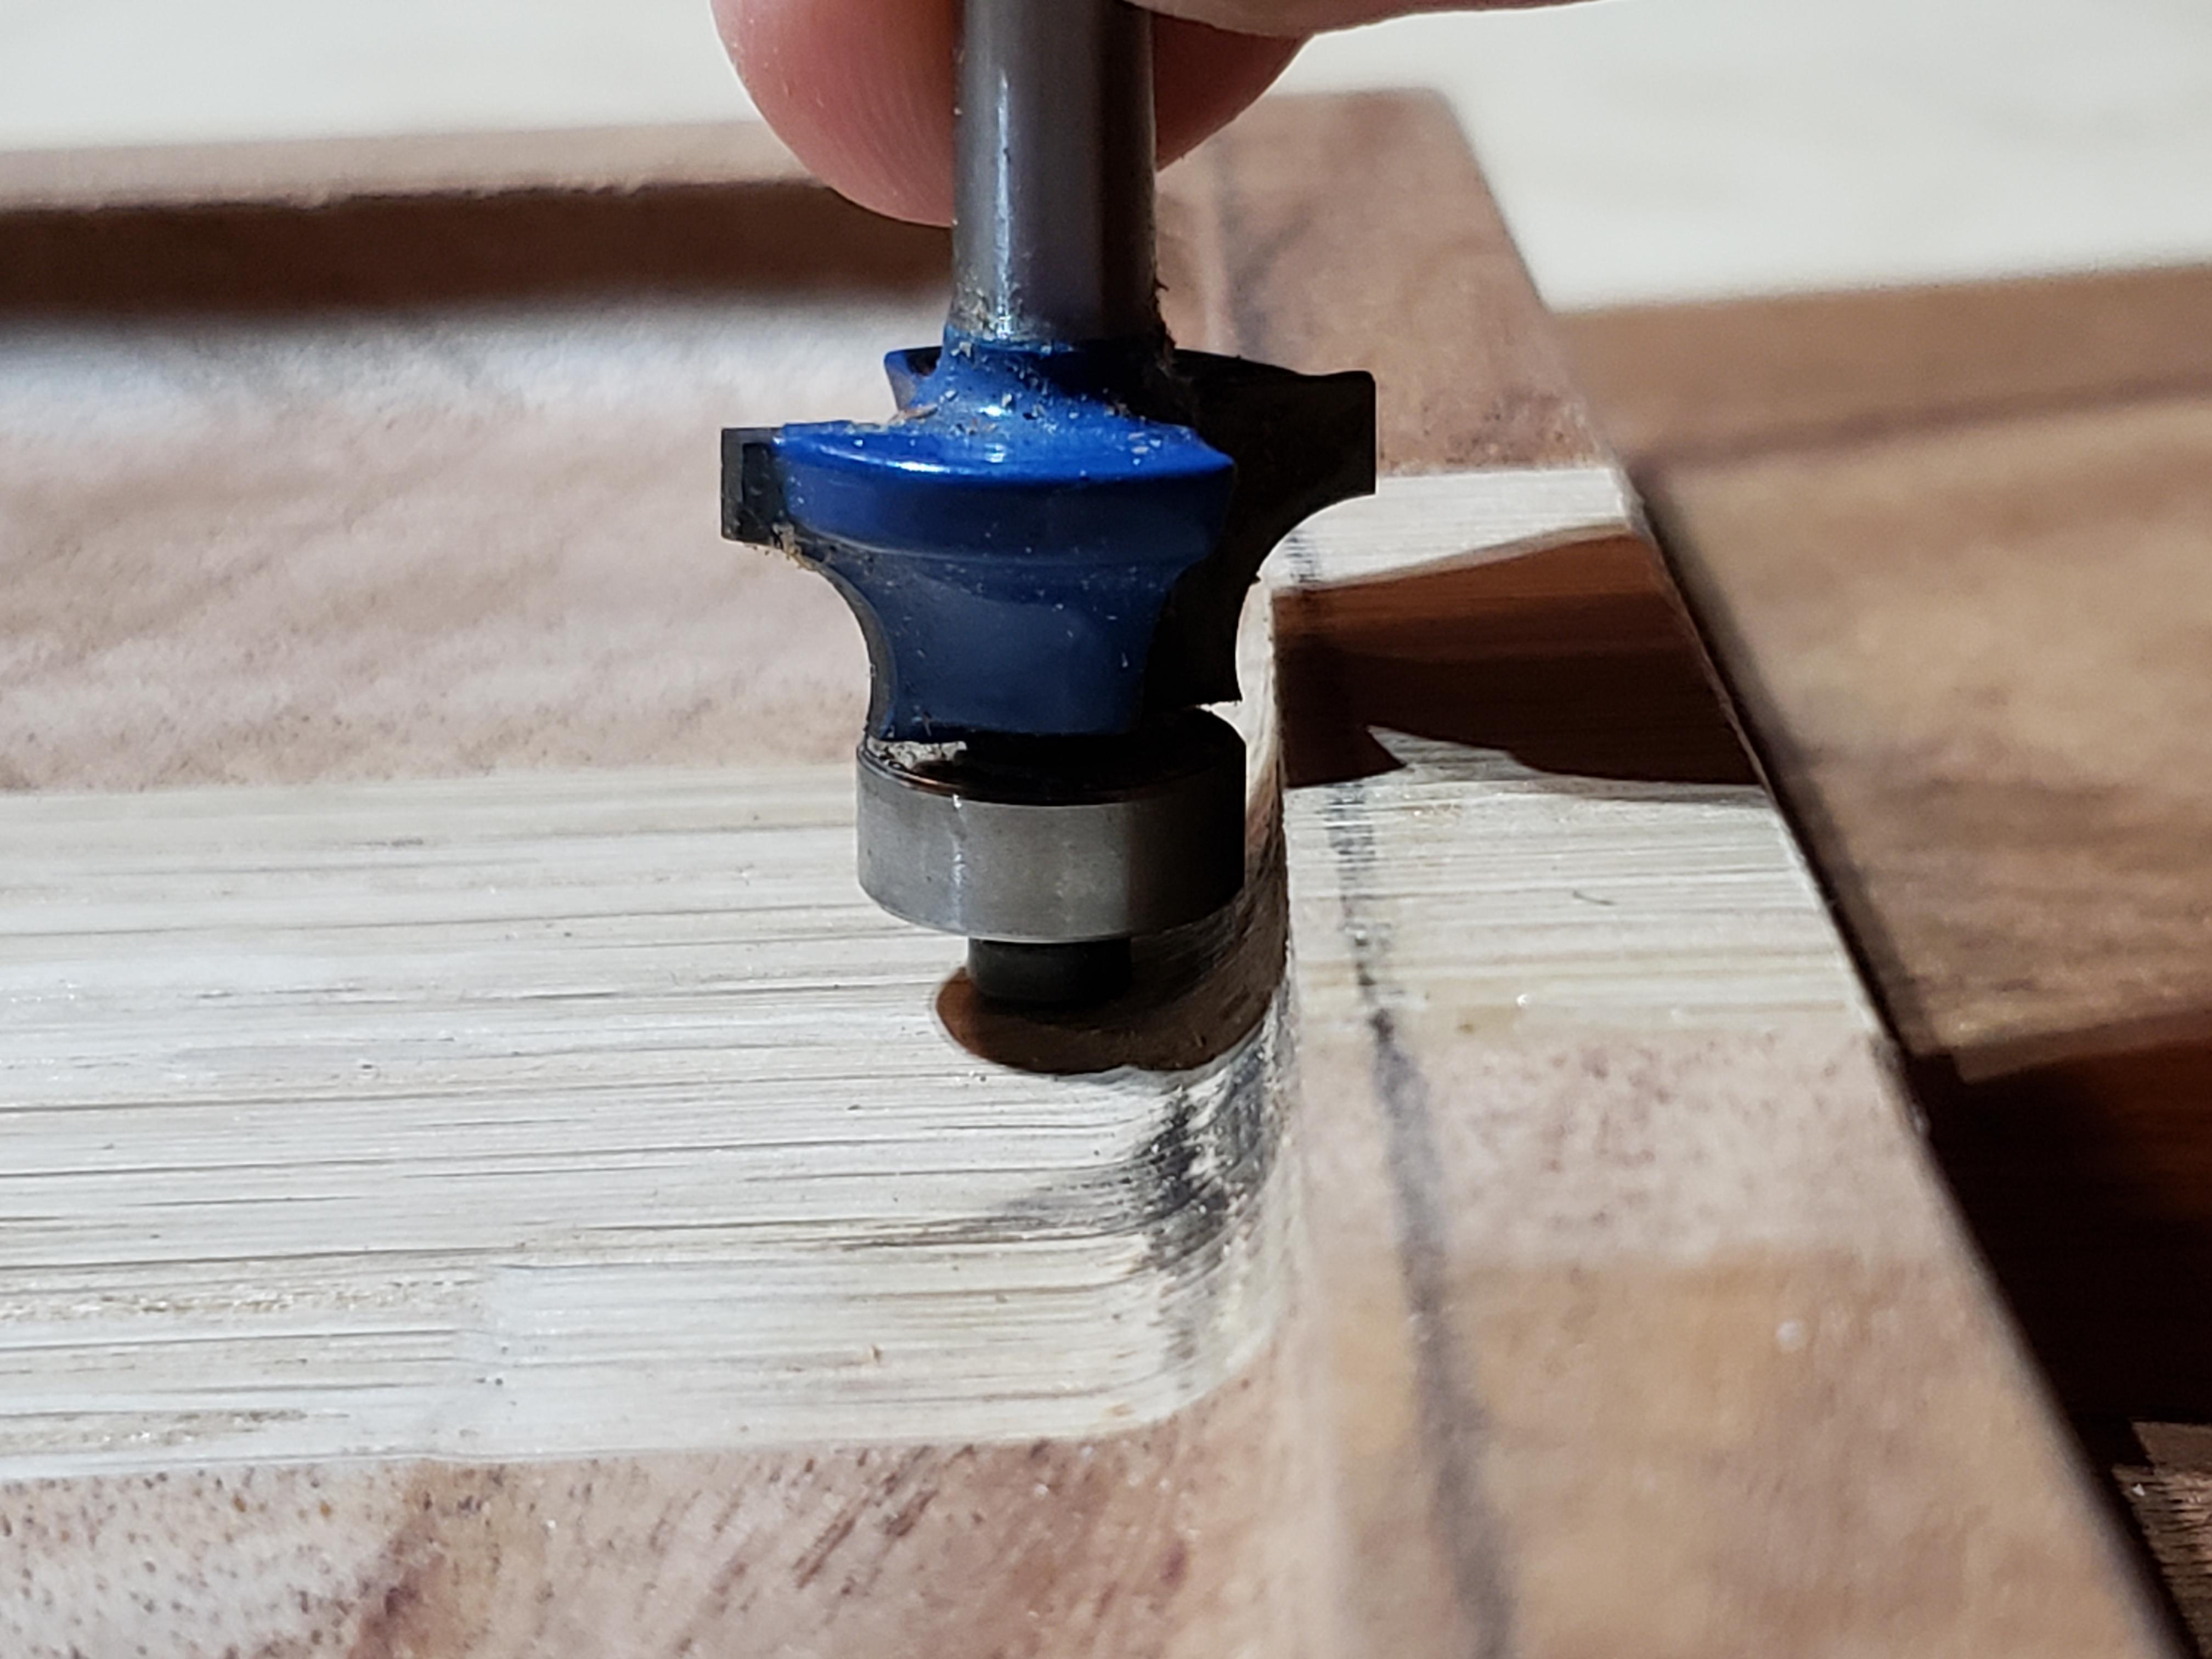
Most roundover bits have a bearing at the tip. This bearing rolls along the edge of the wood and controls how deep the bit cuts. The size of the curve depends on the radius of the bit. For example, a 1/8-inch bit gives a gentle curve, while a 1/2-inch bit makes a much larger, bolder round.
Roundover bits come in different sizes and can be used in both handheld routers and router tables. They work on many types of wood, from soft pine to hard oak.
Common Uses
- Furniture edges (tables, chairs)
- Cabinet doors
- Window sills
- Picture frames
- Toys (for safety)
A roundover bit is very versatile. It softens sharp corners, removes splinters, and makes painted or stained surfaces look more polished. In short, it’s one of the most useful bits for anyone who enjoys woodworking.
Choosing The Right Roundover Bit
Not all roundover bits are the same. The radius size is the most important factor. Here’s how to choose the right one for your project:
Size Comparison
The table below shows common roundover bit sizes and their typical uses.
| Radius Size | Edge Profile | Best Uses |
|---|---|---|
| 1/8 inch (3 mm) | Very gentle curve | Small boxes, fine trim, delicate work |
| 1/4 inch (6 mm) | Standard soft curve | Furniture edges, shelves |
| 3/8 inch (9 mm) | Medium curve | Tabletops, cabinet doors |
| 1/2 inch (12 mm) | Large, bold curve | Thick tabletops, benches, heavy pieces |
What Really Matters
1. Match The Bit To Your Material Thickness
If your wood is thin (like 1/2 inch), a very large roundover bit may cut too much. Pick a bit with a radius that is less than half the thickness of your wood.
2. Think About The Look
A small roundover looks simple and classic. A large one stands out and feels modern.
3. Safety For Hands
For toys or furniture used by children, a larger roundover removes more sharp corners.
4. Bit Quality
Choose carbide-tipped bits for longer life and a smoother finish.
Non-obvious Tip
Many beginners forget to check the bearing size. Some sets let you swap bearings to control the cut depth. Make sure the bearing matches the radius for best results.
Credit: www.reddit.com
Tools And Materials Needed
Before you start, gather these items:
- Router (handheld or table-mounted)
- Roundover bit (right size for your project)
- Clamps
- Safety glasses
- Hearing protection
- Dust mask
- Scrap wood (for testing)
- Pencil and ruler
Optional:
- Featherboard (for use with router table)
- Push stick (for safety on small parts)
- Sandpaper (for final smoothing)
Setting Up Your Router
A good setup makes the job easier and safer. Here’s what you need to do:
Install The Bit
- Unplug your router before changing bits.
- Insert the roundover bit into the collet. Leave about 1/8 inch of the shank showing.
- Tighten the collet with a wrench.
Set The Cutting Depth
The bit’s bearing will ride along the edge of the wood, but you can adjust how much of the profile is cut. Raise or lower the bit so the curve matches what you want.
Test On Scrap Wood
Never start on your real project. Use a piece of scrap wood with similar thickness to check the cut. Adjust the height if the edge is too shallow or too deep.
Secure Your Workpiece
- For a handheld router, clamp your wood to a stable workbench.
- For a router table, make sure the featherboard holds the wood tight against the fence.
Step-by-step Guide: How To Use A Roundover Bit
Follow these steps for the best results:
1. Wear Safety Gear
Always use safety glasses and hearing protection. A dust mask is important, too.
2. Check Router Speed
Large bits need slower speeds. Check your router’s manual for the correct setting.
3. Position The Router
Hold the router firmly with both hands. The base should rest flat on the wood.
4. Start The Router
Turn on the router before touching the wood. Let it reach full speed.
5. Begin The Cut
Lower the bit gently onto the edge, letting the bearing touch the wood.
6. Move Steadily
Move the router in the correct direction:
- Handheld router: Left to right (against the bit’s rotation)
- Router table: Right to left (against the bit’s rotation)
- Keep Even Pressure
Don’t force the router. Let the bit do the cutting. Move at a steady pace to avoid burn marks.
8. Support The End Grain
Edges with end grain can chip. Start with the end grain sides, then do the long sides last.
9. Complete The Cut
When finished, lift the router off the wood before turning it off.
10. Inspect And Sand
Look at your edge. If there are small marks, smooth them with sandpaper.
Common Mistakes And How To Avoid Them
Even experienced woodworkers make errors with roundover bits. Here’s how to prevent the most frequent problems:
1. Tear-out On End Grain
Problem: The bit rips out chunks when cutting across the grain.
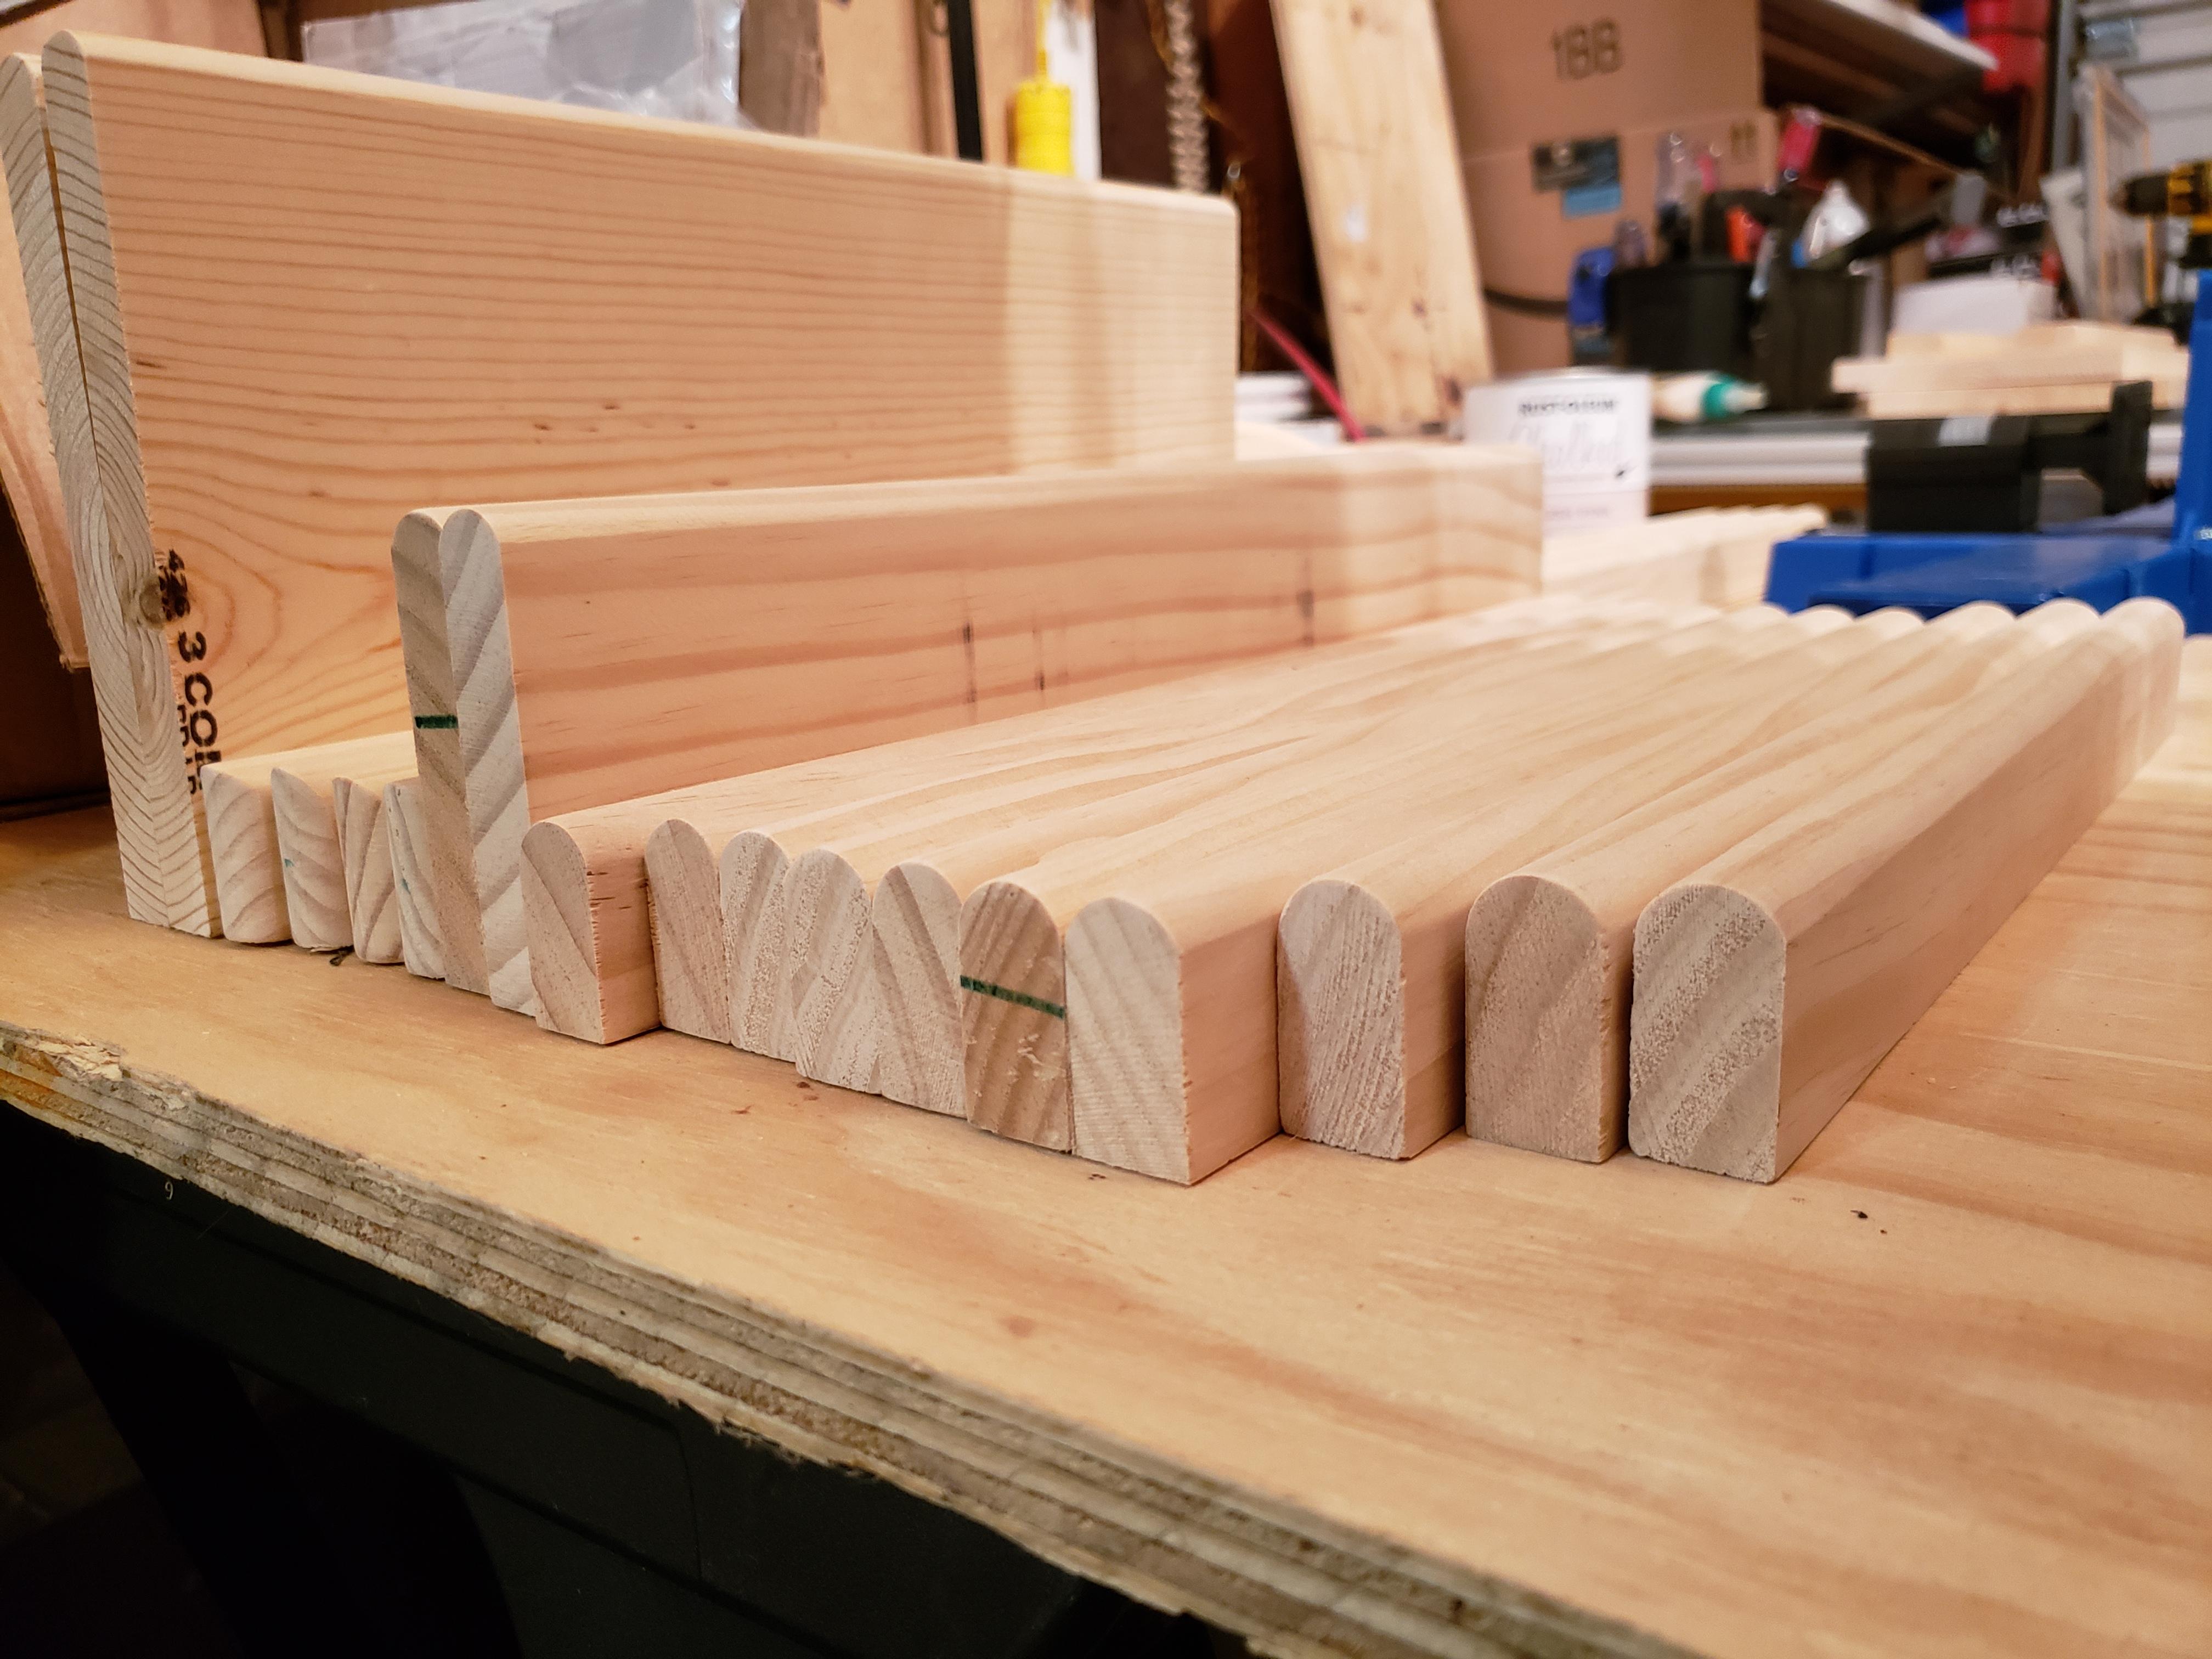
Solution: Always round over the end grain ends first. If there’s a little tear-out, the side grain cuts will cover it up. A light first pass (shallow cut) can also reduce tear-out.
2. Burn Marks
Problem: Dark lines appear on the wood.
Solution: Move the router at a steady pace. If you go too slowly, friction causes burning. Clean your bit if resin builds up.
3. Uneven Edges
Problem: The roundover is not smooth or the profile is deeper in some spots.
Solution: Keep even pressure and speed. Don’t stop in the middle of a cut. Clamp your work securely.
4. Wrong Bit Height
Problem: The curve is too shallow or too deep.
Solution: Always test your setup on scrap wood. Adjust the bit height as needed.
5. Using The Wrong Direction
Problem: The router grabs or chatters.
Solution: Always move the router against the bit’s rotation, not with it.
Credit: www.reddit.com
Router Table Vs. Handheld Router
You can use a roundover bit in both setups. Here’s how they compare:
| Feature | Router Table | Handheld Router |
|---|---|---|
| Safety | Safer for small parts | Best for large workpieces |
| Control | Very precise | More flexibility |
| Setup Time | Longer | Faster |
| Learning Curve | Easy for beginners | Requires a steady hand |
Insight: For long boards or heavy pieces, a handheld router is best. For small or narrow pieces, a router table is much safer and more accurate.
Advanced Tips For Professional Results
If you want your projects to look truly top-notch, try these extra steps:
Make Multiple Passes
Instead of cutting the full roundover in one pass, lower the bit for a shallow first cut. Then raise it to finish. This reduces tear-out and leaves a smoother surface.
Sand The Profile
Even after routing, fine lines may remain. Wrap sandpaper around a dowel or use a sanding sponge to smooth the curve without flattening it.
Combine With Other Bits
Some woodworkers use a roundover bit after a chamfer or ogee bit for a unique profile. Test different combinations on scrap wood.
Use Edge Guards
For painted or stained work, apply masking tape near the edge before routing. It protects the surface from scratches and helps you see the cut line.
Check For Hidden Nails
If you are rounding over reclaimed wood, always check for nails or metal. Hitting metal will ruin your bit and can be dangerous.
Cleaning And Maintaining Your Roundover Bit
A dirty or dull bit can ruin your work. Here’s how to keep your bit in top shape:
- Remove Resin Build-Up: Clean the bit with a brush and a bit of household cleaner after use.
- Check the Bearing: Lubricate the bearing with light oil so it spins freely.
- Sharpen When Needed: If the bit feels dull, have it sharpened or replace it.
- Store Properly: Keep bits in a case or rack to avoid damage.
Examples Of Projects Enhanced By Roundover Bits
A few simple projects can show the difference a roundover bit makes:
- Bookshelf: Sharp edges rounded over feel smooth and look finished.
- Cutting board: Rounded edges are safer for hands and less likely to chip.
- Picture frame: A small roundover adds a touch of elegance.
- Tabletop: Large roundovers soften the edge and make the table safer.
Seeing and feeling the rounded edge often surprises beginners—it’s a small touch that adds a lot of value.
Safety Reminders
Using a router is safe if you follow a few simple rules:
- Always unplug before changing bits.
- Wear eye and ear protection.
- Never remove safety guards.
- Keep hands away from the bit.
- Clamp workpieces so they don’t move.
- Don’t wear loose clothing or jewelry.
Accidents are rare if you stay alert and follow these basic practices.
Frequently Asked Questions
What Is The Difference Between A Roundover Bit And A Cove Bit?
A roundover bit cuts a convex, rounded edge. A cove bit creates a concave groove. They give very different looks. Roundover bits soften edges; cove bits add a scooped detail.
Can I Use A Roundover Bit On Plywood Or Mdf?
Yes, you can use a roundover bit on both plywood and MDF. However, these materials are prone to tear-out. Make lighter passes and always test on scrap first.
How Do I Know Which Size Roundover Bit To Use?
Choose a radius smaller than half the thickness of your wood. For example, for 3/4-inch wood, a 1/4-inch or 3/8-inch bit works well. Consider both the look you want and the safety needs of your project.
Do I Need A Router Table To Use A Roundover Bit?
No, you can use a roundover bit with a handheld router. A router table is helpful for small parts, but many woodworkers use handheld routers for larger pieces.
Where Can I Learn More About Router Bit Types?
You can find more detailed guides and illustrations at sites like Wikipedia, which covers router bit types and uses.
A roundover bit is a simple tool, but it can make your woodworking projects stand out. With practice, you’ll find that using a roundover bit becomes second nature, adding style, safety, and comfort to your work. Whether you’re a beginner or a seasoned woodworker, mastering this skill is well worth the effort.
Credit: idcwoodcraft.com
