
A router is one of the most versatile tools in woodworking, but its real power comes from using it correctly. If you’ve ever burned wood, split a bit, or struggled with uneven edges, the problem may not be your skills—or even your router. It often comes down to the depth of cut. Understanding how deep to cut, why it matters, and how to adjust for different materials can mean the difference between a rough project and a professional finish. This guide will help you master router depth of cut, avoid costly mistakes, and work safer and smarter.
What Is Router Depth Of Cut?
The router depth of cut is the vertical distance the router bit removes from the surface in a single pass. For example, if you set your router to cut 6mm deep, the bit will carve out a 6mm groove or edge each time you move it across the wood. This setting is essential because it affects the finish quality, tool lifespan, and even your safety.
Why Depth Of Cut Matters
Many beginners think deeper cuts mean faster work. In reality, too deep a cut can burn wood, damage the router bit, or cause dangerous kickback. Here’s why the right depth of cut is vital:
- Surface finish: Shallow passes give a smoother, cleaner edge.
- Tool wear: Deep cuts heat up bits faster, dulling them.
- Router strain: Overworking the motor shortens tool life.
- Safety: Less risk of sudden kickback or losing control.
Choosing the right cut depth saves time in the long run by reducing sanding, repairs, and wasted material.
Factors That Affect Router Depth Of Cut
Not every project or wood type needs the same depth. Consider these factors:
Bit Size And Shape
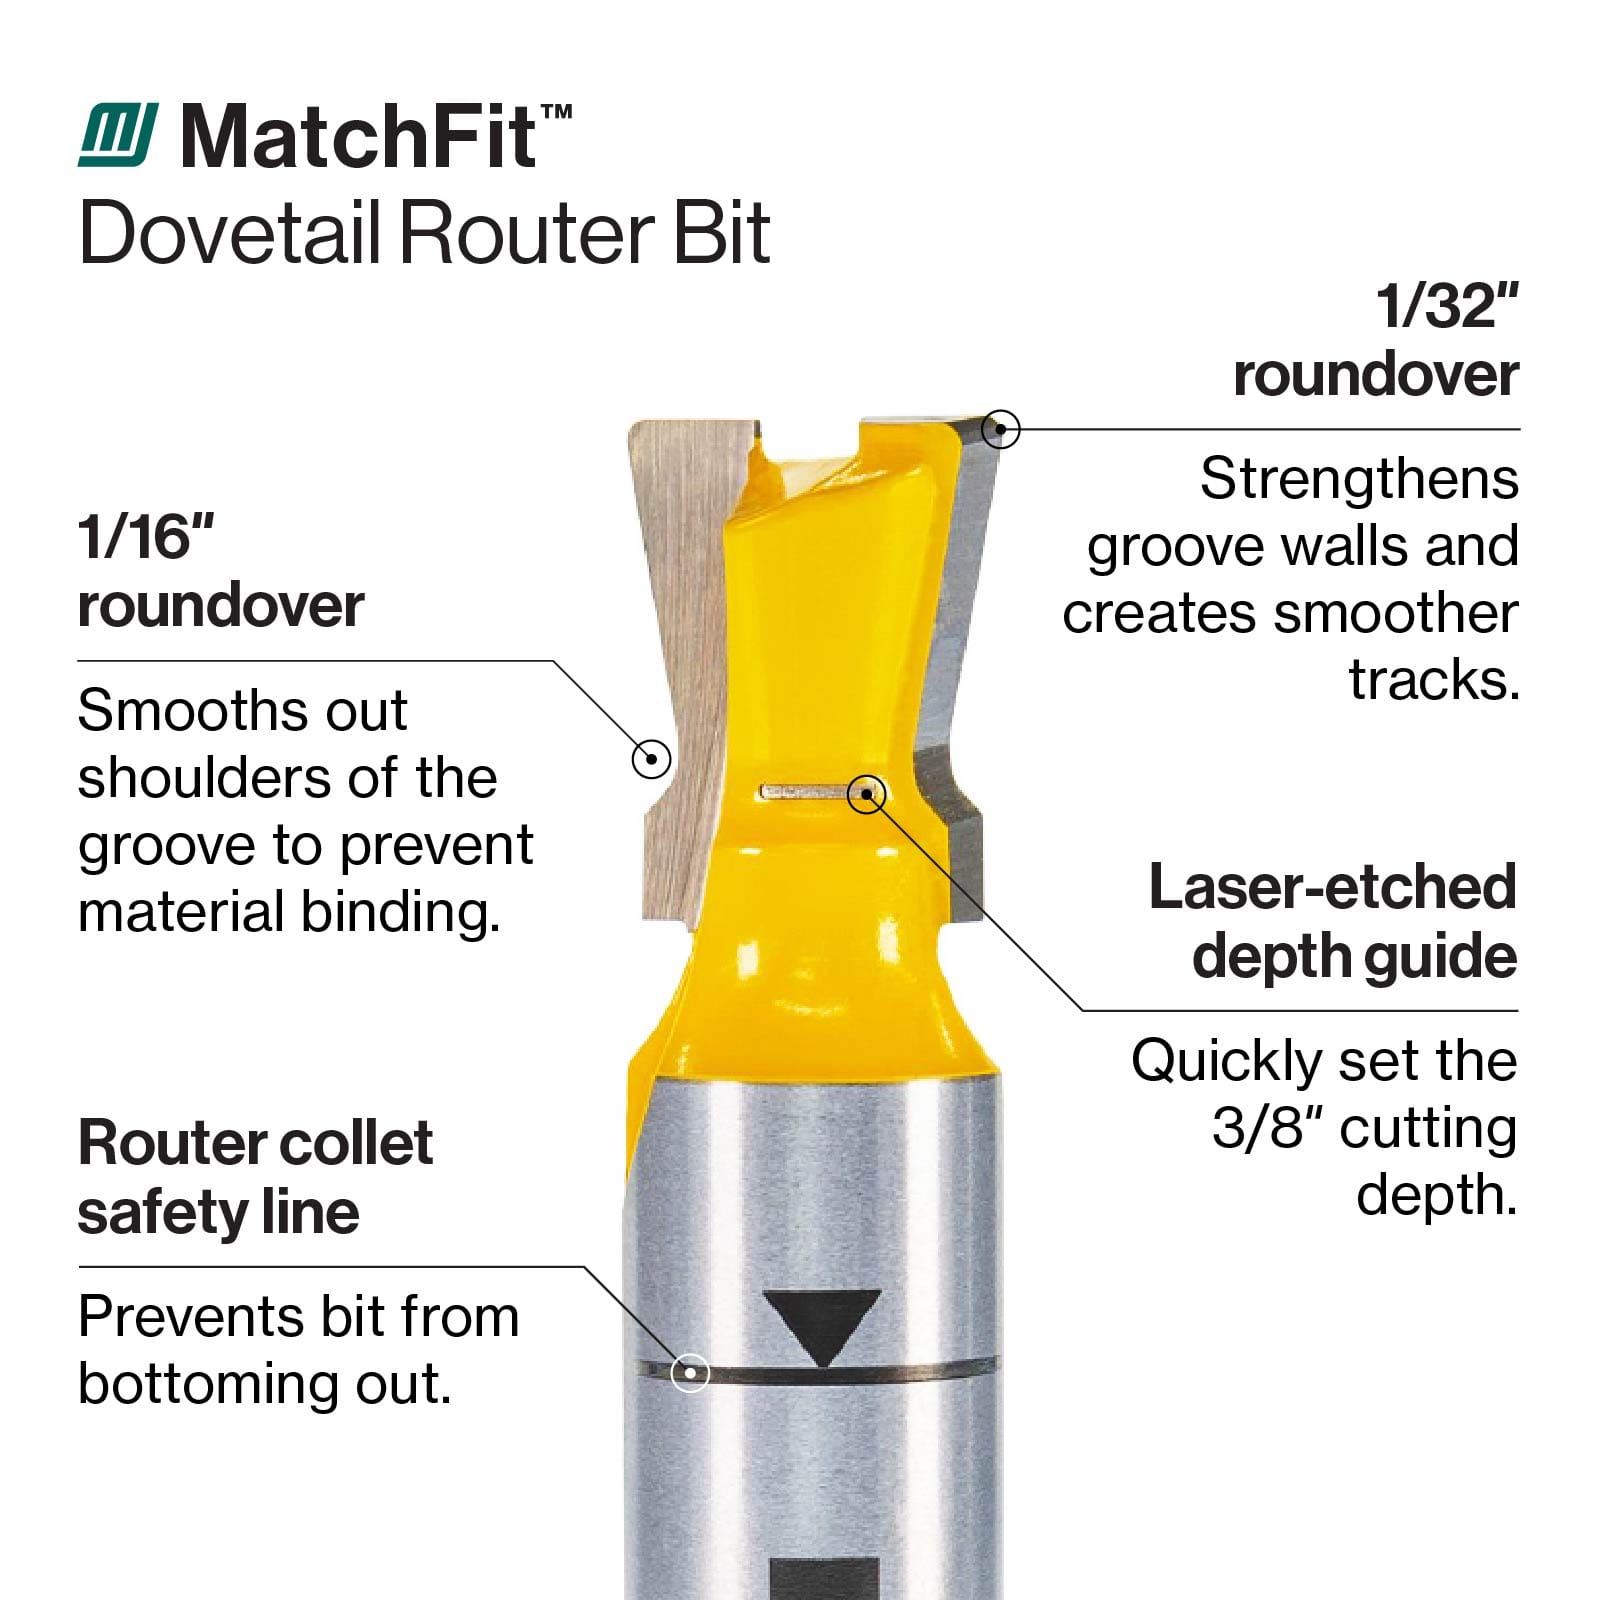
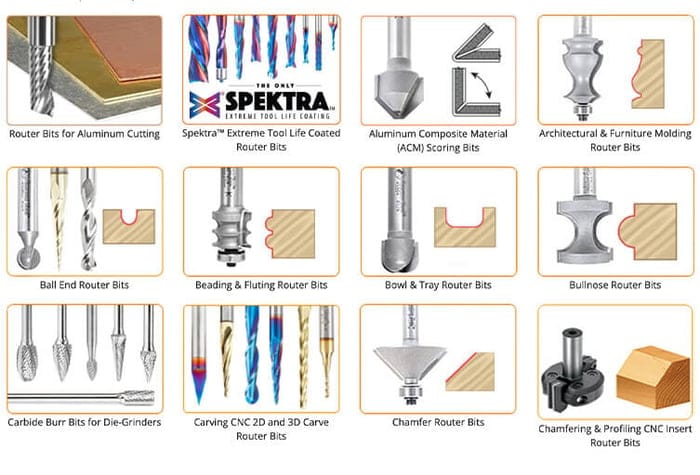
Larger or more complex bits remove more material. For example, a straight bit can cut deeper than a large cove or ogee bit in one pass. Always check the bit manufacturer’s recommendations.
Wood Type
- Hardwoods (like oak, maple): Handle shallow cuts (3mm or less) per pass. Hardwoods resist cutting and can splinter with aggressive passes.
- Softwoods (like pine, cedar): Can handle slightly deeper cuts (up to 6mm), but still need care to avoid burning.
Router Power
A 1. 5HP router handles deeper cuts than a compact trim router. Match your depth to your tool’s power to avoid stalling or overheating.
Feed Rate
Pushing the router too quickly with a deep cut can cause tear-out or burn marks. Slower, steady feed with shallower cuts improves results.
Recommended Depths For Common Cuts
While every project is unique, these guidelines help you start:
| Cut Type | Recommended Depth per Pass | Notes |
|---|---|---|
| Edge Profiling (Chamfer/Roundover) | 2–4 mm | Multiple passes for large profiles |
| Grooves & Dados | 4–6 mm | Use shallower passes for hardwoods |
| Rabbets | 3–5 mm | Increase depth gradually |
| Mortises | 3–4 mm | Several passes needed |
| Template/Pattern Routing | 2–3 mm | Reduce tear-out risk |
Credit: www.microjig.com
How To Set Router Depth Of Cut
Setting the depth is simple but important. Here’s a reliable method:
- Unplug the router for safety.
- Place the router base on a flat surface.
- Loosen the depth adjustment knob or lever.
- Lower the bit until it just touches the workpiece.
- Use the depth gauge or turret stops to set your desired depth.
- Tighten the lock and check the bit’s position.
Some routers offer fine adjustment dials or micro-adjust knobs for more precision. Always double-check before starting your cut.
Multiple Passes: Why And How
Trying to remove all the material in one go is tempting, but it’s rarely a good idea. Multiple passes create cleaner edges and reduce risk. Here’s how to do it right:
- Divide the full depth by the recommended per-pass depth. For example, for a 12mm groove in hardwood, use 3 passes of 4mm each.
- Cut the first pass shallow, then raise the bit for each following pass.
- Clean dust out between passes to prevent burning.
A common mistake is forgetting to clear chips, which can dull your bit and leave scorch marks.
Tools And Accessories That Help
Several accessories can make setting and controlling depth easier:
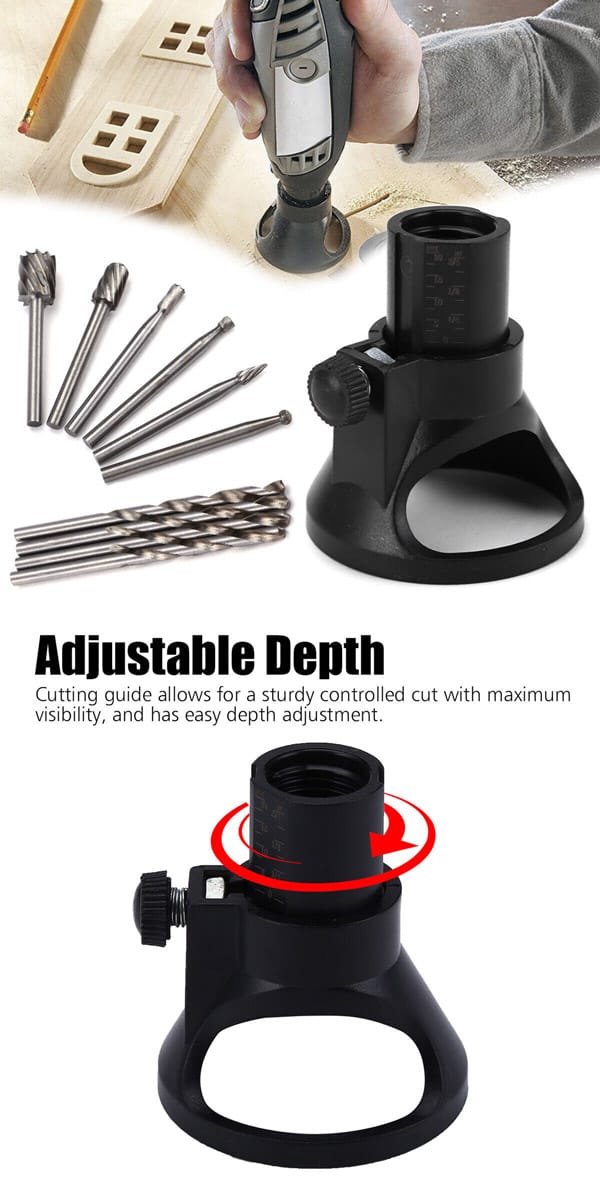
- Plunge bases: Allow easy depth change during a cut.
- Depth stops: Fixed points for repeatable cuts.
- Digital depth gauges: Measure bit height accurately.
- Router lifts: Make micro-adjustments simple, especially for table-mounted routers.
If you’re planning many identical cuts, consider a router table for greater stability and control.
Mistakes To Avoid
Even with good tools, some pitfalls can ruin your work:
- Skipping test cuts: Always practice on scrap wood first.
- Ignoring bit sharpness: Dull bits need shallower passes.
- Forgetting to secure the workpiece: Loose wood moves, causing uneven depths.
- Overheating the bit: If you see smoke, your cut is too deep or too fast.
Beginners often overlook the importance of feed direction. Always move the router against the bit’s rotation, not with it, for safer and smoother cuts.
Credit: www.ebay.com
Depth Of Cut And Bit Life
Using the correct depth of cut does more than improve results—it extends bit life. Studies show that shallow cuts produce up to 40% less heat at the cutting edge, slowing wear and reducing the chance of bit failure. For expensive carbide bits, this adds up to real savings.
Depth Of Cut For Different Router Types
Routers come in several styles, each with its own approach to depth adjustment.
| Router Type | Depth Control Method | Best For |
|---|---|---|
| Fixed-base | Manual adjustment ring or knob | Edge work, repeatable cuts |
| Plunge | Spring-loaded plunge and depth stops | Internal cuts, mortises, grooves |
| Router table | Router lift or height dial | Precision work, small parts |
Depth Of Cut: Special Cases
Some materials and projects need extra care:
Plywood And Laminates
These materials can chip easily. Use shallow passes (2–3mm), sharp bits, and a backing board to prevent tear-out.
Acrylic And Plastic
Plastic melts if cut too deep or too slowly. Use very shallow cuts (1–2mm) and high router speed. Let the bit cool between passes.
Inlay Work
For delicate details, limit depth to 1mm per pass. Precision matters more than speed.
Real-world Example: Making A 15mm Deep Groove
Imagine you want a 15mm deep groove in oak using a 12mm straight bit. Here’s a step-by-step plan:
- Set the first pass to 3mm.
- After each pass, raise the bit 3mm more, repeating 5 times total.
- Brush out dust between each cut.
- Inspect the groove after each pass for burning or tear-out.
- Final pass should be slow and steady for best finish.
This method takes a bit longer but ensures clean edges, protects your bit, and avoids chipping the oak.
Credit: toolstoday.com
Frequently Asked Questions
How Deep Should I Cut With A Router In One Pass?
For most woods, 3–6mm is safe for a single pass. Hardwoods need shallower cuts, while softwoods can handle a bit more. Always check your bit and router power before increasing depth.
Can I Cut The Full Depth In One Go?
It’s not recommended. Cutting too deep in one pass can burn the wood, dull the bit, and strain your router. Multiple shallow passes give better results and help your tools last longer.
How Do I Know If My Cut Is Too Deep?
Signs of a too-deep cut include burn marks, a rough edge, slow feed rate, and a struggling router motor. If you smell burning or see smoke, stop and reduce your depth.
Do I Need Special Bits For Deep Cuts?
For deep grooves or mortises, use straight-cut bits designed for plunge cutting. Spiral bits are good for clean edges but still require multiple passes. Avoid using small-diameter bits for deep cuts—they may break.
Where Can I Learn More About Router Techniques?
There are many reliable sources. For more advanced tips, visit the Wikipedia: Wood Router page, which covers router types, bits, and safety in detail.
Mastering router depth of cut is about patience, precision, and practice. Start shallow, work in steps, and don’t rush. Soon you’ll see smoother edges, safer work, and a big boost in your woodworking results.
