
Changing an angle grinder disc might seem simple, but doing it the right way keeps you safe and makes your tool last longer. Many people, especially beginners, struggle with stuck discs or are unsure which tools to use. This guide will walk you through everything, step by step.
You’ll learn not just how to swap a disc, but also what mistakes to avoid and how to handle different types of grinders. By the end, you’ll feel confident working with your angle grinder, even if you’ve never changed a disc before.
Understanding Angle Grinder Discs
Before you get your hands dirty, it’s important to know why angle grinder discs are so important. The disc is the part that does the actual cutting, grinding, or sanding. Discs come in many types, each designed for a specific job. For example, a cutting disc slices through metal, while a flap disc smooths rough edges.
Discs wear down over time. A worn disc can break or become dangerous. That’s why changing discs is a skill every user should master. Also, using the right disc for the job improves both safety and results.
Tools And Safety Gear You Need
Changing an angle grinder disc doesn’t require many tools, but safety is always first. Here’s what you need:
- Safety glasses – Protects your eyes from dust or fragments.
- Work gloves – Shields your hands from sharp edges.
- Angle grinder wrench (spanner) – Most grinders come with one. It fits the locking nut.
- Replacement disc – Make sure it matches your grinder’s size and speed rating.
- Locking pin or button – Built into most grinders to stop the disc from spinning.
- Optional: Adjustable wrench or pliers – Useful if your grinder’s wrench is missing.
Pro tip: Always unplug your grinder or remove the battery before working on it. This may sound simple, but many accidents happen because someone forgot this basic step.
Credit: www.youtube.com
Step-by-step Guide: How To Change An Angle Grinder Disc
Let’s break down the process so you can do it safely and efficiently.
1. Disconnect The Power
Always start by unplugging the grinder or removing the battery. This step is crucial. Even a slight movement of the power switch can make the disc spin, causing injury.
2. Secure The Grinder
Place your angle grinder on a stable surface. If you’re working on a bench, make sure it won’t roll or fall.
3. Locate The Locking Mechanism
Find the spindle lock button—usually located near the disc. Press and hold this button. It keeps the spindle from spinning while you loosen the disc.
4. Use The Wrench To Loosen The Disc
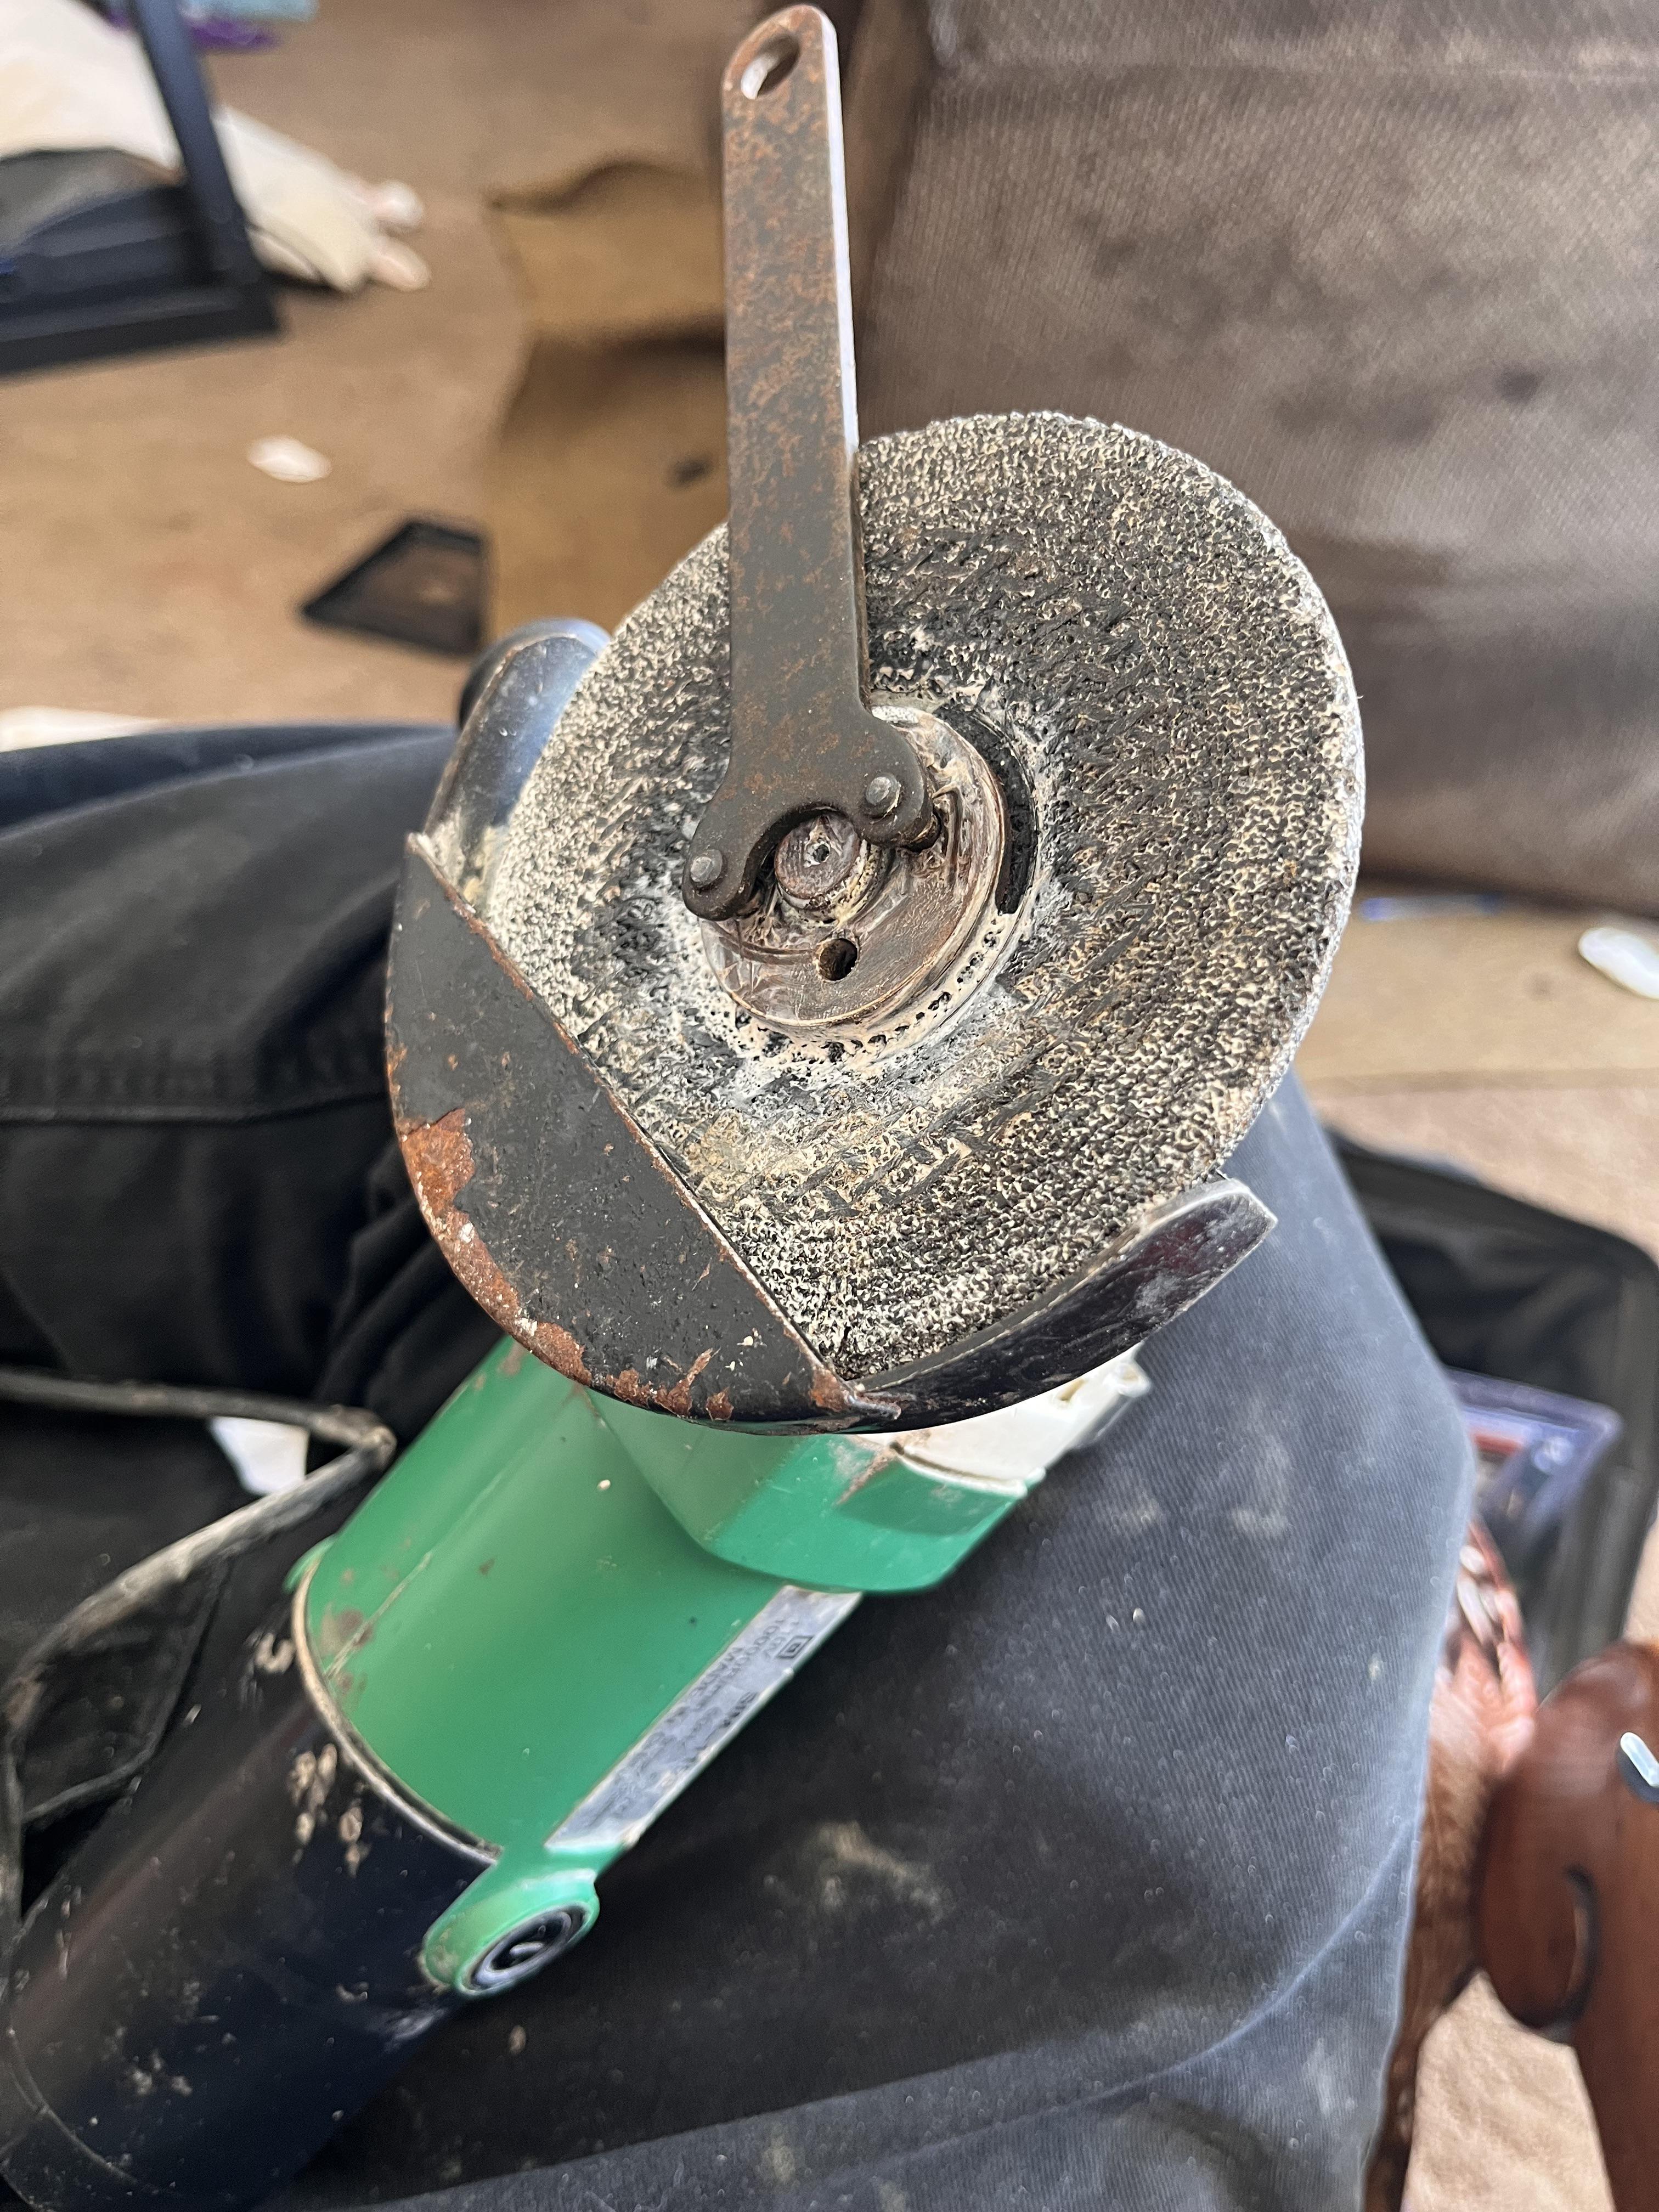
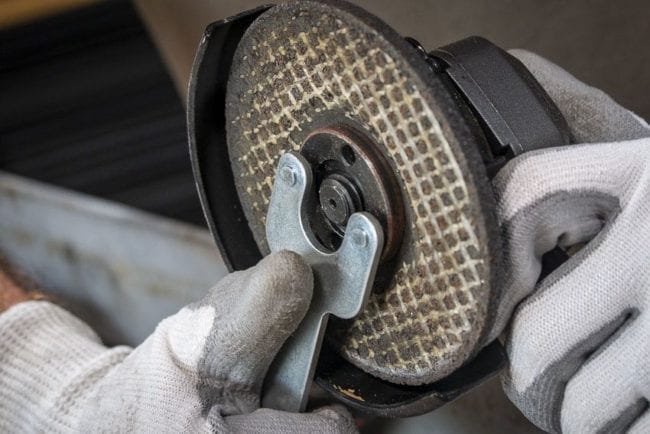
Insert the wrench into the holes of the locking nut. With the spindle locked, turn the wrench counterclockwise (left) to loosen the nut.
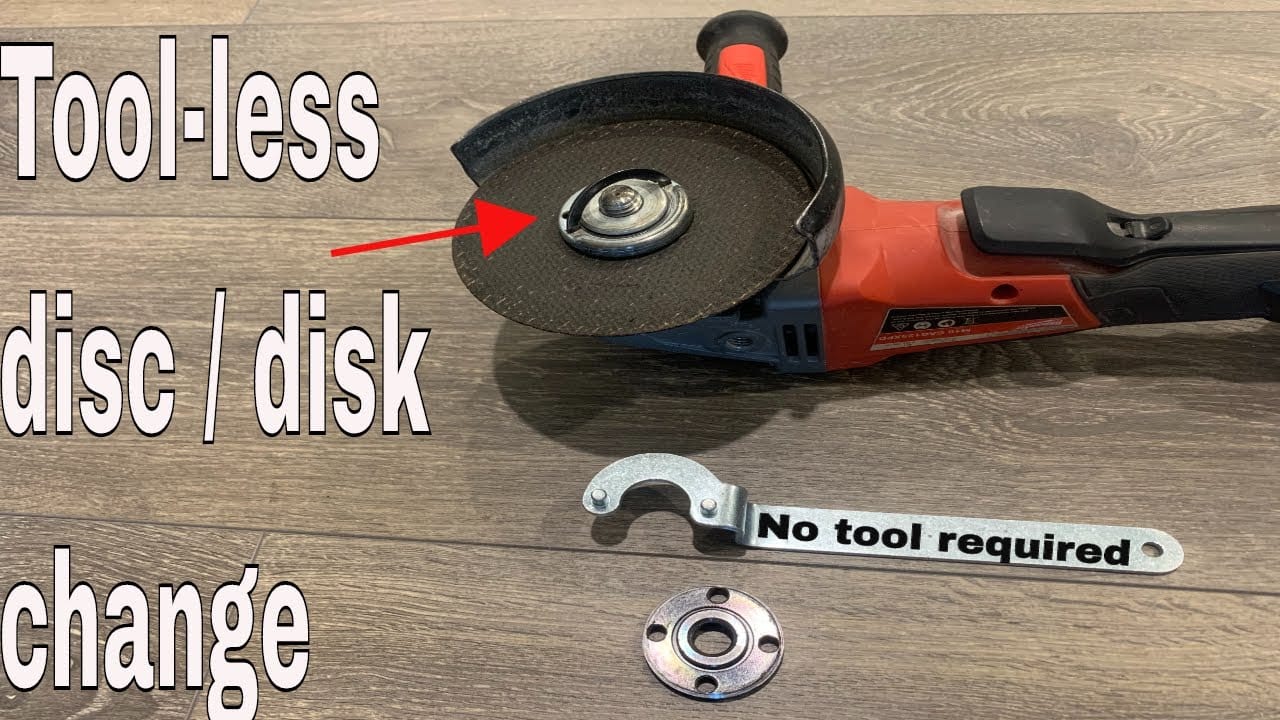
If your grinder has a tool-less nut or a quick-release system, you can unscrew it by hand. These are common on newer models.
5. Remove The Old Disc
Once the nut is loose, lift it off and remove the old disc. Be careful—recently used discs can be hot or sharp.
6. Inspect The Parts
Check the backing flange and locking nut for wear or damage. Clean off any dust or debris. Damaged parts should be replaced immediately.
7. Install The New Disc
Place the new disc onto the spindle. Make sure the label faces out and the disc sits flat against the backing flange.
8. Tighten The Nut
Replace the locking nut and tighten it by hand. Use the wrench to give it a final snug turn—don’t over-tighten. Too much force can crack the disc.
9. Double-check Everything
Release the spindle lock. Spin the disc by hand to ensure it’s secure and not wobbling.
10. Reconnect Power And Test
Plug in your grinder or reattach the battery. Hold the grinder away from your body and briefly power it on. Listen for any strange noises or vibrations. If everything feels normal, you’re ready to work.
Common Types Of Angle Grinder Discs And Their Uses
Choosing the right disc matters as much as changing it. Here’s a quick overview:
| Disc Type | Material Cut/Worked | Common Size (mm) | Typical Use |
|---|---|---|---|
| Cutting Disc | Metal, steel, rebar | 115, 125 | Cutting pipes, rods |
| Grinding Disc | Metal, stone | 115, 230 | Removing welds, smoothing edges |
| Flap Disc | Metal, wood | 115, 125 | Surface finishing, deburring |
| Diamond Disc | Concrete, tiles | 125, 230 | Tile cutting, masonry work |
Insight: Many beginners use the wrong disc for the material, causing poor results or faster disc wear. Always check the disc label for speed and material ratings.
Credit: www.reddit.com
Angle Grinder Disc Change Methods: Compared
Not all grinders or discs are the same. Here’s how different systems stack up:
| Change Method | Speed | Tools Needed | Typical Difficulty |
|---|---|---|---|
| Standard Spanner | Moderate | Angle grinder wrench | Easy |
| Quick-Release Nut | Fast | None | Very Easy |
| Hand-Tighten Nut | Fast | None | Easy |
| Stuck Disc Removal (with pliers) | Slow | Pliers or adjustable wrench | Hard |
Expert tip: If you lose your grinder’s spanner, an adjustable wrench or locking pliers can work in emergencies. But avoid using excessive force.
What To Do If The Disc Is Stuck
Sometimes, the locking nut is so tight you can’t remove it the usual way. Here’s how to handle it:
- Apply penetrating oil around the nut and wait a few minutes.
- Hold down the spindle lock and use a rubber mallet to gently tap the wrench.
- If it still won’t budge, try heating the nut with a hair dryer (not a flame).
- As a last resort, use locking pliers to turn the nut, but be careful not to damage the spindle.
Beginner mistake: Forcing a stuck nut can bend the spindle or break the grinder. If you’re not sure, ask someone with more experience.
Safety Tips Most People Ignore
Many guides talk about eye and hand protection, but two less obvious safety tips are:
- Check disc speed rating: The disc must be rated for your grinder’s RPM. Using a disc with a lower speed rating can cause it to break apart.
- Inspect for hairline cracks: Even small cracks mean the disc is unsafe. Never use a damaged disc, even for “just one cut.”
How Often Should You Change The Disc?
Disc life depends on material, frequency of use, and cutting technique. On average:
- Cutting discs last 15-30 minutes of continuous cutting on steel.
- Grinding discs last longer but wear down faster if used on hard metals.
- Diamond discs can last several hours on masonry.
A good sign it’s time to change is when the disc cuts more slowly or becomes hard to control. Don’t wait for the disc to break before replacing it.
Credit: www.protoolreviews.com
Tips For Making Disc Changes Easier
- Keep your wrench in a set place: Many people waste time looking for the tool.
- Clean the spindle threads: Dust and grit make nuts harder to remove.
- Use a quick-release nut: If you change discs often, consider upgrading to this system.
- Store discs flat: Warped discs are dangerous and hard to install.
Real-world Example
Imagine you’re cutting steel pipe and the disc suddenly grabs, sending a jolt up your arm. You find the disc is worn down to the label. Trying to finish the job with it is risky. By stopping and changing the disc, you not only work faster but also avoid injury.
This simple step can save hours of frustration.
Angle Grinder Disc Sizes: What’s Right For You?
Choosing the correct disc size is important for both performance and safety.
| Disc Size (mm) | Common Use | Suitable Grinder Power (W) |
|---|---|---|
| 100 | Light cutting, hobby work | 500–800 |
| 115 | General metalwork | 600–1000 |
| 125 | All-purpose, home and trade | 800–1200 |
| 230 | Heavy-duty cutting, concrete | 2000+ |
Insight: Using a disc that’s too small or large for your grinder reduces performance and can be dangerous. Always check your grinder’s manual for size limits.
Environmental And Disposal Considerations
Used discs are made of materials like resin and metal. Don’t throw them in general waste. Many recycling centers accept used discs as metal waste. Check local rules. Keeping your workspace clean also reduces dust and fire risk.
When To Replace More Than Just The Disc
If you notice any of these signs, you may need to replace additional parts or the grinder itself:
- Wobbling discs: Could mean a bent spindle.
- Damaged locking nut: Replace immediately to prevent accidents.
- Burn marks on backing flange: Indicates overheating or poor contact.
Regular maintenance extends the life of your tool and keeps you safe.
Frequently Asked Questions
How Do I Know Which Direction To Loosen The Disc?
Most angle grinder discs loosen counterclockwise (to the left). Hold the spindle lock and turn the locking nut left with your wrench. Some grinders have an arrow showing the direction.
Can I Change The Disc Without Any Tools?
If your grinder has a quick-release nut or hand-tighten system, you don’t need extra tools. Otherwise, you’ll need the provided spanner wrench. Never try to change a disc by hand with a standard locking nut.
What Should I Do If My Wrench Is Missing?
You can use an adjustable wrench or locking pliers. Be gentle to avoid stripping the nut. It’s best to buy a replacement spanner for your grinder.
Is It Safe To Use A Cracked Or Chipped Disc?
No. Even small cracks or chips can cause the disc to break apart at high speed. Always use a new, undamaged disc. For more safety tips, check the official Health and Safety Executive guide.
How Can I Make My Discs Last Longer?
Use the right disc for the job, avoid pressing too hard, and let the grinder’s speed do the work. Clean your grinder regularly and store discs flat to prevent warping.
Changing an angle grinder disc is a simple task when you follow the right steps. With proper safety gear, the correct tools, and a little care, you can switch discs quickly and safely. Remember, a well-maintained grinder is not only more effective but also much safer to use.
Keep these tips in mind, and your angle grinder will serve you well for years.
