If you’re ready to take your woodworking skills to the next level, learning how to make box joints with a router is a game-changer. Box joints are strong, attractive, and perfect for building everything from drawers to boxes.
But getting those precise, evenly spaced cuts can feel tricky without the right technique. In this guide, you’ll discover simple, step-by-step methods to create perfect box joints using your router—no complicated tools or expensive jigs needed. By the end, you’ll have the confidence to craft joints that fit like a glove and impress anyone who sees your work.
Ready to master this essential woodworking skill? Let’s get started!
Tools And Materials
Creating precise box joints with a router requires specific tools and materials. Using the right equipment ensures clean cuts and tight fits. This section covers the essentials for your project.
Essential Router Bits
A straight router bit is key for box joints. Choose one with a flat cutting edge for smooth grooves. Bit size affects joint strength and fit. Common sizes are 1/4 inch or 1/2 inch. Sharp bits make cleaner cuts and reduce tear-out. Replace dull bits to maintain quality.
Choosing The Right Jig
A jig guides the router for even, consistent cuts. It holds the workpiece steady and controls the bit’s path. Simple jigs work for small projects. Adjustable jigs offer flexibility for different joint sizes. Secure the jig firmly to avoid movement during cutting. A well-made jig saves time and improves accuracy.
Workpiece Selection
Select wood that is flat and free of defects. Hardwoods like maple or oak provide strong joints. Softwoods can work but may wear faster. Cut your workpieces to exact dimensions before routing. Avoid warped or twisted boards for best results. Proper wood choice ensures durable, neat joints.
Setting Up The Router
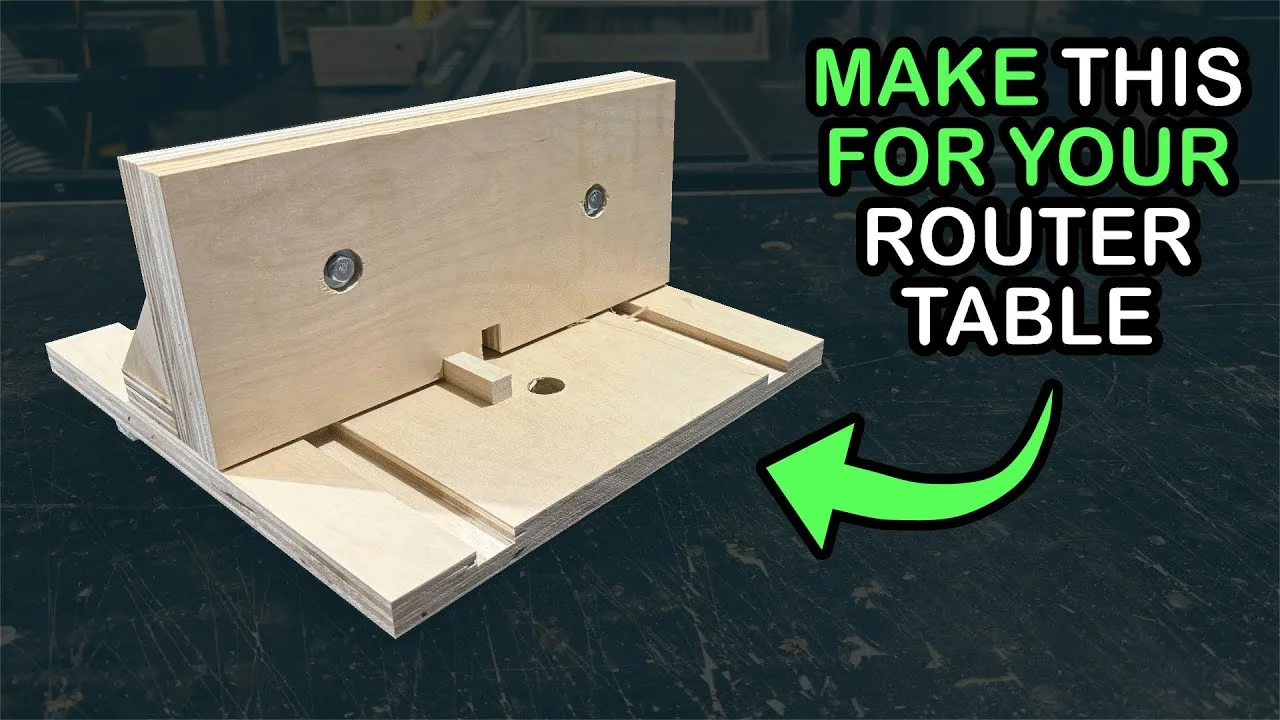
Building a simple box joint jig is a smart way to create strong, precise joints. A jig guides your router to make evenly spaced cuts. This makes your box joints fit perfectly every time. You do not need expensive tools or materials. Just a few basic supplies and some careful assembly.
This jig works with most routers and router tables. It helps beginners and experienced woodworkers. Making your own jig saves money and adds control over your projects. Follow the steps below to build a reliable box joint jig quickly.
Materials Needed
- 1/2-inch plywood or MDF board (for base)
- Hardwood strip (for fence)
- Wood screws (1-inch length)
- Wood glue
- Measuring tape or ruler
- Clamps
- Sandpaper (medium grit)
- Pencil
Step-by-step Assembly
- Cut the plywood base to about 12 by 6 inches.
- Cut a hardwood strip 12 inches long and 2 inches wide for the fence.
- Mark equally spaced notches on the fence. Each notch matches your router bit width.
- Use a saw to cut the notches carefully along the fence.
- Sand the edges of the fence and base to remove rough spots.
- Attach the fence to the base with wood glue and screws. Keep it square.
- Clamp the pieces tightly and let glue dry completely.
- Test the jig by sliding your workpiece under the fence to check fit.
- Make minor adjustments if needed for smooth movement.
Building A Simple Box Joint Jig
Marking and preparing the workpieces is the first step in making precise box joints with a router. Proper preparation ensures that the joints fit tightly and look professional. This phase involves careful measurement and securing the wood pieces firmly to avoid any movement during cutting.
Measuring For Accurate Joints
Start by measuring the thickness and length of each workpiece. Use a ruler or caliper for exact numbers. Mark the width of the fingers evenly along the edges. Make sure the marks line up perfectly on both pieces. Accuracy in measurement prevents gaps in the final joint. Double-check your markings before moving on to cutting.
Clamping Techniques
Use clamps to hold the workpieces steady on your workbench. Position them so the pieces do not shift during routing. Apply even pressure to avoid bending or warping the wood. Choose clamps that fit the size of your workpieces. Clamping reduces errors and improves safety while cutting box joints.
Credit: www.youtube.com
Marking And Preparing The Workpieces
Cutting the first board is a key step in making box joints with a router. This board sets the pattern for all other pieces. Accuracy here ensures tight, clean joints later. Take your time and prepare carefully before starting the cut.
Aligning The Jig
Place the jig firmly on your router table. Make sure it is square to the fence. Check the alignment by running a test cut on scrap wood. Adjust the jig so the router bit cuts the exact width of the fingers. Proper alignment prevents gaps in the joint.
Making Consistent Passes
Move the board slowly and steadily across the router bit. Keep pressure against the jig to hold the board in place. Make each pass the same depth and speed. Consistent passes create uniform fingers for a snug fit. Repeat the cut pattern until all fingers are cut.
Cutting The First Board
Fitting and testing the box joint is a key step in woodworking. It ensures the joint fits snugly and holds strong. Careful testing prevents gaps and weak connections. This step saves time and materials in the long run.
Dry Fitting Tips
Start by assembling the joint without glue. Gently fit the fingers together to check alignment. The joint should slide in with slight resistance. Avoid forcing the pieces, which can cause damage.
Inspect for any gaps or uneven areas. Use a small mallet to tap the joint lightly if needed. Check both sides to confirm even contact. Dry fitting helps identify needed adjustments before final assembly.
Adjusting For A Tight Fit
If the joint is too tight, carefully trim the fingers. Use a fine file or sandpaper for precise removal. Remove a little at a time, testing frequently. Too much material can cause a loose fit.
For joints that are too loose, add thin strips of wood or veneer. Glue them to the fingers for a better fit. Clamp and let dry before testing again. Proper adjustment results in a secure, neat joint.
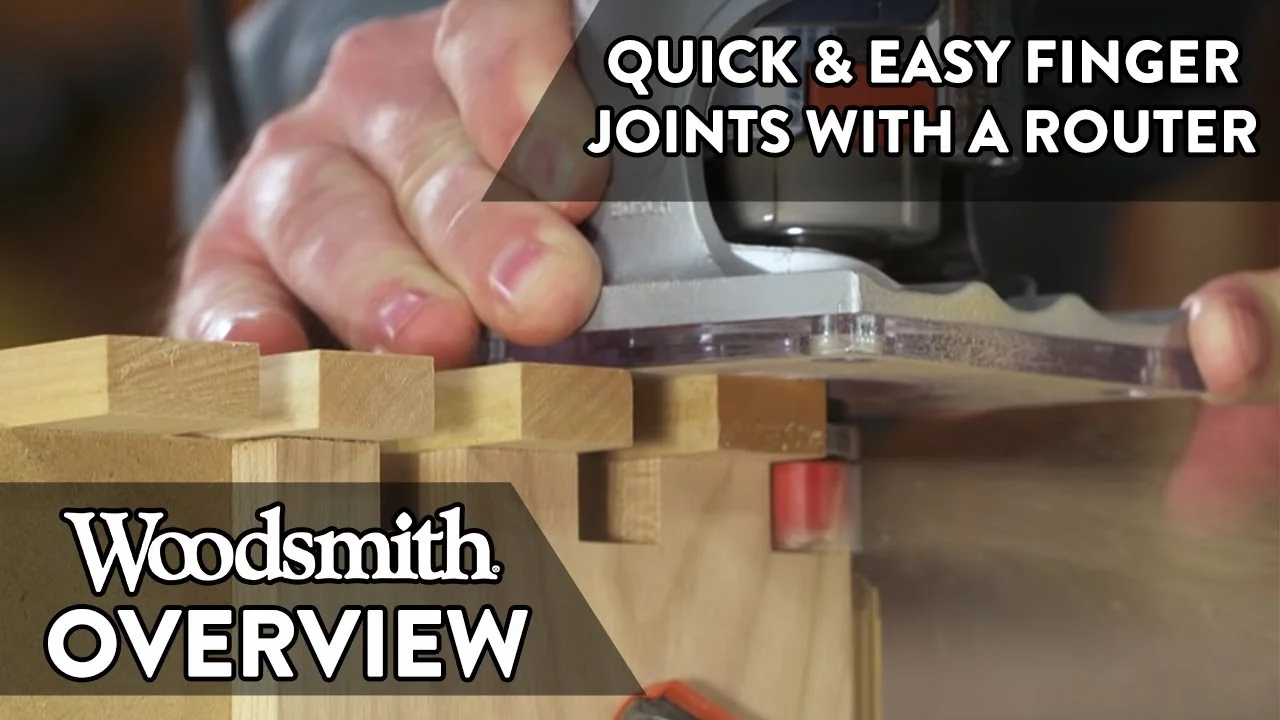
Credit: www.woodsmith.com
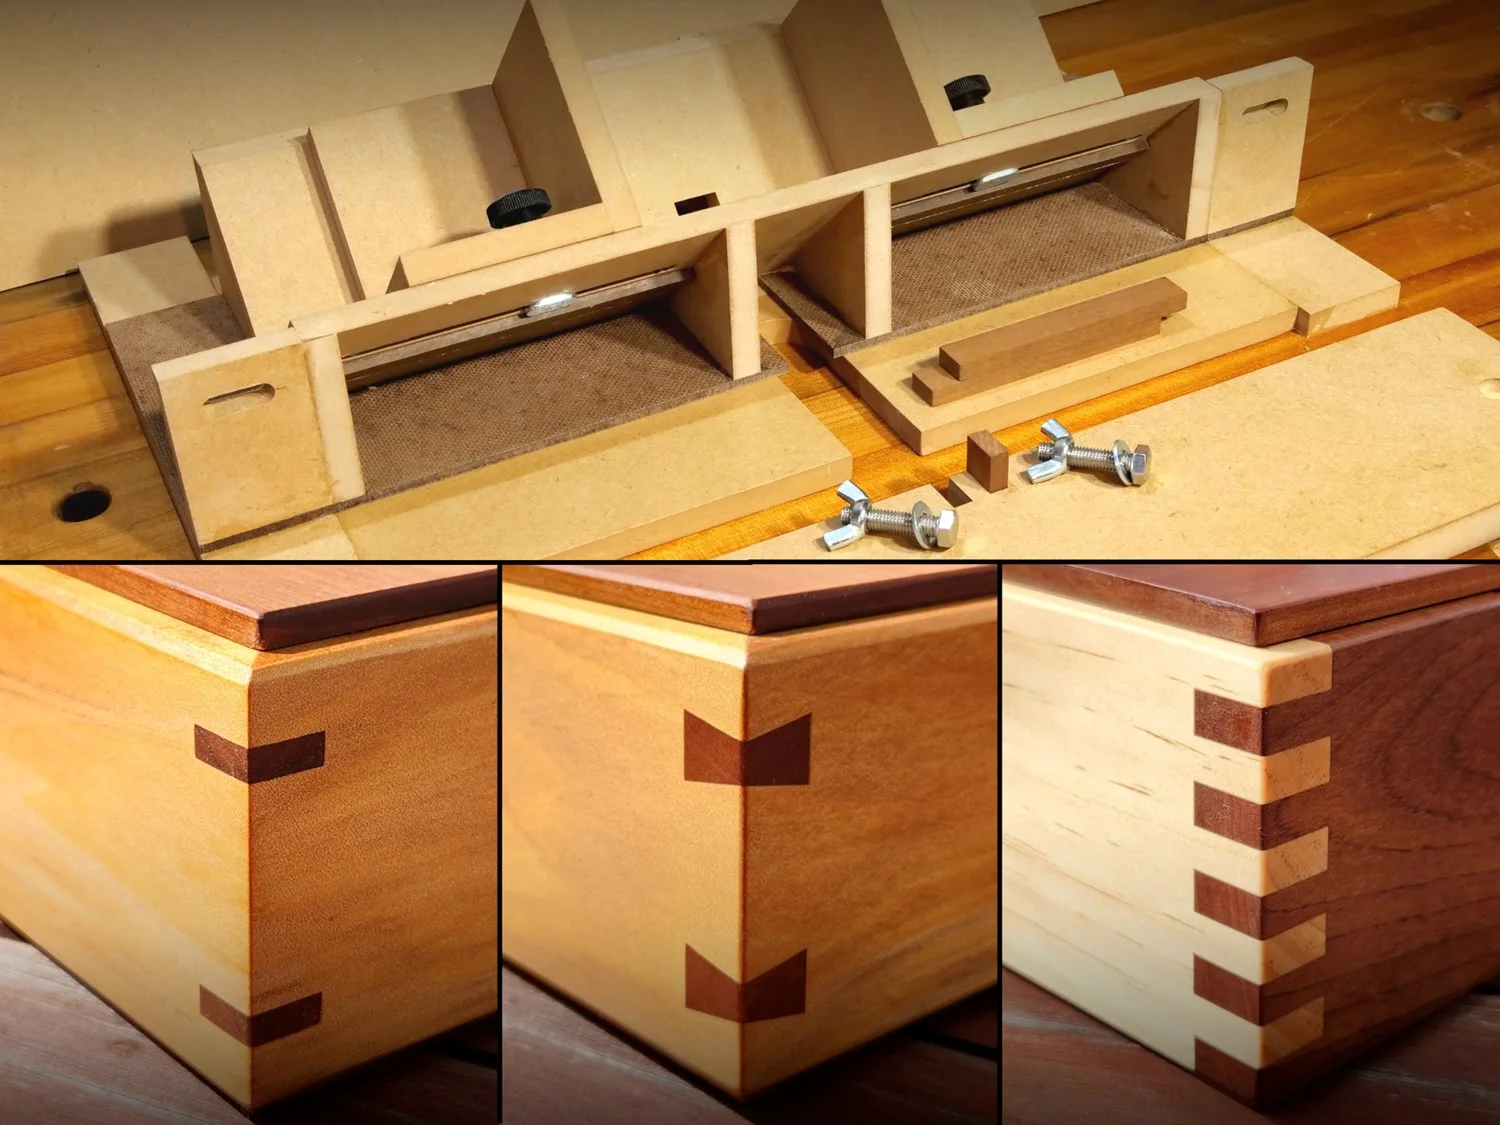
Credit: www.kiwiworkshop.com
Frequently Asked Questions
What Router Bit To Use For Box Joints?
Use a straight router bit matching your desired finger width for precise box joints. A ⅜-inch straight bit works well. Choose a bit that fits your box joint jig for clean, even cuts. Avoid bits with bearings; straight bits ensure tight-fitting joints.
Can I Use My Router As A Jointer?
You can use a router as a jointer for small edges by flattening and smoothing wood surfaces. It requires a straight edge guide and careful handling. This method works for minor adjustments but won’t replace a dedicated jointer for large or precise tasks.
How To Joint With A Router?
Set up a router table with a box joint jig. Use a straight bit matching finger size. Make evenly spaced cuts, flip the board, and repeat for perfect joints.
Can You Mortise With A Router?
Yes, you can mortise with a router by using a straight bit and a guide or jig for precision.
What Router Bit Is Best For Making Box Joints?
A straight bit matching the desired finger width works best for clean box joints.
Conclusion
Making box joints with a router is simple and rewarding. Follow the steps carefully for clean, tight joints. Use the right bit and jig to ensure accuracy. Take your time to set up the router properly. Practice on scrap wood before working on your project.
With patience, your joints will fit perfectly every time. This method saves time and creates strong, attractive connections. Enjoy building sturdy boxes with professional-looking joints. Keep experimenting to improve your skills and results.
