
Using a nail gun can make your work faster and more efficient, but only if you take care of the tool properly. Many beginners forget a critical step: oiling a nail gun. If you skip oiling, your nail gun can jam, wear out, or even break. A well-oiled nail gun lasts longer, works more smoothly, and keeps you safe. In this article, you’ll learn exactly how to oil a nail gun, what type of oil to use, how often you should do it, and mistakes to avoid. By the end, you’ll be confident maintaining your nail gun like a pro—even if you’re new to power tools.
Why Oiling A Nail Gun Matters
A nail gun is a powerful tool with moving parts inside. When you use it, metal rubs against metal. This creates friction, which causes wear and tear. Oiling is the easiest way to protect your tool from damage. Proper lubrication:
- Reduces friction
- Prevents rust and corrosion
- Stops air leaks
- Helps the gun fire nails smoothly
- Extends tool lifespan
If you ignore oiling, you may notice jamming, sluggish firing, or air leaking from the gun. Over time, skipping oil can ruin the internal seals, making repairs expensive or even impossible.
Understanding Nail Gun Types And Oiling Needs
Not all nail guns need oiling. Most pneumatic nail guns (those that use air) need regular oil. But some models, like electric or battery-powered nailers, are designed to be oil-free. If you’re unsure, check your owner’s manual or look for a sticker on the tool.
Here’s a quick comparison of nail gun types and their oiling needs:
| Nail Gun Type | Needs Regular Oil? | Notes |
|---|---|---|
| Pneumatic (Air-powered) | Yes | Oil daily or every use |
| Electric (Corded) | No | Usually oil-free |
| Battery-powered (Cordless) | No | Usually oil-free |
| Hydraulic | Check manual | Rare in DIY; some need oil |
Pro tip: If your pneumatic nail gun says “oil-less” or “maintenance-free,” don’t add oil. It can damage the tool.
Choosing The Right Oil For Your Nail Gun
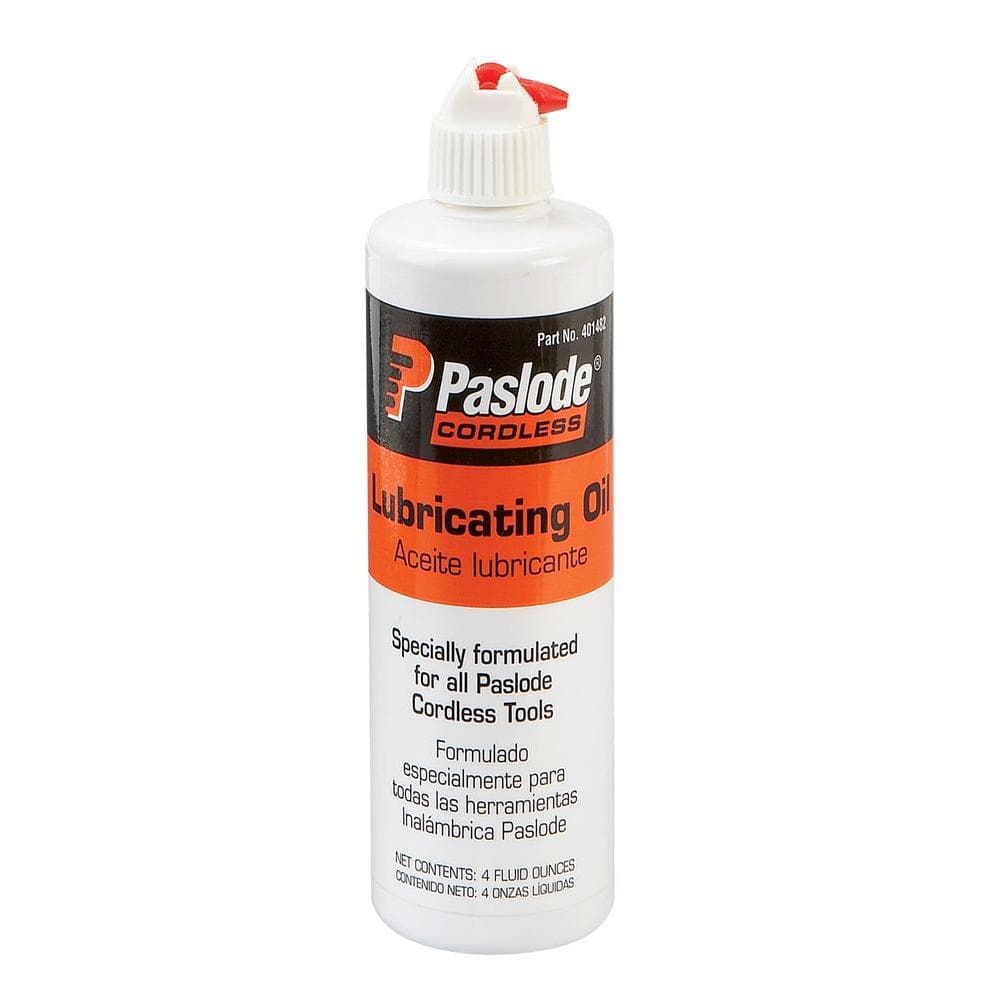
Using the wrong oil can do more harm than good. Never use WD-40, motor oil, or vegetable oil—these can damage seals or cause sticky buildup. The best oil is pneumatic tool oil. This oil is designed for air tools and protects rubber seals inside your nail gun.
Look for these features in a good nail gun oil:
- Non-detergent: No cleaning agents that harm seals
- Lightweight: Flows easily
- Rust inhibitor: Stops corrosion
- No additives: Avoids sticky residue
Most brands sell small bottles of pneumatic tool oil. Even a little bottle lasts a long time since you use just a few drops each time.
Here’s a comparison of common oil types:
| Oil Type | Safe for Nail Guns? | Notes |
|---|---|---|
| Pneumatic tool oil | Yes | Best choice |
| Motor oil | No | Too thick, contains additives |
| WD-40 | No | Can damage rubber seals |
| Vegetable oil | No | Turns sticky, not for tools |
Non-obvious insight: Some nail gun oils are clear, others are light amber. Both are fine—just check the label for “pneumatic tool oil.”
How Often Should You Oil A Nail Gun?
How often you oil depends on how much you use the tool. For most DIYers, oiling once a day of use is enough. Professionals who use a nail gun all day may need to oil it every few hours.
Follow these general rules:
- Light use (home projects): Oil before each day of use
- Heavy use (contractors): Oil every time you refill nails or after a few hours
- After cleaning: Always oil after taking the gun apart for cleaning
Beginner mistake: Many people only oil when the nail gun jams. This is too late—oil regularly to prevent problems.
Step-by-step: How To Oil A Nail Gun
Oiling your nail gun is simple. Follow these steps for safe, effective maintenance.
1. Gather What You Need
You’ll need:
- Pneumatic tool oil
- Clean cloth or paper towel
- Safety glasses
Turn off the air supply and disconnect the nail gun before you begin.
2. Remove Nails And Disconnect Air Hose
For safety, always disconnect the air hose and remove any nails from the magazine. This stops the gun from accidentally firing.
3. Locate The Air Inlet
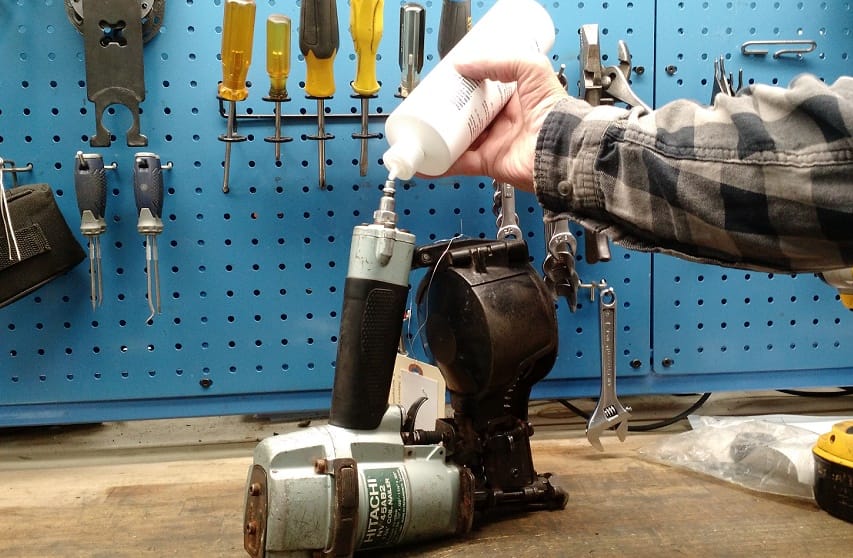
Find the small metal fitting where the air hose connects. This is the air inlet. Most oil goes here.
4. Add Oil
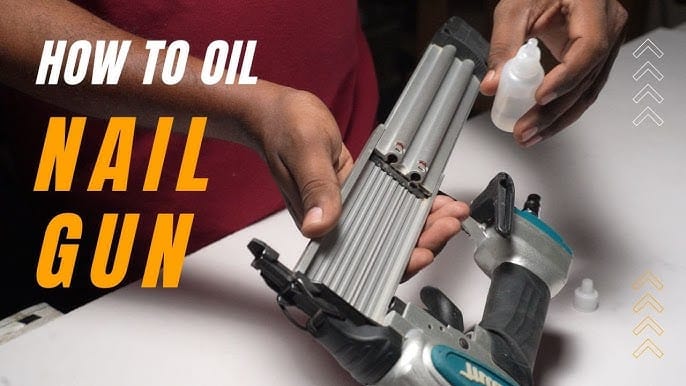
Hold the nail gun upright. Place 2–4 drops of pneumatic tool oil into the air inlet. Do not over-oil—extra oil can spray out or attract dust inside the gun.
Non-obvious insight: If your nail gun is larger (like a framing nailer), use up to 5 drops. For smaller finish or brad nailers, 2–3 drops is enough.
5. Reconnect Air Hose
Reconnect the air hose. Point the nail gun away from people and objects. Pull the trigger a few times to cycle the oil through the gun. This spreads oil across the inner parts.
6. Wipe Off Excess Oil
Check for any oil that leaks out. Wipe with a cloth to keep your tool clean and safe.
7. Load Nails And Test
Reload nails. Fire a few test shots into scrap wood to make sure the gun works smoothly. If you see oil on your workpiece, you used too much—use fewer drops next time.
Special Cases: Oil Points And Extra Lubrication
Some nail guns have extra oil points, like the magazine or moving trigger parts. Always check your manual for special instructions. Most of the time, the air inlet is the only place to add oil.
Tip: If your gun has a moving magazine or exposed slide, put one drop of oil on the slide every few weeks. Do not oil the nails themselves.
Common Mistakes When Oiling A Nail Gun
Even experienced users can make mistakes. Here are the biggest errors to avoid:
- Using the wrong oil: Only use pneumatic tool oil, never household oils.
- Over-oiling: More oil isn’t better. Too much oil collects dust and makes a mess.
- Forgetting to oil: Regular oiling prevents jams and extends tool life.
- Oiling the wrong places: Do not oil the nails or the inside of the magazine unless your manual says so.
- Not cleaning old oil: Wipe away old, dirty oil—don’t just add more on top.
How To Tell If Your Nail Gun Needs Oil
Sometimes you forget when you last oiled the gun. Watch for these signs:
- Nail gun fires slowly or weakly
- Jams more often than usual
- Air leaks from the gun
- Gun feels rough or sticky when firing
If you see these symptoms, oil your tool right away. If problems continue, the gun may need cleaning or repair.
Credit: www.homedepot.com
Safety Tips When Oiling A Nail Gun
Keeping safe is just as important as maintenance. Remember:
- Always disconnect the air supply before oiling
- Wear safety glasses to protect your eyes from oil spray
- Wipe up spills quickly to avoid slipping
- Store oil out of reach of children
If you get oil on your hands, wash them before handling nails or wood.
Maintenance Schedule For Nail Guns
Setting a schedule helps you remember to oil and maintain your tool. Here’s a sample routine:
| Task | Frequency | Notes |
|---|---|---|
| Oil air inlet | Every use | 2–4 drops per session |
| Clean magazine | Monthly | Brush out dust |
| Check for leaks | Weekly | Listen for hissing air |
| Inspect seals and O-rings | Every 6 months | Replace if cracked |
Experience-based tip: Mark your calendar or set a phone reminder to oil your nail gun if you don’t use it often.
What To Do If You Over-oil
Adding too much oil can make your gun spit oil onto your project or hands. If this happens:
- Wipe off any visible oil
- Fire the gun (without nails) a few times to clear extra oil
- Use less oil next time
Over-oiling is not usually dangerous, but it makes a mess and can attract dust.
Cleaning Before Oiling
If you notice your nail gun is dirty or sticky, clean it before oiling. Use a dry brush or compressed air to remove dust. Never wash with water or use strong chemicals. After cleaning, add oil as usual.
Credit: www.youtube.com
Storing Your Nail Gun
Proper storage keeps your tool in good shape. Store in a dry place, away from moisture. After oiling, store the gun upright to stop oil from pooling inside. If you won’t use the gun for months, add a few drops of oil before storage to protect against rust.
When To See A Professional
If your nail gun still jams or leaks after regular oiling and cleaning, it may need repair. Broken seals, damaged O-rings, or worn-out parts need a professional touch. Don’t try to fix air leaks with glue or tape—it won’t work and could be dangerous. For more on tool maintenance, check the Family Handyman Guide.
Credit: www.nailgundepot.com
Frequently Asked Questions
How Much Oil Should I Use Each Time?
Usually, 2 to 4 drops of pneumatic tool oil is enough for each session. For larger guns, use up to 5 drops. Too much oil can cause leaks and mess.
Can I Use Wd-40 Or Other Spray Lubricants?
No. WD-40 is not made for nail guns and can damage the rubber seals inside. Always use pneumatic tool oil.
What Happens If I Forget To Oil My Nail Gun?
The gun may jam, lose power, or start leaking air. Over time, parts can wear out faster or even break. Regular oiling is the best way to keep your tool working well.
Where Do I Put The Oil In A Nail Gun?
Most of the time, oil goes in the air inlet—the small metal fitting where you connect the air hose. Check your manual for extra oil points.
Do All Nail Guns Need Oil?
No. Only pneumatic (air-powered) nail guns need oil. Electric or battery-powered nail guns are usually oil-free. Check your user manual to be sure.
Taking five minutes to oil your nail gun can save you hours of frustration later. With good habits and the right oil, your tool will run smoothly for years. Treat your nail gun well, and it will always be ready for the job.
