Last Updated: April 1, 2026
Are you wondering if your circuit breaker is working properly? Knowing how to test a breaker with a multimeter can save you time, money, and frustration.
Whether your lights flicker or your outlets don’t power up, a faulty breaker might be the cause. But before you call an electrician, you can quickly check it yourself with a few simple steps. This guide will walk you through the exact process to test your breaker safely and accurately, even if you’re not an expert.
Keep reading to gain the confidence and know-how to diagnose your breaker like a pro.
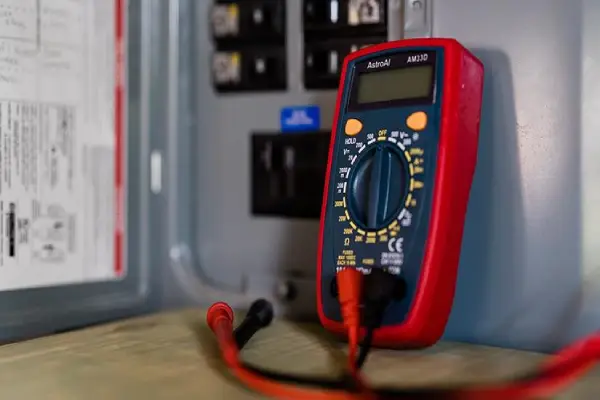
Credit: mrelectric.com
Safety Precautions
Always switch off the main power before testing a breaker with a multimeter. Use insulated tools and avoid touching live wires to prevent shocks. Double-check that the panel cover is secure before starting any measurements.
Wear Protective Gear
Always wear insulated gloves and safety goggles. These protect you from electric shock and sparks.
Turn Off Main Power
Switch off the main breaker before opening the panel. This stops electricity flow and lowers risk.
Use A Dry Environment
Test breakers in a dry place. Water or moisture can cause dangerous shocks or damage tools.
Check Your Multimeter
Inspect your multimeter for damage. Use a properly working tool to get accurate and safe readings.
Follow Proper Handling
Handle wires and probes carefully. Do not touch metal parts to avoid electric shocks.
Tools Needed
Essential tools include a digital multimeter, insulated gloves, and a screwdriver. These help safely access and test the breaker’s electrical output and continuity.
Testing a breaker with a multimeter requires a few simple tools. Each tool helps ensure accurate and safe testing. Gather these items before you start.
Having the right tools makes the process smooth and prevents accidents. Prepare your workspace well for the best results.
Digital Multimeter
A digital multimeter is essential for this task. It measures voltage, current, and resistance. Choose one with clear display and easy settings. This tool detects if the breaker works properly or not.
Insulated Screwdriver
An insulated screwdriver helps remove the panel cover safely. It protects you from electric shock. Always use tools with insulation to avoid accidents when working near live circuits.
Safety Gloves
Wear safety gloves to protect your hands from electrical shocks. They add a layer of insulation. Use gloves rated for electrical work for better protection.
Flashlight
A flashlight helps you see inside the breaker panel clearly. Electrical panels are often in dim areas. Good lighting makes testing easier and safer.
Voltage Tester
A voltage tester checks if power is off before you start. Confirming no live current prevents injury. Always double-check with this device before touching wires.
Accessing The Breaker Panel
Start by turning off the main power to ensure safety before opening the breaker panel. Remove the panel cover carefully to reach the breakers for testing.
Safety First Before Accessing The Breaker Panel
Always prioritize safety before opening the breaker panel. Turn off the main power switch to cut electricity flow. This step protects you from electric shocks. Use insulated gloves if possible. Make sure your hands are dry. Avoid standing on wet surfaces while working.
Locating The Breaker Panel
Find the breaker panel in your home. It is often in the basement, garage, or utility room. The panel is a metal box mounted on a wall. It usually has a door or cover labeled “Electrical Panel” or “Breaker Box.”
Removing The Panel Cover
Use a screwdriver to remove screws holding the panel cover. Carefully take off the cover to expose the breakers inside. Place the cover somewhere safe to avoid damage. Do not touch any wires inside the panel. Only access the breakers for testing.
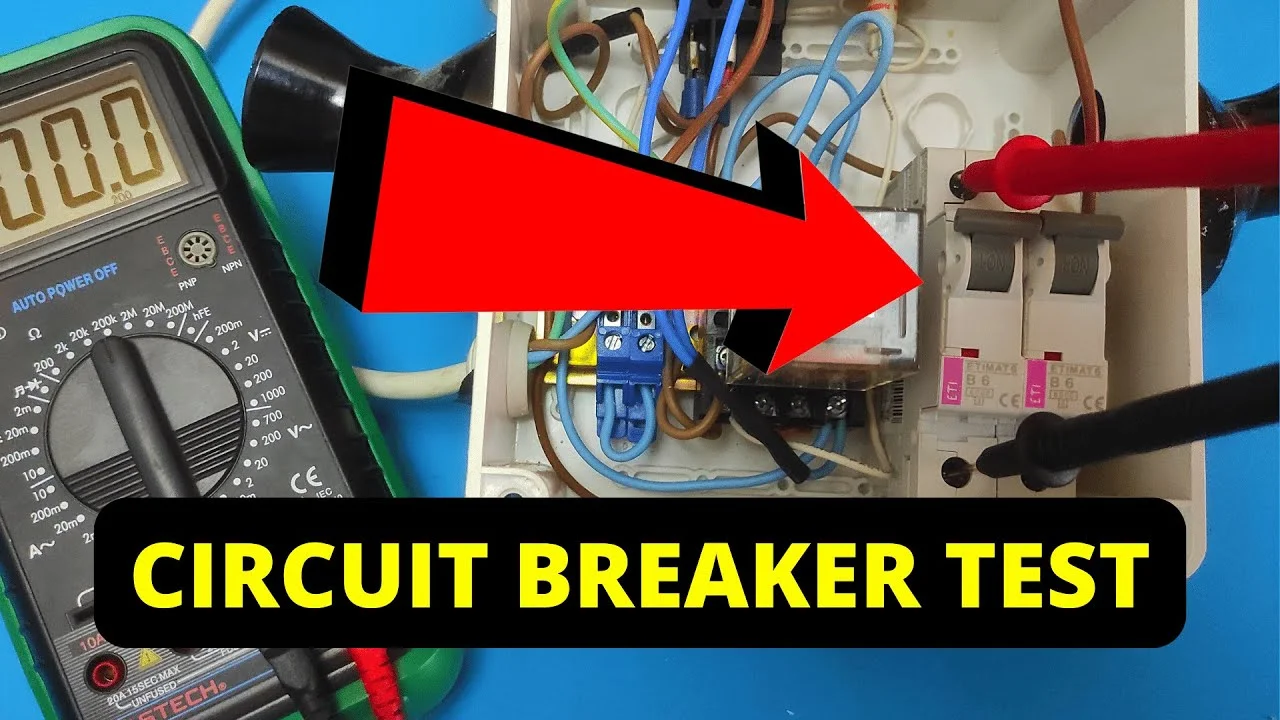
Credit: www.youtube.com
Voltage Test Setup
Testing a breaker with a multimeter involves checking voltage and continuity. Start by turning off the main power and removing the panel cover. Measure voltage across the breaker terminals or test continuity to see if the breaker works properly.
Preparing The Multimeter
Set your multimeter to measure AC voltage. Choose a range that covers 120V or 240V.
Check the multimeter leads. The black lead goes into the common (COM) port.
The red lead plugs into the voltage (V) port. Ensure the probes are clean.
Turning Off The Power
Safety is key. Switch off the main power before opening the panel.
Use a screwdriver to remove the panel cover carefully. Avoid touching any wires.
Locating The Breaker
Identify the breaker you want to test. It will be labeled or marked in the panel.
Check if the breaker is in the ON position before testing voltage.
Testing The Breaker Voltage
Place the black probe on the neutral bus bar. This is the panel’s neutral connection.
Touch the red probe to the breaker’s output terminal. Read the voltage on the multimeter.
A good breaker shows a voltage close to the panel rating: 120V or 240V.
No or low voltage means the breaker may be faulty or tripped.
Performing Voltage Test
Performing a voltage test on a breaker is a simple way to check if it works properly. This test measures the electrical voltage coming from the breaker. It helps find out if the breaker is allowing power to flow as it should.
Using a multimeter for this test gives quick and clear results. The multimeter shows the voltage level, which tells if the breaker is good or faulty. This test does not require much technical skill but needs caution to avoid electric shock.
Prepare Your Multimeter
Set your multimeter to measure AC voltage. This setting is usually marked as “V~” or “ACV.” Make sure the multimeter’s probes are in the correct ports. The black probe goes into the common port, and the red probe into the voltage port.
Turn Off And Access The Breaker Panel
Switch off the main power to the breaker panel. Remove the panel cover carefully to see the breakers. Do not touch any wires inside the panel. Use a flashlight if needed for better visibility.
Test The Breaker Voltage
Turn the breaker you want to test to the ON position. Place the black probe on the breaker’s neutral terminal or panel ground. Touch the red probe to the breaker’s output terminal. Read the voltage on the multimeter display.
Interpret The Voltage Reading
A healthy breaker shows voltage close to your home supply, usually 110-120 volts in the US. A very low or zero reading means the breaker may be bad or tripped internally. Repeat the test for other breakers if needed.
Continuity Test Setup
Setting up a continuity test requires turning off power and accessing the breaker panel safely. Use a multimeter set to ohms to check if the breaker shows zero resistance when on, indicating proper continuity.
Preparing Your Multimeter For Continuity Testing
Start by turning off power to the breaker panel. This step keeps you safe.
Set your multimeter to the continuity mode. It often shows a sound wave symbol.
If your multimeter lacks continuity mode, use the lowest ohms setting. This measures resistance.
Accessing The Breaker Terminals
Remove the panel cover carefully. Use a screwdriver if needed.
Locate the breaker you want to test. Identify its terminals clearly.
Ensure no wires touch each other or the panel metal. This avoids false readings.
Connecting The Multimeter Probes
Attach the black probe to the multimeter’s common terminal. This is usually marked “COM.”
Plug the red probe into the terminal marked for continuity or ohms.
Touch one probe to each breaker terminal. Hold steady for a clear reading.
Interpreting Continuity Test Results
A beep or zero reading means continuity. The breaker is closed and working.
No beep or infinite reading means no continuity. The breaker may be faulty.
Repeat the test with the breaker in both ON and OFF positions. This confirms its condition.
Performing Continuity Test
Performing a continuity test on a breaker is a simple way to check its condition. This test shows if the breaker allows electrical current to pass through. A good breaker will have continuity when switched on and no continuity when off. Using a multimeter to perform this test helps find faulty breakers safely and quickly.
Setting Up Your Multimeter
Start by turning off the power to the breaker panel. Remove the panel cover carefully to access the breakers. Set your multimeter to the continuity mode or the lowest ohms setting. This mode usually has a symbol like a sound wave or diode. Make sure the multimeter leads are connected correctly—black to common and red to voltage or ohms.
Testing The Breaker For Continuity
Switch the breaker to the ON position. Touch one multimeter lead to the breaker’s terminal screw. Touch the other lead to the breaker’s output terminal. The multimeter should beep or show a low resistance reading. This means the breaker has continuity and is working. If there is no beep or the reading is very high, the breaker may be faulty.
Interpreting The Results
A continuity beep or low resistance means the breaker lets current flow. No beep or infinite resistance means the breaker is open or broken. Test the breaker in the OFF position to confirm no continuity. This confirms the breaker stops the current as it should. Repeat the test if the readings seem unclear or inconsistent.
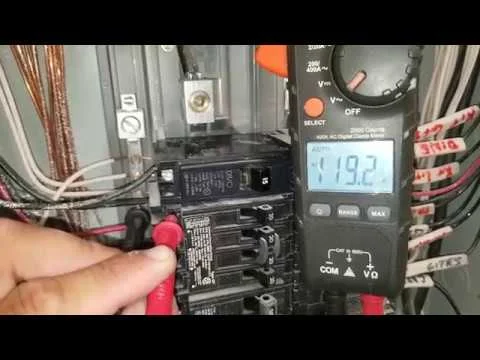
Credit: www.youtube.com
Interpreting Test Results
Interpreting test results is a crucial step after checking a breaker with a multimeter. The readings tell you if the breaker works correctly or if it needs replacement. Understanding these numbers helps prevent electrical problems and keeps your home safe.
Test results can be simple but must be read carefully. They show whether electricity flows properly through the breaker or if it is blocked. Clear reading interpretation avoids guesswork and wrong repairs.
Reading Voltage Test Results
Set your multimeter to AC voltage mode to test the breaker’s output. A good breaker shows voltage close to your home’s supply, usually around 120 or 240 volts. Low or zero voltage means the breaker may be faulty. No voltage means no power is passing through.
Understanding Continuity Test Results
Use the ohms setting for continuity testing. If the breaker is on, you should see low resistance or zero ohms. This means electricity flows freely. When the breaker is off, the multimeter should show infinite resistance or no continuity. Any other reading suggests a problem.
Signs Of A Faulty Breaker
Zero voltage during an “on” test or voltage during an “off” test indicates a bad breaker. Continuity during the “off” position or no continuity when “on” also shows failure. These results mean the breaker cannot control power correctly and needs replacement.
Frequently Asked Questions
How To Check If A Breaker Is Bad With A Multimeter?
Turn off main power and remove the panel cover. Set multimeter to AC voltage. Measure output at the breaker terminal. A bad breaker shows zero or low voltage. For continuity, set to ohms; good breaker shows low resistance ON, infinite OFF.
What Is The 125% Rule For Circuit Breakers?
The 125% rule allows a circuit breaker to handle 125% of a continuous load’s current. It ensures safe operation without tripping under normal conditions. This rule applies mainly to HVAC and motor circuits to prevent nuisance breaker trips.
How To Tell If A Circuit Breaker Is Good Or Bad?
Turn off power and remove the panel cover. Use a multimeter to check voltage or continuity. No voltage or no continuity in the ON position means a bad breaker.
What Do I Set My Multimeter To Check Amps?
Set your multimeter to the highest DC or AC amp range. Use the correct port for current measurement.
How Do I Test A Breaker With A Multimeter Safely?
Turn off power, remove panel cover, then use the multimeter to test voltage or continuity.
What Multimeter Settings Are Needed To Test A Breaker?
Set your multimeter to AC voltage for voltage tests or to ohms for continuity checks.
Conclusion
Testing a breaker with a multimeter helps keep your home safe. Always turn off power before starting any tests. Use the right multimeter settings to check voltage or continuity. A good breaker shows proper voltage and correct resistance readings. If readings seem off, the breaker may need replacing.
Taking these steps can prevent electrical problems. Stay cautious and work carefully around electrical panels. Simple tests can save time and money on repairs.
Read also: Multimeter Category Rating Cat III Explained
