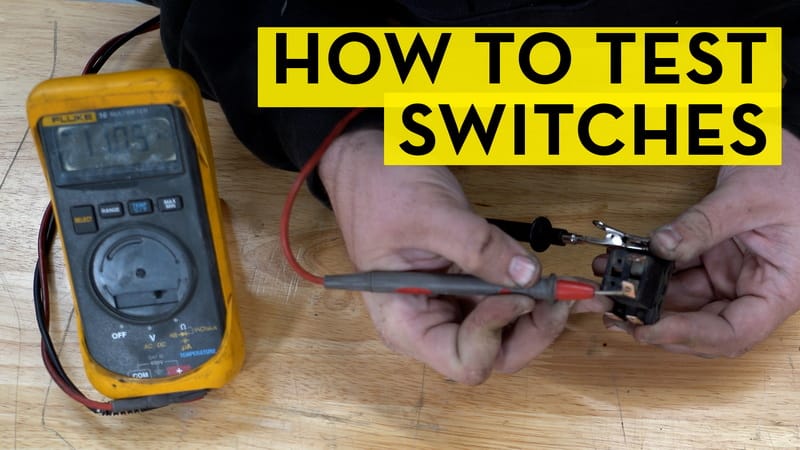
If a switch stops working, the fastest way to confirm the problem is learning How to Test a Switch With a Multimeter. This simple test tells you whether the switch is opening and closing the circuit the way it should.
You do not need advanced skills. With the right setting, a multimeter can show you if a switch is good, bad, or just wired wrong. The steps below also help you avoid false readings, damaged meters, and common mistakes that waste time.
To get a reliable result, you will check power safely, isolate the switch from the circuit, and test continuity in both switch positions. You will also learn how to read results for common switch types, like toggle, rocker, push-button, and limit switches.
What you need before testing
Before you start, gather a few basic tools and make sure the power is off. A multimeter test is simple, but safety matters because a live circuit can give you a wrong reading or hurt you. If the switch is part of a household device, unplug it. If it is part of a vehicle or machine, disconnect the power source when possible.
You only need a few items for most jobs. A basic digital multimeter works fine, even a low-cost one with continuity mode. In many cases, continuity mode is easier than resistance mode because it gives a clear beep when the circuit is closed.
- Digital multimeter with continuity and ohms setting
- Screwdriver to remove switch covers or panels
- Needle-tip probes if the switch terminals are small
- Flashlight for dark control panels or equipment
- Insulated gloves if you are working around electrical panels
One non-obvious tip: many switches look bad when they are actually fine, but the problem is loose wiring or corrosion on the terminals. Another common issue is testing a switch while it is still connected to a circuit. That can make the meter read through other components and confuse the result.
Know the switch type first
Switches do not all work the same way. A simple on/off toggle has two states, while a three-way switch, push-button switch, or momentary switch may behave differently. If you know the type first, the test becomes much easier.
For example, a momentary switch only shows continuity while pressed. A latching switch stays in one position until you flip or press it again. If you test these two types the same way, you may think one is broken when it is not.
| Switch type | What should happen |
|---|---|
| Simple toggle or rocker | Continuity in one position, open circuit in the other |
| Momentary push-button | Continuity only while pressed |
| Limit switch | Changes state when triggered by movement or pressure |
| Three-way switch | Uses a common terminal and two travelers, so the test pattern is different |
How to set up the multimeter correctly
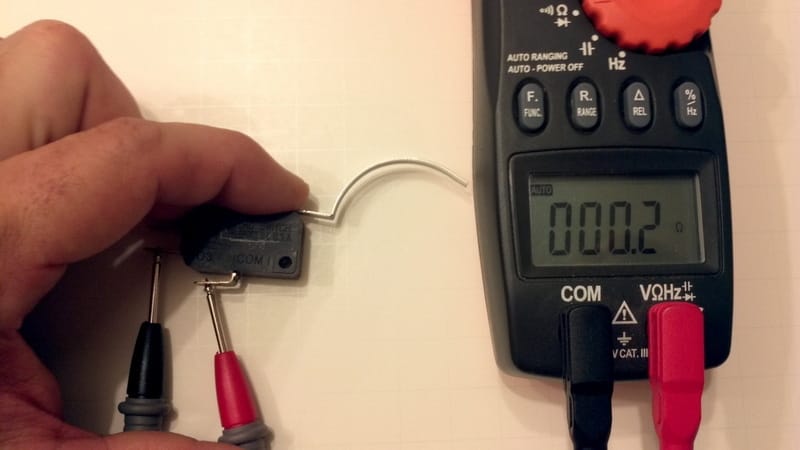
The most accurate switch test starts with the correct meter setting. For most switch checks, use continuity mode. If your meter does not have continuity, use the lowest ohms setting. Continuity is preferred because it gives a quick beep when the circuit is closed, usually below about 30 to 50 ohms depending on the meter.
Before testing the switch itself, test the meter leads against each other. Touch the probes together and listen for the beep or watch the reading drop near zero. This tells you the meter is working. If the meter does not respond here, do not trust the switch test.
For deeper electrical safety guidance, the U.S. Consumer Product Safety Commission has a helpful official safety guidance page that covers basic home safety practices around electrical hazards and household equipment.
Use continuity mode when possible
Continuity mode is the easiest choice because it gives an immediate answer. When the switch is closed, the meter beeps. When the switch is open, it stays silent. That makes it ideal for beginners and for quick diagnostics in the field.
Still, be careful with interpretation. Some meters beep even through very low resistance paths, so a weak beep is not always a perfect pass. If the reading jumps around or shows more than a few ohms on a basic switch, that can point to worn contacts, dirt, or corrosion.
When to use ohms instead
Use the ohms setting if you want a number instead of just a beep. This is useful when the continuity tone is unclear, or when you want to compare several switches. A good closed switch often reads very close to 0 ohms, though the exact number can vary slightly by meter and probe quality.
For an open switch, the display should show OL, infinite resistance, or a very high reading. If the meter shows a number that changes every second, the switch may be damaged, dirty, or only partly connected internally.
How to test a switch with a multimeter step by step
Once the meter is ready, the actual test is straightforward. The key is to remove outside influence from the circuit so you are testing only the switch. If the switch stays wired into a device, nearby parts can create false paths and give you a reading that looks normal even when the switch is bad.
Follow these steps in order. They work for most basic switches, including light switches, appliance switches, push-buttons, and many small equipment controls.
- Turn off the power. Unplug the device, switch off the breaker, or disconnect the battery. Confirm there is no live power before touching terminals.
- Access the switch terminals. Remove the cover, panel, or housing so you can reach the switch wires or terminals.
- Take a photo first. This helps you reconnect wires correctly later. It is a small step that prevents a big mistake.
- Disconnect at least one wire. For the cleanest reading, remove the switch from the circuit. Testing in-circuit is one of the most common reasons for confusing results.
- Set the meter to continuity or low ohms. Confirm the probes work by touching them together.
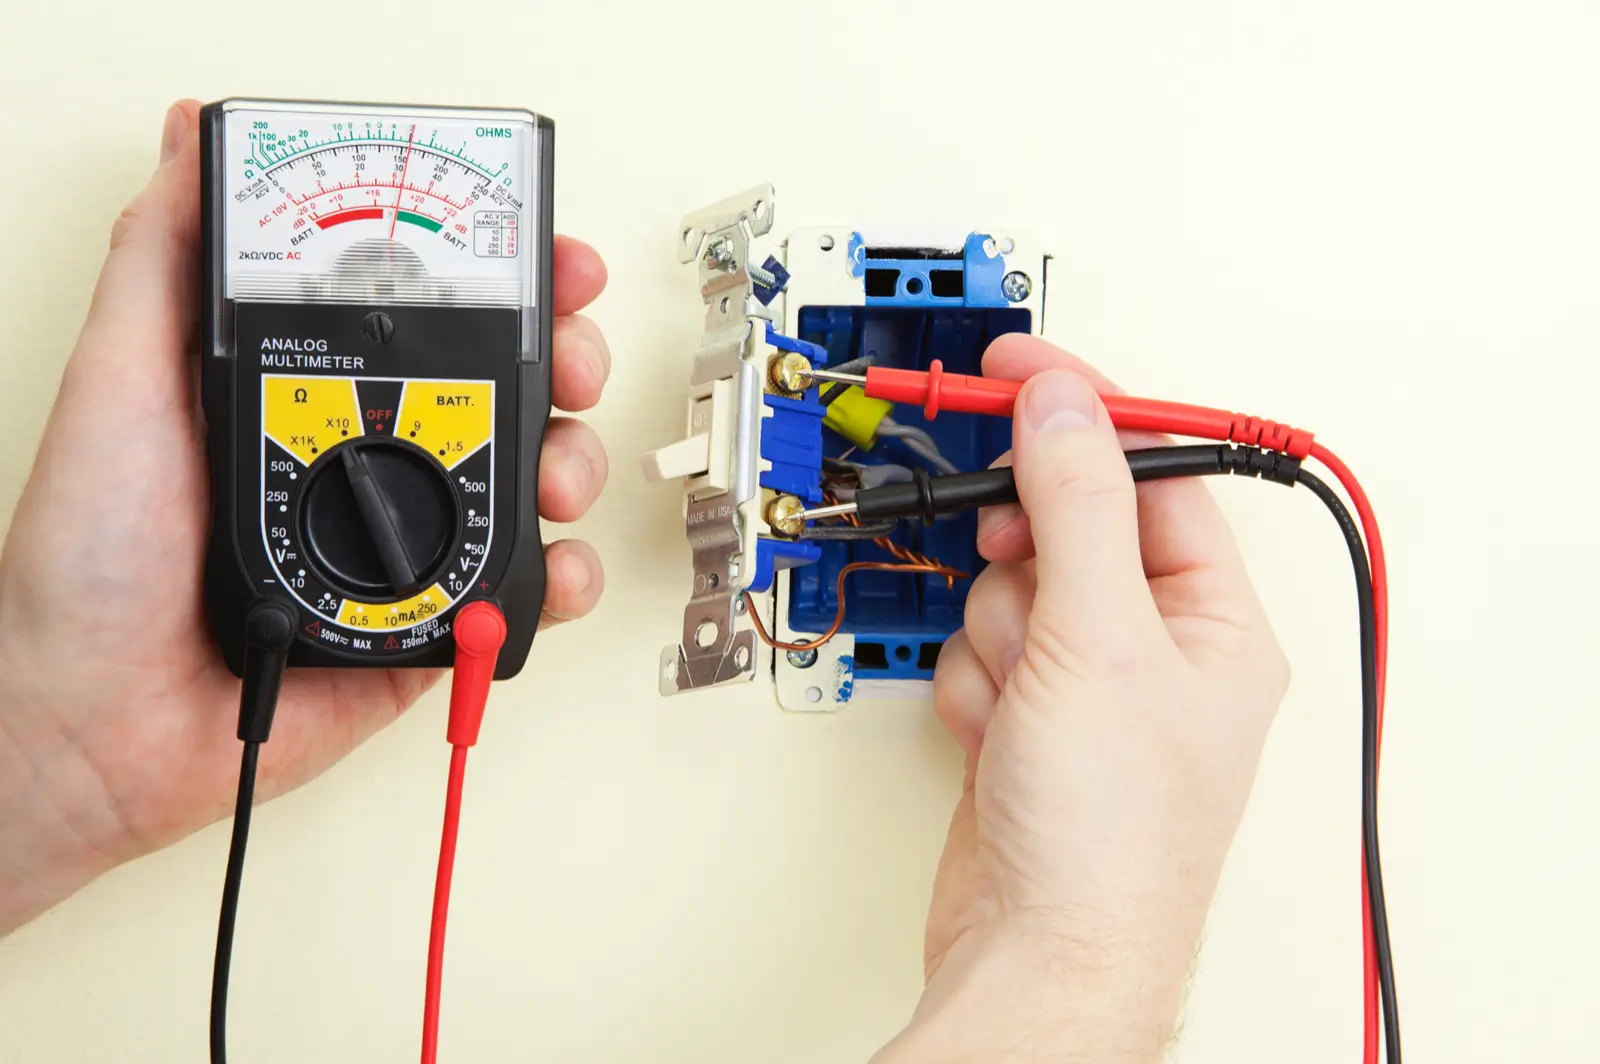
- Place the probes on the switch terminals. If the switch has two terminals, put one probe on each. If it has more, identify the common terminal first.
- Check the open position. Flip or release the switch to the off position. The meter should show open circuit or no beep.
- Check the closed position. Flip, press, or actuate the switch. The meter should beep or show near-zero resistance.
- Repeat the test several times. A switch that works once but fails on the second or third try may have worn contacts.
If the result changes when you wiggle the switch body or terminals, that is a clue. Intermittent readings often mean a cracked housing, loose terminal, or internal contact wear. That is different from a completely dead switch, and it matters because the repair approach may change.
Credit: shudaoff.com
What the readings mean
Good switch readings are usually simple. Closed means continuity. Open means no continuity. If the meter behaves the opposite way, you may be testing the wrong terminals or dealing with a normally closed switch instead of a normally open one.
Here is a quick way to read the result:
- Beep in one position only: Usually a good standard switch
- No beep in either position: Possible bad switch, wrong terminals, or broken connection
- Beep in both positions: Shorted switch, wrong terminals, or internal failure
- Random or unstable reading: Dirty contacts, loose wire, or a failing switch
One detail many people miss: some switches are normally closed, which means they show continuity until activated. That is common in certain safety devices and limit switches. If you expect an open reading but see continuity, check the device design before calling it faulty.
How to test different switch types the right way
Different switches need slight changes in technique. The meter setting is usually the same, but the terminals and expected results change. If you understand these differences, you will avoid the biggest false-failure mistake: assuming every switch should behave like a basic wall switch.
Toggle and rocker switches
These are the easiest to test. They usually have two terminals for simple on/off control. Test across the two terminals and flip the switch between positions. One position should show continuity, and the other should show open circuit.
If the switch has three terminals, it may be a lighted switch or a multi-function design. In that case, identify the common terminal before testing. A quick look at the device label or wiring diagram can save time.
Push-button and momentary switches
Momentary switches only work while you press them. That means the meter should show continuity only during the press. Release the button, and the circuit should open again. If you test it like a latching switch, the result will seem wrong.
These switches often fail because of worn spring action or oxidized contacts. If continuity appears only when you press very hard, the switch may still be failing even if it technically works.
Limit switches and safety switches
Limit switches change state when a moving part hits them. They may protect a door, lid, gate, or machine part. The trick is to test them both at rest and while activated. A healthy limit switch should change state cleanly when the actuator moves.
Non-obvious insight: some limit switches fail mechanically before they fail electrically. The meter may read fine, but the actuator arm may stick or not return fully. Always check the movement as well as the reading.
Three-way switches and multi-terminal switches
Three-way switches are more complex because they have a common terminal and two traveler terminals. You cannot test them by assuming a single simple on/off path. Instead, test continuity between the common terminal and each traveler in both switch positions.
If you are unsure which terminal is common, look for a darker screw, a label, or the device diagram. If no diagram is available, use the meter to map connections carefully before replacing wires.
Common mistakes that give false results
Many bad switch diagnoses come from testing errors, not bad parts. The meter is only as useful as the setup. If the switch is still connected to other components, you may measure through a lamp, relay, motor winding, or control board and think the switch is fine when it is not.
Another frequent mistake is using the wrong range or the wrong test mode. Resistance mode on a high range can make a good switch look bad because the value changes too slowly. Continuity mode is usually the cleanest choice for basic checks.
Here are the mistakes that matter most:
- Testing the switch while it is still in-circuit
- Forgetting to turn off the power first
- Touching probe tips with your fingers and adding body resistance
- Testing the wrong terminals on a multi-terminal switch
- Assuming every switch is normally open
- Not checking for loose wires, corrosion, or burned connectors
One subtle issue: cheap meter probes can have poor contact on dirty terminals. If a reading looks unstable, clean the probe tips and the switch terminals before blaming the switch. A small layer of oxidation can stop a reliable contact test.
Credit: mrelectric.com
How to troubleshoot when the switch seems bad
If the switch fails the first test, do not replace it immediately. A fast troubleshooting check can tell you whether the problem is really the switch or something around it. This saves money and avoids removing a part that still works.
Use the meter to isolate the problem
First, remove the switch from the circuit if possible. Test the switch directly with the probes on its terminals. If the reading becomes normal after removal, the original issue may have been wiring, connector corrosion, or another component in the circuit.
If the switch still fails outside the circuit, test the wires themselves for continuity. A wire can break inside the insulation while looking normal on the outside. This is common in equipment that vibrates, bends, or moves often.
Look for mechanical clues
A switch can fail mechanically before it fails electrically. A loose toggle, mushy button, cracked housing, or uneven click often means internal wear. If the switch feels inconsistent, the meter may confirm what your hand already suspects.
If the switch works only when you hold it at a certain angle, the terminals or internal contacts may be worn. That kind of intermittent failure usually gets worse over time, not better.
Check the whole circuit path
Sometimes the switch is fine, but the device still does not work because power never reaches it. That is why voltage testing can be useful after continuity testing. Continuity tells you whether the switch closes. Voltage tells you whether the system has power where it should.
If the switch passes continuity but the device still fails, the next problem may be upstream power, a fuse, a relay, or a control board. In other words, the switch may not be the real fault at all.
When to replace the switch and when to stop
Replace the switch when the meter gives a clear failure and the physical part shows wear, damage, or inconsistent readings. A switch that reads open in both positions, never changes state, or works only when shaken is usually not worth saving. Internal contacts are sealed in many designs, so cleaning only helps for a short time, if at all.
If the switch is expensive or hard to find, confirm the diagnosis twice. A second test with another meter or a known-good switch of the same type can remove doubt. That extra check matters more on equipment where the switch is part of a safety system.
When the switch is part of mains-powered equipment, use caution and follow the manufacturer’s service guidance if available. For electrical safety around consumer products, the CPSC’s electric shock hazard guidance is a useful reference before opening any powered device.
Stop and call a qualified technician if the wiring is damaged, the switch is inside a sealed panel you should not open, or you are unsure about live voltage. A quick meter test is helpful, but safety comes first. If the circuit is complex, the smartest move is to verify the problem before touching anything deeper.
Final check before you put everything back
Before reassembling the device, confirm the switch passes the test in every required position. Make sure the wires are returned to their original terminals, the screws are tight, and no bare conductor is exposed. A switch that tests correctly but is wired poorly can still fail in real use.
Then restore power and check the device under normal operation. If the problem is fixed, you should see smooth on/off response without flicker, delay, or extra pressure on the control. If the device still acts up, the switch may have been only part of the problem.
The main idea is simple: How to Test a Switch With a Multimeter comes down to safe setup, correct meter mode, and a clean yes-or-no reading on continuity. Once you learn the pattern, you can diagnose many switches in just a few minutes, and you will avoid replacing parts that were never the real issue.
Credit: shudaoff.com
If the switch itself tests good, the next step is usually checking the circuit around it. You can follow up with how to test a wire with a multimeter or, when the switch controls household power, how to test AC voltage with a multimeter to confirm voltage is actually present.
Safety note: Continuity and resistance tests should be done with the power off. Do not use ohms or continuity mode on an energized switch.
FAQs
1. Can I test a switch without removing it from the circuit?
Yes, but it is less reliable. Other parts in the circuit can create false readings, so removing at least one wire gives a much cleaner result.
2. What setting should I use on my multimeter?
Use continuity mode first. If your meter does not have continuity, use the lowest ohms range and look for near-zero resistance when the switch is closed.
3. What reading means the switch is bad?
If a standard on/off switch shows no continuity in either position, or shows continuity in both positions, it is likely faulty. Unstable readings can also point to worn contacts or loose terminals.
4. Why does my meter beep even when the switch is off?
You may be testing the wrong terminals, or the switch may be normally closed. Another possibility is that the switch is still connected to other components that are creating a path through the circuit.
5. Is continuity the same as resistance?
They are related, but not the same. Continuity simply checks whether a low-resistance path exists, while resistance gives you a numeric value in ohms. For switch testing, continuity is usually faster and easier.
