Making clean, precise miter cuts is a skill every woodworker, DIY home renovator, and craftsperson will need at some point. A miter cut is an angled cut made across the face of a board, commonly used to join two pieces at a corner, like in picture frames, door trim, or crown molding. While the concept is simple, making perfect miter cuts requires the right tools, careful measurement, and a few insider tips. Whether you’re a beginner or want to improve your results, this guide will walk you through everything you need to know about miter cuts—from understanding the basics to advanced techniques and troubleshooting.
What Is A Miter Cut And Why Use It?
A miter cut is an angled cut made across the width of a board or molding. Most often, it’s set at 45 degrees so that when two pieces are joined, they form a 90-degree corner. This is different from a bevel cut, which is an angle cut along the edge or thickness of the material.
Miter cuts are popular because they:
- Create clean, seamless joints at corners.
- Hide end grain, giving a more professional look.
- Allow for decorative angles in frames, boxes, and trim work.
For example, in a picture frame, four 45-degree miter cuts form a perfect square or rectangle. In baseboards or crown molding, miter cuts let the trim wrap neatly around corners.
Tools For Making Miter Cuts
Choosing the right tool is the first step to success. There are several options, each with its pros and cons. Here’s a comparison of the most common tools:
| Tool | Best For | Precision | Cost |
|---|---|---|---|
| Hand Miter Box & Saw | Small projects, light trim | Good (manual) | Low |
| Power Miter Saw (Chop Saw) | Frequent/large cuts | Excellent | Medium-High |
| Table Saw with Miter Gauge | Wide boards, repeat cuts | Very Good | High |
| Compound Miter Saw | Crown molding, complex angles | Excellent | High |
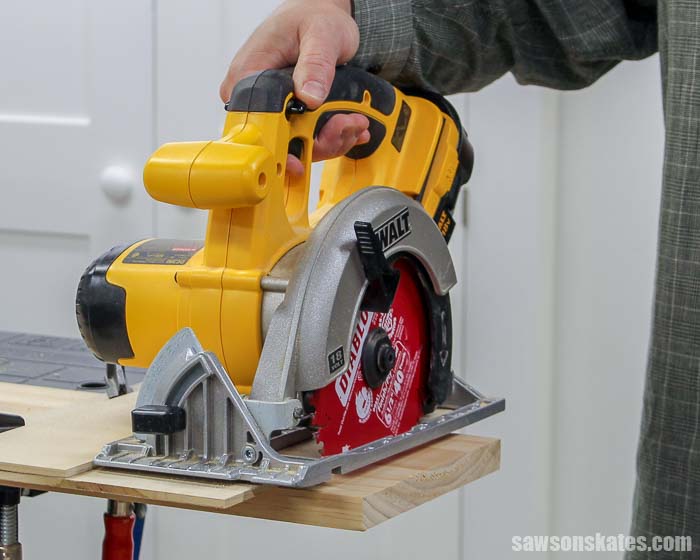
Hand miter boxes are perfect for those starting out or working on small jobs, while a power miter saw (also called a chop saw) is best for fast, repeatable, and accurate miter cuts, especially with larger pieces.
Preparing For Miter Cuts
Before making any cuts, good preparation is key. Many beginners rush this stage and end up with joints that don’t fit. Here’s how to get ready:
- Measure Twice, Cut Once: Double-check your measurements. A small mistake will be obvious at the joint.
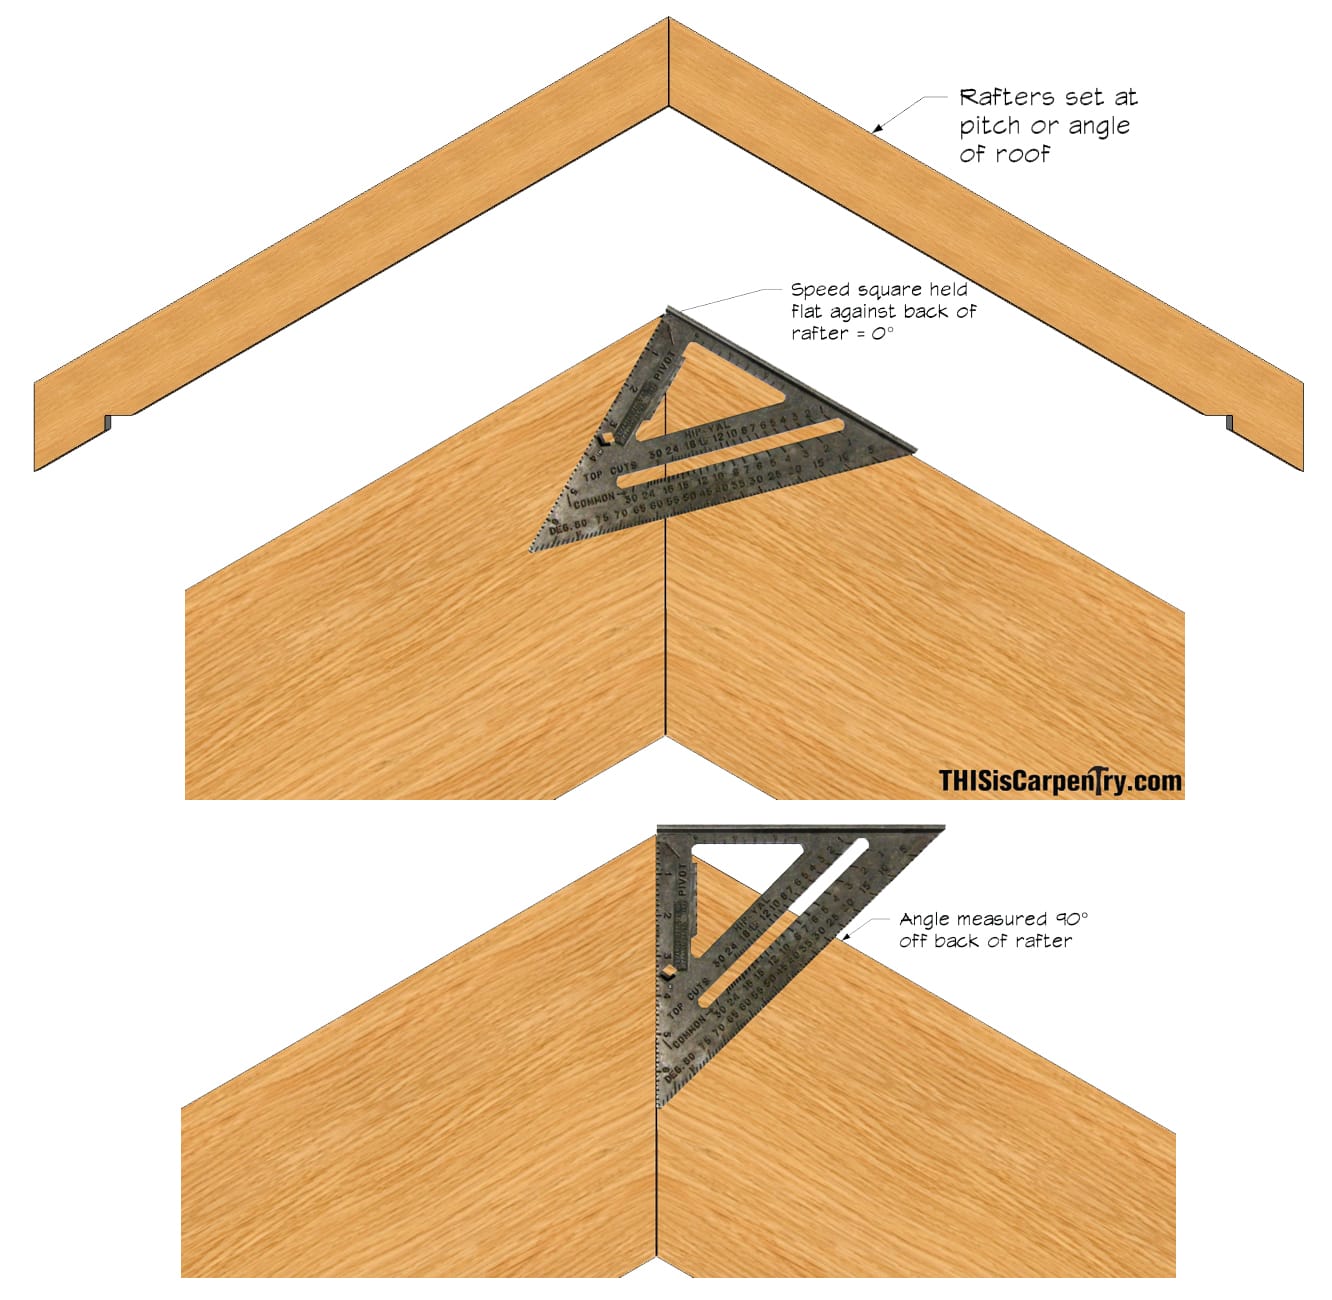
- Mark Your Angle: Use a sharp pencil and a speed square or protractor to mark your cut line. Faint lines can be hard to see, leading to crooked cuts.
- Secure Your Material: Clamp your workpiece to prevent movement. Even slight movement can throw off your angle.
- Check Your Saw’s Calibration: On a miter saw, set the angle precisely. Use a square to check for accuracy, especially if your saw has been moved or bumped.
Insider tip: For super-precise work, make a test cut on scrap material and check the fit before cutting your actual piece.
Making Basic 45-degree Miter Cuts
The most common miter cut is 45 degrees, used for joining two boards at a right angle. Here’s how to do it step by step:
- Set the Angle: On your saw, set the miter angle to 45 degrees. If using a hand miter box, choose the correct slot.
- Align the Board: Place your board against the fence (the back support on the saw or miter box).
- Line Up the Cut: Align your marked line with the blade or saw slot.
- Secure the Board: Use clamps or your hand (if safe) to keep the board steady.
- Make the Cut: Use a smooth, controlled motion. Don’t force the blade; let it do the work.
- Check the Edge: After cutting, check the angle with a square. The edge should be clean and smooth.
Common mistake: Rushing the saw through the wood can splinter the edge or make the angle inaccurate. A slow, steady cut is best.
Cutting Different Angles: Beyond 45 Degrees
Not every project needs a 45-degree angle. Sometimes you’ll need other angles—like 30, 60, or even custom degrees for irregular corners. Most power miter saws can cut from 0 to 45 degrees (sometimes up to 60 degrees).
- Find the correct angle: Measure the angle of your corner. If you’re wrapping trim around a wall that isn’t a perfect 90 degrees, split the angle between the two pieces. For example, a 92-degree corner needs two 46-degree cuts.
- Adjust the saw: Set the miter saw to the desired angle using the scale.
- Test first: Make a test cut on scrap and check the fit before cutting your good material.
Non-obvious insight: Walls and corners in older homes are often not exactly 90 degrees. Always measure the actual angle instead of assuming.
Compound Miter Cuts (for Crown Molding And Tricky Jobs)
A compound miter cut means cutting two angles at once—both across the face (miter) and through the thickness (bevel). This is essential for crown molding, where the trim sits at an angle between wall and ceiling.
To make a compound miter cut:
- Set the miter angle: Turn the saw table to the desired angle (e.g., 31.6 degrees for standard crown molding).
- Set the bevel angle: Tilt the saw blade to the correct bevel (e.g., 33.9 degrees).
- Position the molding: Place it upside down and backwards against the saw fence. This mimics how it will sit on the wall.
- Cut slowly: Compound cuts are more likely to chip or bind, so go slow.
Here’s a quick look at common crown molding settings:
| Molding Type | Miter Angle | Bevel Angle |
|---|---|---|
| Standard (38° spring angle) | 31.6° | 33.9° |
| 45° spring angle | 35.3° | 30.0° |
Pro tip: Most saw manuals have a table for crown molding angles—refer to it for best results.
Credit: sawsonskates.com
Common Mistakes And How To Avoid Them
Even skilled woodworkers make mistakes with miter cuts. Here are the most frequent problems and how to avoid them:
- Gap at the Joint: Usually caused by inaccurate angles or rough cuts. Double-check your saw’s settings and use sharp blades.
- Short Cuts: If you cut inside the line, the board will be too short. Always cut slightly outside the line, then trim for a perfect fit.
- Splintered Edges: Use painter’s tape along the cut line and a sharp blade to prevent tear-out.
- Wrong Side Cut: Always check which side of the board you need to keep. It’s easy to cut the wrong end.
- Boards Not Flush: If boards don’t sit flat, check for warping or saw calibration issues.
Non-obvious insight: Humidity can cause wood to expand or contract, changing the fit of miter joints. Let your wood acclimate to the room before cutting.
Tips For Perfect Miter Joints
Getting tight, professional-looking miter joints is part science, part art. Here are tips that make a real difference:
- Use a Fine-Tooth Blade: More teeth mean a smoother cut, especially on delicate trim or molding.
- Sand the Edges: Light sanding removes burrs and helps joints fit tighter.
- Glue and Clamp: For extra strength, use wood glue on the joint and clamp until dry.
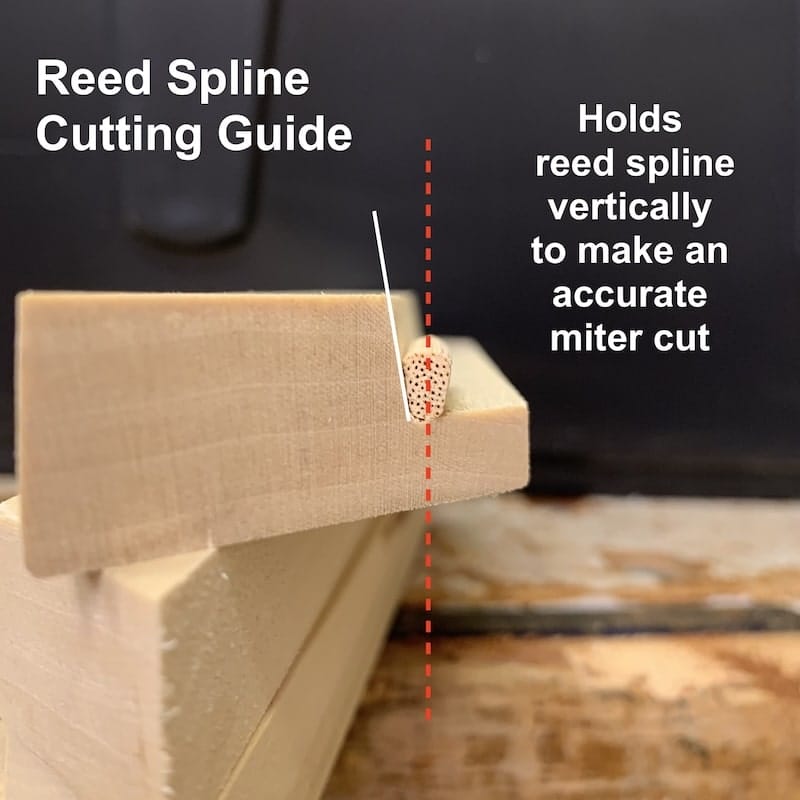
- Reinforce with Nails or Biscuits: On large frames or boxes, reinforce the joint with finish nails, splines, or biscuits.
- Test Fit Every Time: Dry-fit the pieces before final assembly. Small adjustments can save a lot of frustration.
Advanced Techniques: Coping And Scribing
Sometimes a miter cut isn’t enough, especially for inside corners where walls are not square. In these cases, coping is a better choice. This involves cutting one piece square and shaping the end of the other to fit its profile.
- Coping Saw: Use a coping saw to cut along the trim’s profile.
- Test and Adjust: Fit, trim, and sand as needed for a perfect join.
Coping is especially useful for baseboards and crown molding on older, out-of-square walls. It provides a tighter, more forgiving joint compared to two mitered pieces.
Choosing Materials For Miter Cuts
Not all woods or trims are equally easy to miter. Here’s a quick comparison of common materials:
| Material | Ease of Cutting | Common Use |
|---|---|---|
| Pine | Very Easy | Trim, molding |
| MDF | Easy | Baseboards, frames |
| Oak | Medium | Furniture, frames |
| Plastic/Composite | Easy | Exterior trim |
| Metal | Hard (special blade) | Picture frames, railings |
Tip: For beginners, start with pine or MDF. Hardwoods and metals require more skill and the right blades.
Credit: woodenitbenice.ca
Safety First: Miter Cutting Precautions
Cutting at angles means your hands and eyes are closer to moving blades. Follow these safety rules:
- Wear Safety Glasses: Always protect your eyes from flying chips.
- Keep Hands Clear: Use clamps or push sticks to hold small pieces.
- Unplug When Adjusting: Always unplug or turn off power tools before changing blades or angles.
- Work in Good Lighting: Shadows can hide your cut lines and lead to mistakes.
Practical Applications: Where You’ll Use Miter Cuts
Miter cuts are everywhere in woodworking and home improvement. Common uses include:
- Picture Frames: Four mitered corners create a seamless frame.
- Door and Window Trim: Wrapping trim around corners for a neat finish.
- Crown and Base Molding: Smoothly connecting trim at inside and outside wall corners.
- Boxes and Cabinets: Making decorative and strong joints for corners.
- Furniture: Mitered edges on tabletops, legs, and aprons for a refined look.
Once you master miter cuts, your projects will look sharper and more professional.
Frequently Asked Questions
How Do I Measure For A Perfect Miter Cut?
First, measure the outside or inside length of where the board will fit. Mark this point, then use a speed square or protractor to draw your angle. Remember, the measured point is usually on the longest edge of the miter.
What’s The Difference Between A Miter Cut And A Bevel Cut?
A miter cut is made across the face (width) of the board, while a bevel cut is made along the edge (thickness). For example, a miter joint is used for picture frames; a bevel is used to create sloped edges.
Can I Make Miter Cuts Without A Miter Saw?
Yes, you can use a hand miter box and saw for small pieces, or a table saw with a miter gauge for larger boards. However, a power miter saw is faster and more accurate for most projects.
How Do I Fix A Gap In A Miter Joint?
Small gaps can be filled with wood filler or putty, sanded smooth, then painted or stained. For larger gaps, recut the piece or adjust your angle. Always test-fit before final assembly.
Where Can I Learn More About Miter Saw Settings And Techniques?
You can find detailed guides and tutorials on trusted websites like Wikipedia for further reading about miter joints and their use in woodworking.
Mastering Miter Cuts: Your Next Steps
Learning to make accurate miter cuts opens up new possibilities for your woodworking and home projects. With the right tools, careful measurement, and a few expert tips, you’ll soon be making perfect corners that fit tightly and look great. Don’t be discouraged by early mistakes—practice and attention to detail are your best teachers.
As you gain confidence, try more complex angles and compound cuts. Before you know it, miter cuts will be just another part of your skill set, helping you build better, more beautiful things.
Credit: www.thisiscarpentry.com
