A bench grinder is a powerful tool often used for sharpening, shaping, or grinding metal. But even the best grinder won’t perform well if its wheel isn’t true. An out-of-true wheel can cause vibration, poor finishes, and even dangerous situations. Learning how to true a bench grinder wheel is not just about tool care—it’s about safety and getting the most out of your workshop.
If you’ve ever noticed your grinder bouncing, making odd noises, or leaving uneven marks on your work, chances are you need to true the wheel. Many people overlook this step, but it makes all the difference in precision and safety.
This guide will walk you through the process, explain why truing matters, the tools you’ll need, and common mistakes to avoid. By the end, you’ll have the confidence and knowledge to keep your grinder running smoothly.
Why Truing A Bench Grinder Wheel Matters
When a grinder wheel is not true, you get more than just poor performance. Let’s look at why this process is so important:
- Vibration Reduction: An unbalanced or uneven wheel shakes the grinder. Vibration not only makes your work harder but can also damage the tool over time.
- Safety: Cracks and chips are more likely to develop on wheels that aren’t true, increasing the risk of breakage. A broken grinding wheel can cause serious injury.
- Precision Grinding: A true wheel provides a consistent surface, helping you achieve a clean and even finish.
- Longer Wheel Life: Regular truing keeps the wheel’s surface fresh, so it cuts more efficiently and lasts longer.
Many beginners think a new wheel is always perfect. That’s not true—most new wheels need to be trued after installation because they may have flat spots from shipping or storage.
Understanding Truing Vs. Dressing
It’s easy to confuse truing and dressing, but they’re not the same:
- Truing: Making the wheel round and concentric with the spindle. This corrects wobble or runout.
- Dressing: Cleaning the wheel’s surface to expose new abrasive grains and remove loaded debris.
You usually true a wheel first, then dress it. Some tools can do both at once, but it’s important to know the difference.
Tools And Materials You’ll Need
To true a bench grinder wheel, you’ll need a few tools. Here’s a quick comparison of the most common options:
| Truing Tool | Purpose | Ease of Use | Cost |
|---|---|---|---|
| Diamond Dresser | Precision truing and dressing | Easy | Medium |
| Star Wheel Dresser | General cleaning and shaping | Medium | Low |
| Stick Dresser | Cleaning aluminum oxide wheels | Medium | Low |
| Mechanical Truing Jig | High precision truing | Advanced | High |
You should also have:
- Safety glasses and hearing protection
- A stiff brush (for cleaning)
- A wheel balancing kit (optional, for best results)
Preparing For The Truing Process
Before you start, it’s essential to prepare your workspace and your grinder:
- Unplug the Grinder: Never work on a grinder that is plugged in. This prevents accidental starts.
- Clean the Wheel: Use a stiff brush to remove debris and metal build-up from the wheel’s surface.
- Check Wheel Security: Make sure the wheel is mounted tightly, but don’t overtighten—this can damage the wheel.
- Inspect the Wheel: Look for cracks or chips. Do not attempt to true a damaged wheel; replace it instead.
- Adjust Tool Rest: Set the tool rest close (about 1/16 inch) to the wheel for safety and better control during truing.
A key tip: always let the wheel come to a complete stop before making adjustments. Never touch the wheel while it’s spinning, even slowly.
Credit: www.reddit.com
Step-by-step Guide: How To True A Bench Grinder Wheel
Let’s break down the process into clear steps. This guide uses a diamond dresser, but the principles apply to other tools as well.
1. Secure The Dresser
Hold the diamond dresser firmly on the tool rest. For best results, use both hands and keep your grip steady. If you have a mechanical jig, set it up according to the manufacturer’s instructions.
2. Start The Grinder
Plug in the grinder and turn it on. Allow it to reach full speed. Stand to the side of the wheel—never directly in front—in case of breakage.
3. Bring The Dresser To The Wheel
Gently advance the diamond tip towards the wheel’s surface. Do not force it—let the abrasive do the work. Move slowly to avoid chipping the wheel.
4. Traverse The Wheel Face
Move the dresser across the face of the wheel from one side to the other. Keep steady, even pressure. You’ll notice the surface becoming smoother and more uniform.
5. Repeat If Necessary
If the wheel is badly out of true, you may need several passes. Each pass should remove only a small amount of material.
6. Check Your Progress
Turn off the grinder and inspect the wheel. Look for a consistent, clean surface. If you still see high spots or hear vibration, repeat the process.
7. Dress The Wheel
After truing, use the dresser to lightly clean (dress) the wheel. This exposes fresh abrasive for better grinding.
8. Balance The Wheel (optional)
For the smoothest operation, use a balancing kit to fine-tune the wheel’s balance. This is especially helpful for high-speed or precision work.
Common Problems And Solutions
Even with careful work, you might face challenges. Here’s how to handle them:
| Problem | Likely Cause | Solution |
|---|---|---|
| Wheel vibrates | Poor mounting or wheel out of true | Remount wheel, then true again |
| Uneven wheel wear | Irregular truing or excessive pressure | Apply steady, even pressure |
| Wheel breaks or chips | Cracks, excessive force, or overtightening | Replace wheel, avoid overtightening |
| Dresser wears out quickly | Poor quality tool or too much force | Use high-quality dresser, use less force |
One non-obvious tip: if you notice sparks bouncing in odd directions, your wheel may be glazed or loaded with metal. Dressing is needed in addition to truing.
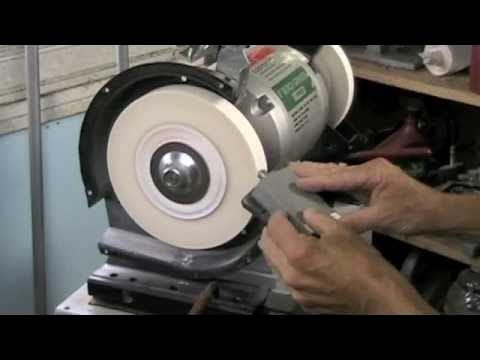
Credit: www.youtube.com
How Often Should You True A Bench Grinder Wheel?
There’s no single rule, but here are some guidelines:
- After Installing a New Wheel: Always true and dress before first use.
- When Vibration Increases: If your grinder starts shaking, it’s time to true.
- If the Wheel Wears Unevenly: A lopsided wheel needs attention.
- Before Precision Work: For tasks needing accuracy, true the wheel first.
Some professionals true their wheels before every major project. For hobbyists, checking monthly or after heavy use is usually enough.
Safety Tips For Truing And Using Grinder Wheels
Bench grinders can be dangerous if not handled properly. Follow these safety rules:
- Wear safety glasses and hearing protection at all times.
- Stand to the side of the wheel during startup.
- Use a light touch; never force the dresser into the wheel.
- Do not grind on the side of the wheel unless it’s specifically rated for that purpose.
- Never use a wheel that is cracked, chipped, or excessively worn.
- Keep the tool rest close to the wheel to prevent workpieces from getting stuck.
A practical insight: Many accidents happen because users skip the inspection step. Always check the wheel carefully, even if you’re in a hurry.
Choosing The Right Truing Tool
The best tool depends on your grinder and the type of work you do. Here’s a quick summary:
- Diamond dressers are precise and long-lasting, great for most wheels.
- Star wheel dressers are good for quick cleanups and general use.
- Stick dressers (made from harder material) work well on soft wheels but are less precise.
- Mechanical truing jigs are best for advanced users needing high accuracy.
For most home workshops, a diamond dresser is a solid investment.
Signs Your Grinder Wheel Needs Truing
Not sure if your wheel needs attention? Watch for these signs:
- The grinder vibrates or makes unusual noises.
- The wheel leaves uneven marks or burns on the workpiece.
- You see visible high spots or flat spots on the wheel face.
- Sparks scatter unevenly during grinding.
If you notice any of these, stop and check the wheel immediately.
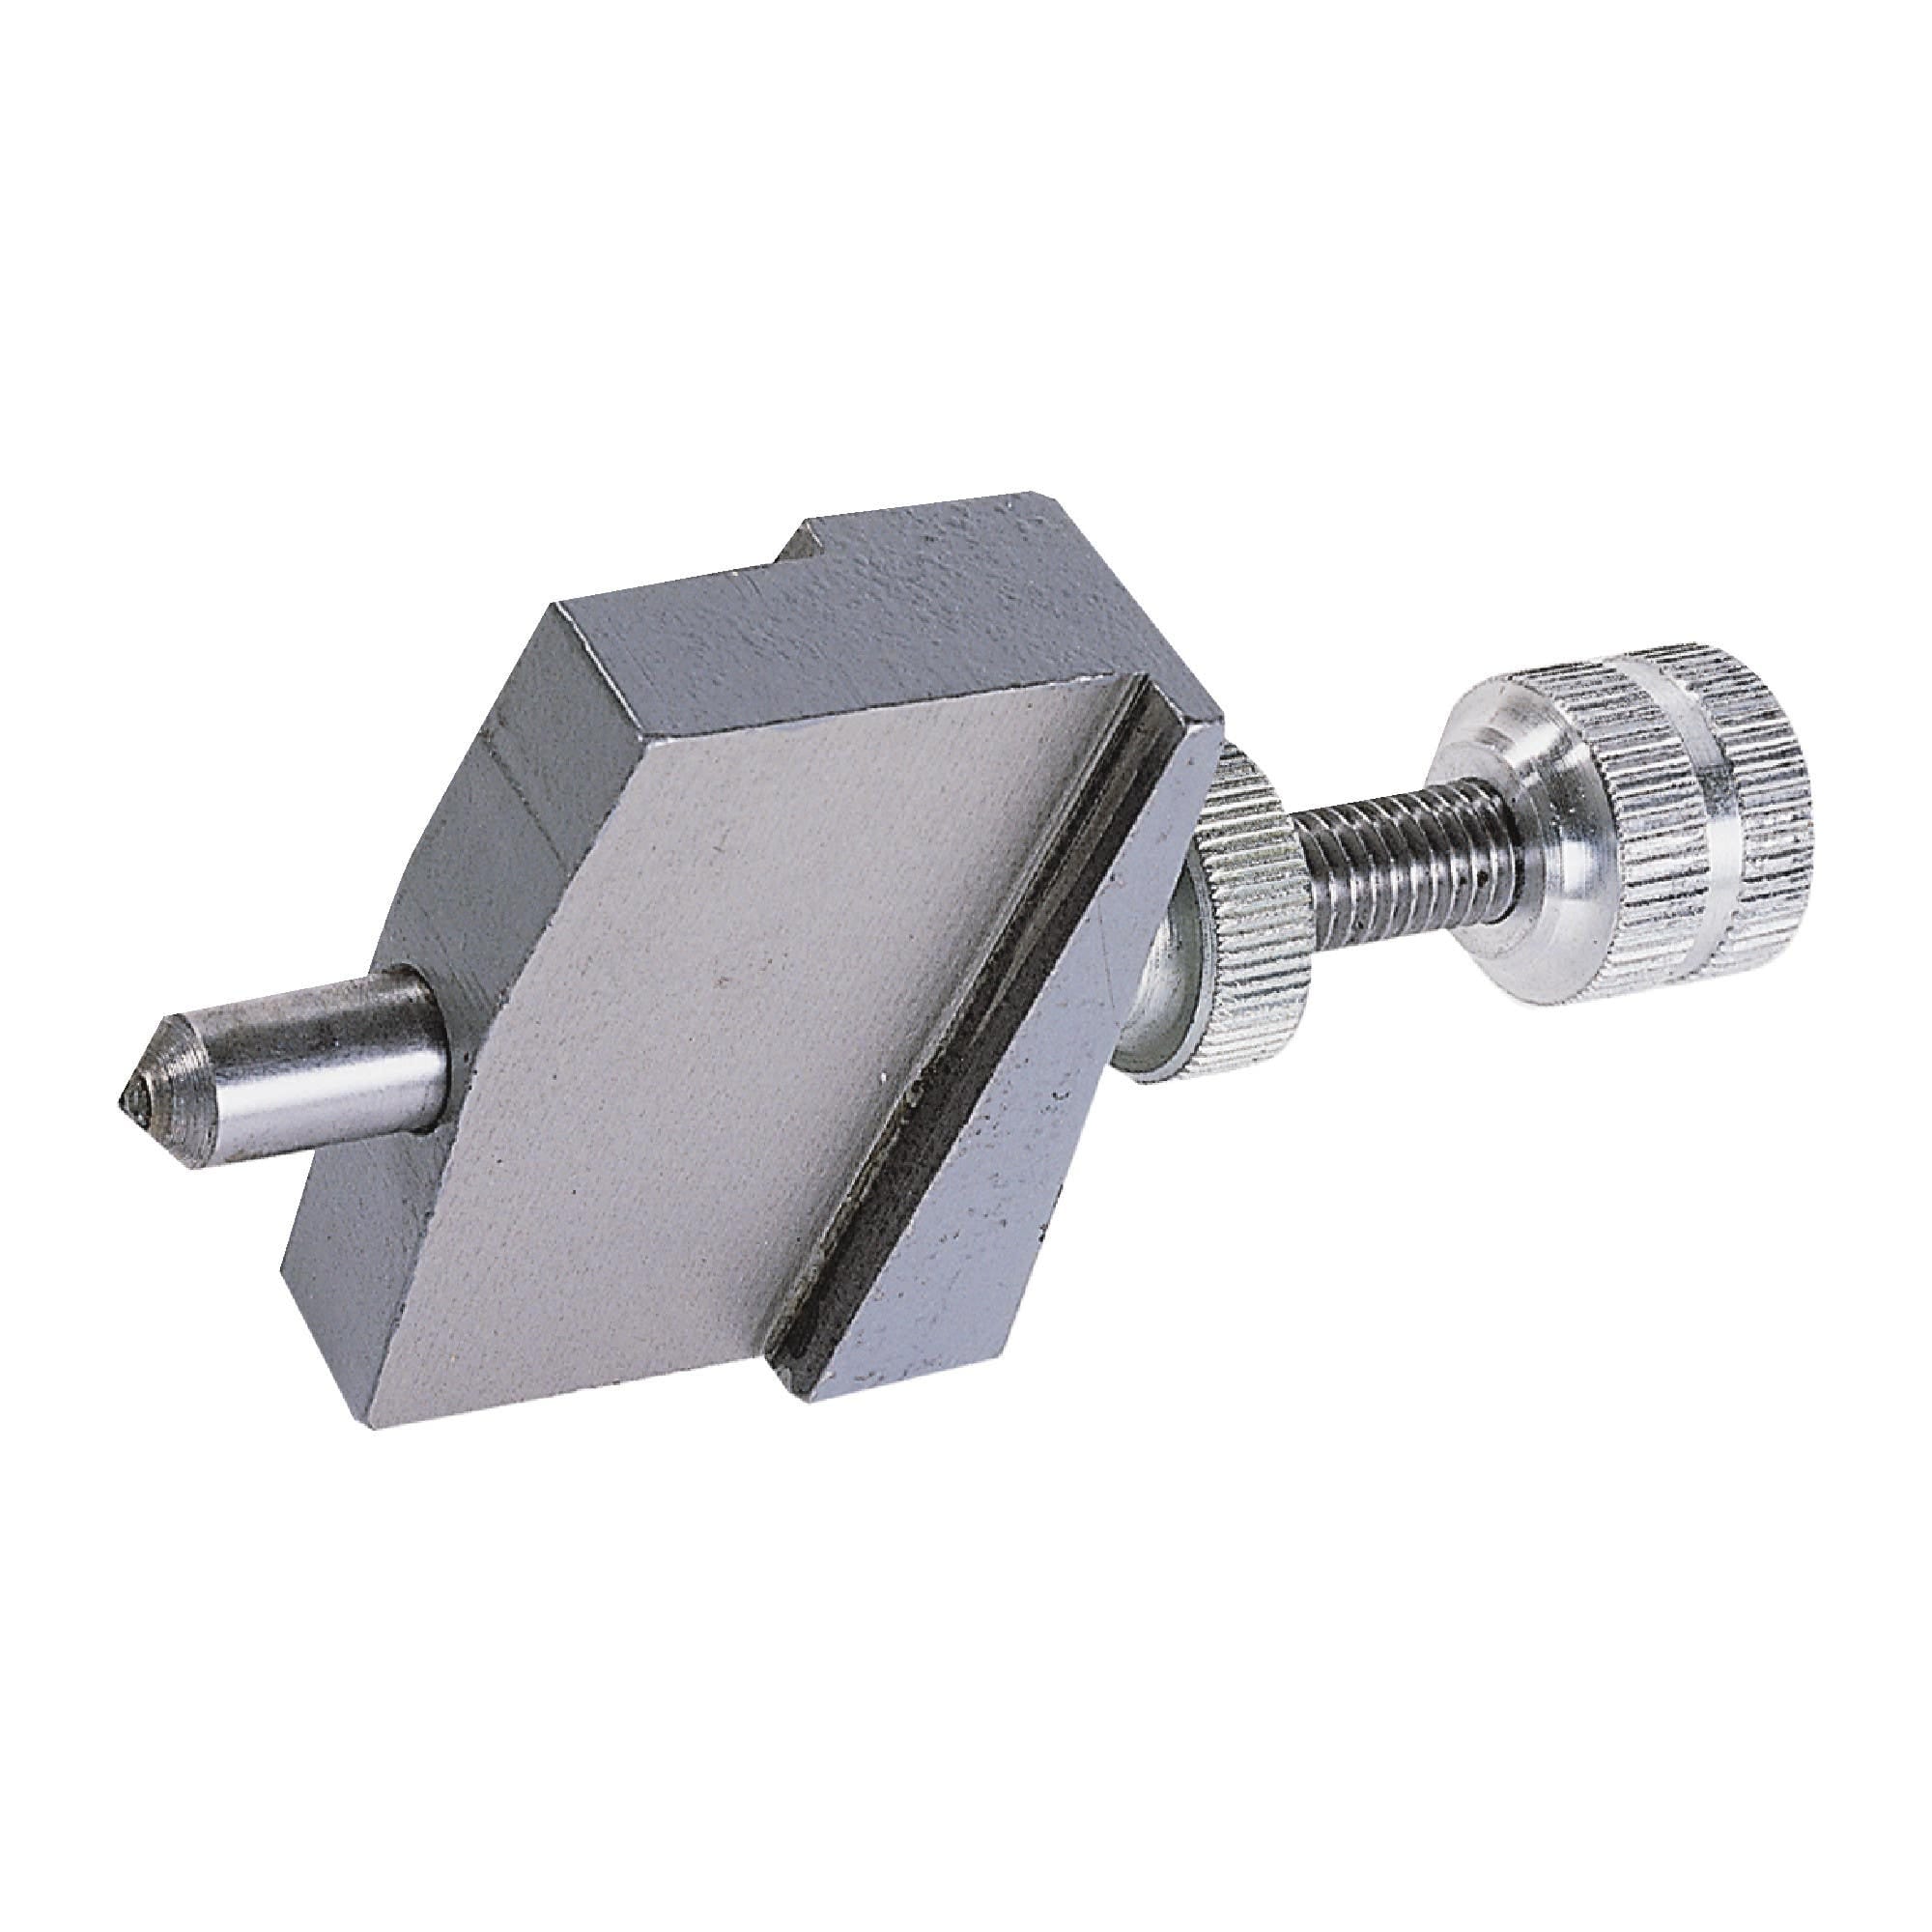
Credit: www.traverscanada.com
Truing Different Types Of Grinder Wheels
Not all wheels are the same. Here are some quick pointers:
- Aluminum oxide wheels: Most common, respond well to all dresser types.
- Silicon carbide wheels: Use diamond dressers for best results.
- Wire wheels: Do not true with a dresser; replace if out of shape.
- Buffing wheels: These don’t need truing, but should be replaced if worn out.
Always check your grinder’s manual for specific recommendations.
Two Practical Tips Most Beginners Miss
- Marking High Spots: Use a marker to color the wheel’s surface before truing. The high spots will be ground away first, making it easy to see when the wheel is fully true.
- Store Dressers Properly: Keep your dresser in a dry, clean place. Rust or grit on the tool can scratch the wheel or reduce accuracy.
Additional Resources
For those who want to explore more, check out this in-depth guide on safe wheel handling from the Wikipedia: Grinding Wheel.
Frequently Asked Questions
What Is The Difference Between Truing And Balancing A Grinder Wheel?
Truing corrects the shape of the wheel, making it round and concentric with the spindle. Balancing ensures the wheel’s weight is distributed evenly, reducing vibration. Both are important, but truing always comes first.
How Do I Know If My Grinder Wheel Is Out Of True?
Common signs include vibration, uneven grinding, or visible high/low spots on the wheel’s face. A simple test: rotate the wheel by hand and watch the gap between the wheel and tool rest. If it changes, the wheel isn’t true.
Can I Use The Grinder Without Truing A New Wheel?
You can, but it’s not safe or effective. New wheels often have flat spots or are not perfectly round. Truing ensures safety and gives the best grinding results.
How Long Does A Truing Dresser Last?
A high-quality diamond dresser can last for years with normal use. Star wheel and stick dressers wear faster. Always use light pressure to extend tool life.
Is It Safe To True A Cracked Or Damaged Wheel?
No. Never try to true or use a cracked wheel. It may shatter during use, causing injury. Replace it immediately.
Keeping your bench grinder in top shape is not just a technical task—it’s a mark of a careful and skilled craftsperson. By truing your wheel regularly, you’ll enjoy smoother operation, better results, and a safer workshop. With the right tools and a little practice, this essential maintenance becomes quick and easy, letting you focus on your work with confidence.
