A nail gun can save you hours on any construction or DIY project. But nothing stops your progress faster than a jammed nail gun. One second you’re firing nails smoothly, and the next—nothing. The trigger clicks, but no nail comes out, or worse, nails start bending and jamming inside the tool.
For beginners, this can be both confusing and frustrating. But with the right steps and a calm approach, you can unjam a nail gun safely and get back to work quickly.
Below, you’ll find a full, step-by-step guide to unjamming a nail gun. You’ll learn why jams happen, how to avoid common mistakes, and what to do if the jam is stubborn. Even if you have never opened up a nail gun before, these instructions will help you handle the problem with confidence.
Why Nail Guns Jam
All nail guns—pneumatic, electric, and battery-powered—can jam. Jams happen for a few main reasons:
- Wrong size nails: Using nails too long or thick for your nail gun
- Bent or damaged nails: Nails that are already bent catch inside the drive channel
- Dirty or poorly maintained tools: Sawdust, grease, or old lubricant can build up
- Low air pressure: For pneumatic guns, not enough air means incomplete firing
- Worn or faulty parts: Old springs, worn driver blades, or weak magazine springs
It’s important to know why your nail gun jammed. This helps you prevent future jams and keeps your tool running longer.
Safety First: Before You Start
Never try to fix a jam without taking these safety steps:
- Disconnect Power: For pneumatic guns, unplug the air hose. For battery or electric models, remove the battery or unplug from power.
- Release Pressure: If your tool has a pressure release valve, use it. This removes remaining air from inside.
- Wear Safety Gear: Eye protection is a must. Jammed nails can shoot out suddenly.
- Check the Area: Make sure there are no bystanders, especially children, nearby.
Many accidents with nail guns happen during jams. The tool can fire unexpectedly if you skip these steps.
Credit: www.youtube.com
Essential Tools And Supplies
You don’t need special equipment, but having these at hand makes the process smoother:
- Screwdriver (usually Phillips or flat-head)
- Pliers (needle-nose recommended)
- Allen wrenches (some guns use hex bolts)
- Small brush (for cleaning debris)
- Lubricant (for pneumatic guns)
- Flashlight (to see inside tight spaces)
If your nail gun came with a tool kit, use the provided wrenches and tools.
Step-by-step Guide To Unjam A Nail Gun
1. Disconnect And Inspect
First, double-check that your nail gun is not connected to any power source. Then, look at the nose (the area where the nails fire out) and the magazine.
- Look for visible nails: Sometimes, you can see a bent nail or one sticking out of place.
- Check for debris: Sawdust or old lubricant can hide the jam.
2. Open The Jam Release Mechanism
Most modern nail guns have a jam release lever or a quick-open nose piece. If yours does:
- Open the lever or nose latch. This will expose the jammed nail.
- If your model doesn’t have this feature, you may need to remove screws or fasteners to access the nose.
Pro tip: Never force parts open. If something is stuck, double-check for hidden screws or locks.
3. Remove The Jammed Nail
With the nose open, use pliers to grip the stuck nail. Pull it straight out. If it’s bent, wiggle it gently side to side.
- Don’t use excessive force: You don’t want to bend parts inside the gun.
- Remove extra nails: If there are other nails jammed behind the first, take them out as well.
If the nail is broken or wedged tightly, a small flat-head screwdriver can help pry it loose.
4. Clean The Magazine And Nose
Jams often leave behind metal shavings, sawdust, or bits of lubricant. Use your small brush to clean out these areas.
- Check for damage: Look for scratches, dents, or broken parts inside the nose or magazine.
- Lubricate if needed: For pneumatic nail guns, add a few drops of oil to the moving parts.
5. Reassemble And Test
Close the nose latch or reattach any screws you removed. Load a fresh strip of nails (make sure they are the right size and type). Reconnect your power source.
- Test-fire the gun: Point it at a scrap piece of wood, not your project. Fire a few nails to make sure everything works smoothly.
If the tool jams again right away, stop and inspect for deeper problems—like a bent driver blade or damaged magazine spring.
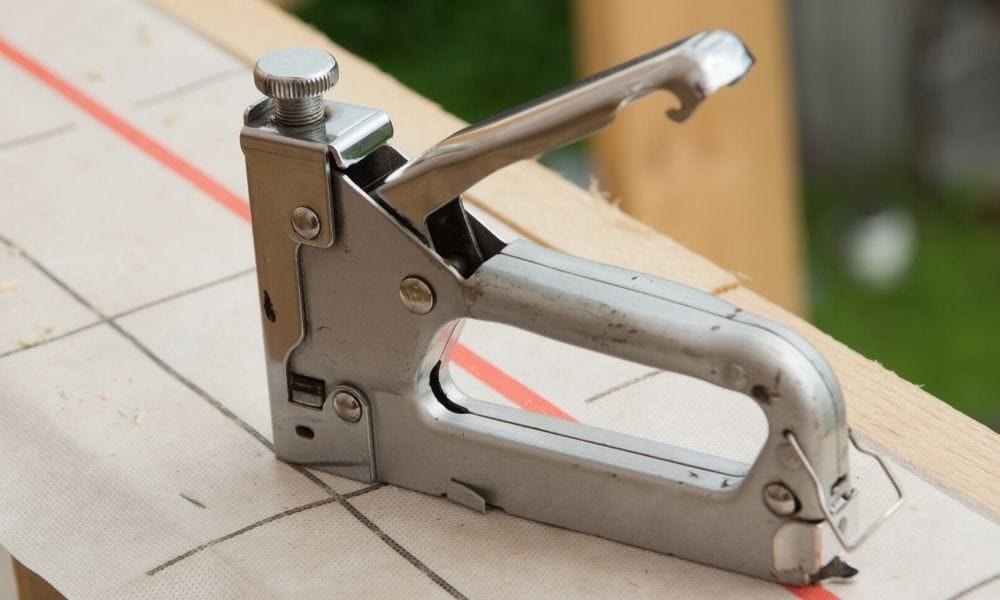
Credit: www.stapleheadquarters.com
When A Jam Won’t Budge
Sometimes, a nail is so deeply stuck that simple pulling won’t work. In these cases:
- Remove the magazine completely if possible.
- Use a punch tool to push the nail back out through the nose.
- Spray a little lubricant to loosen the nail’s grip.
Never hammer the nail gun itself. If you can’t remove the jam, it may be time to visit a repair shop.
Comparing Nail Gun Types: Jam Release Features
Some nail guns are easier to unjam than others. Here’s a quick look at how common types compare:
| Nail Gun Type | Jam Release Feature | Ease of Unjamming |
|---|---|---|
| Pneumatic (Air-powered) | Usually quick-release latch | Easy to moderate |
| Battery/Electric | Quick-release or manual screws | Easy to moderate |
| Older models | No quick-release, screws only | More difficult |
If you buy a new nail gun, look for a quick-release nose for faster jam clearing.
Preventing Future Jams
While all nail guns jam sometimes, you can reduce how often it happens:
- Use the correct nails: Always check your nail size and type against your tool’s manual.
- Keep your gun clean: Dust and debris cause jams. Wipe down your gun after use.
- Oil moving parts: Especially for pneumatic models, regular oiling prevents sticking.
- Check air pressure: For air guns, keep your compressor at the recommended PSI.
- Inspect nails for damage: Avoid using bent or rusty nails.
Here’s how common causes compare in frequency:
| Cause of Jam | Frequency (out of 10) | Prevention Tip |
|---|---|---|
| Wrong nail size | 7/10 | Always check the manual |
| Dirty tool | 6/10 | Wipe and oil often |
| Low air pressure | 5/10 | Monitor compressor output |
| Worn parts | 3/10 | Inspect and replace as needed |
Non-obvious insight: Many users forget to check for slightly bent nails. Even a nail that looks “almost straight” can jam your tool.
Common Mistakes To Avoid
When trying to unjam a nail gun, beginners often make these mistakes:
- Forcing the jammed nail: This can break the driver blade or damage the nose.
- Not disconnecting power: Serious injuries can occur if the gun fires unexpectedly.
- Using the wrong tools: Screwdrivers that are too big can scratch internal parts.
- Skipping lubrication: Dry moving parts cause more jams in the future.
Pro tip: If you need to use a lot of force, stop and reassess. Sometimes, a small adjustment is all that’s needed.
Signs Your Nail Gun Needs Professional Repair
If you notice any of these problems, do not try to fix it yourself:
- Driver blade doesn’t move: Even after clearing jams, the gun won’t fire.
- Repeated jams: Every strip of nails jams, even with proper size and clean tool.
- Unusual sounds: Grinding or clunking noises during operation.
- Visible damage: Cracks, dents, or broken parts inside the nose or magazine.
Professional repair is safer and may save you money in the long run.
Step-by-step Nail Gun Jam Removal: Quick Reference
Here’s a handy summary to keep nearby:
- Disconnect power or air.
- Open jam release or remove nose screws.
- Pull out the jammed nail with pliers.
- Clean out the nose and magazine.
- Lubricate (if pneumatic).
- Reassemble and test-fire.
This process works for most nail guns, but always check your user manual for model-specific steps.
Top Tips For Nail Gun Care
- Store in a dry place to prevent rust.
- Use original nails from the manufacturer if possible.
- Replace worn parts early to avoid jams.
- Keep your user manual handy for troubleshooting.
Caring for your nail gun can prevent 80% of jams, saving you both time and frustration.
Advanced Troubleshooting: When All Else Fails
Occasionally, a jam may be a sign of a deeper issue:
- Bent driver blade: If the driver is no longer straight, it may need replacement.
- Magazine spring failure: If nails aren’t feeding smoothly, inspect the magazine spring.
- O-ring wear: For pneumatic guns, old O-rings can cause misfires and jams.
If you’re comfortable, you can order replacement parts and follow video guides from the manufacturer. Otherwise, seek professional service.
For more on nail gun technology and troubleshooting, check out this Wikipedia page about nail guns.
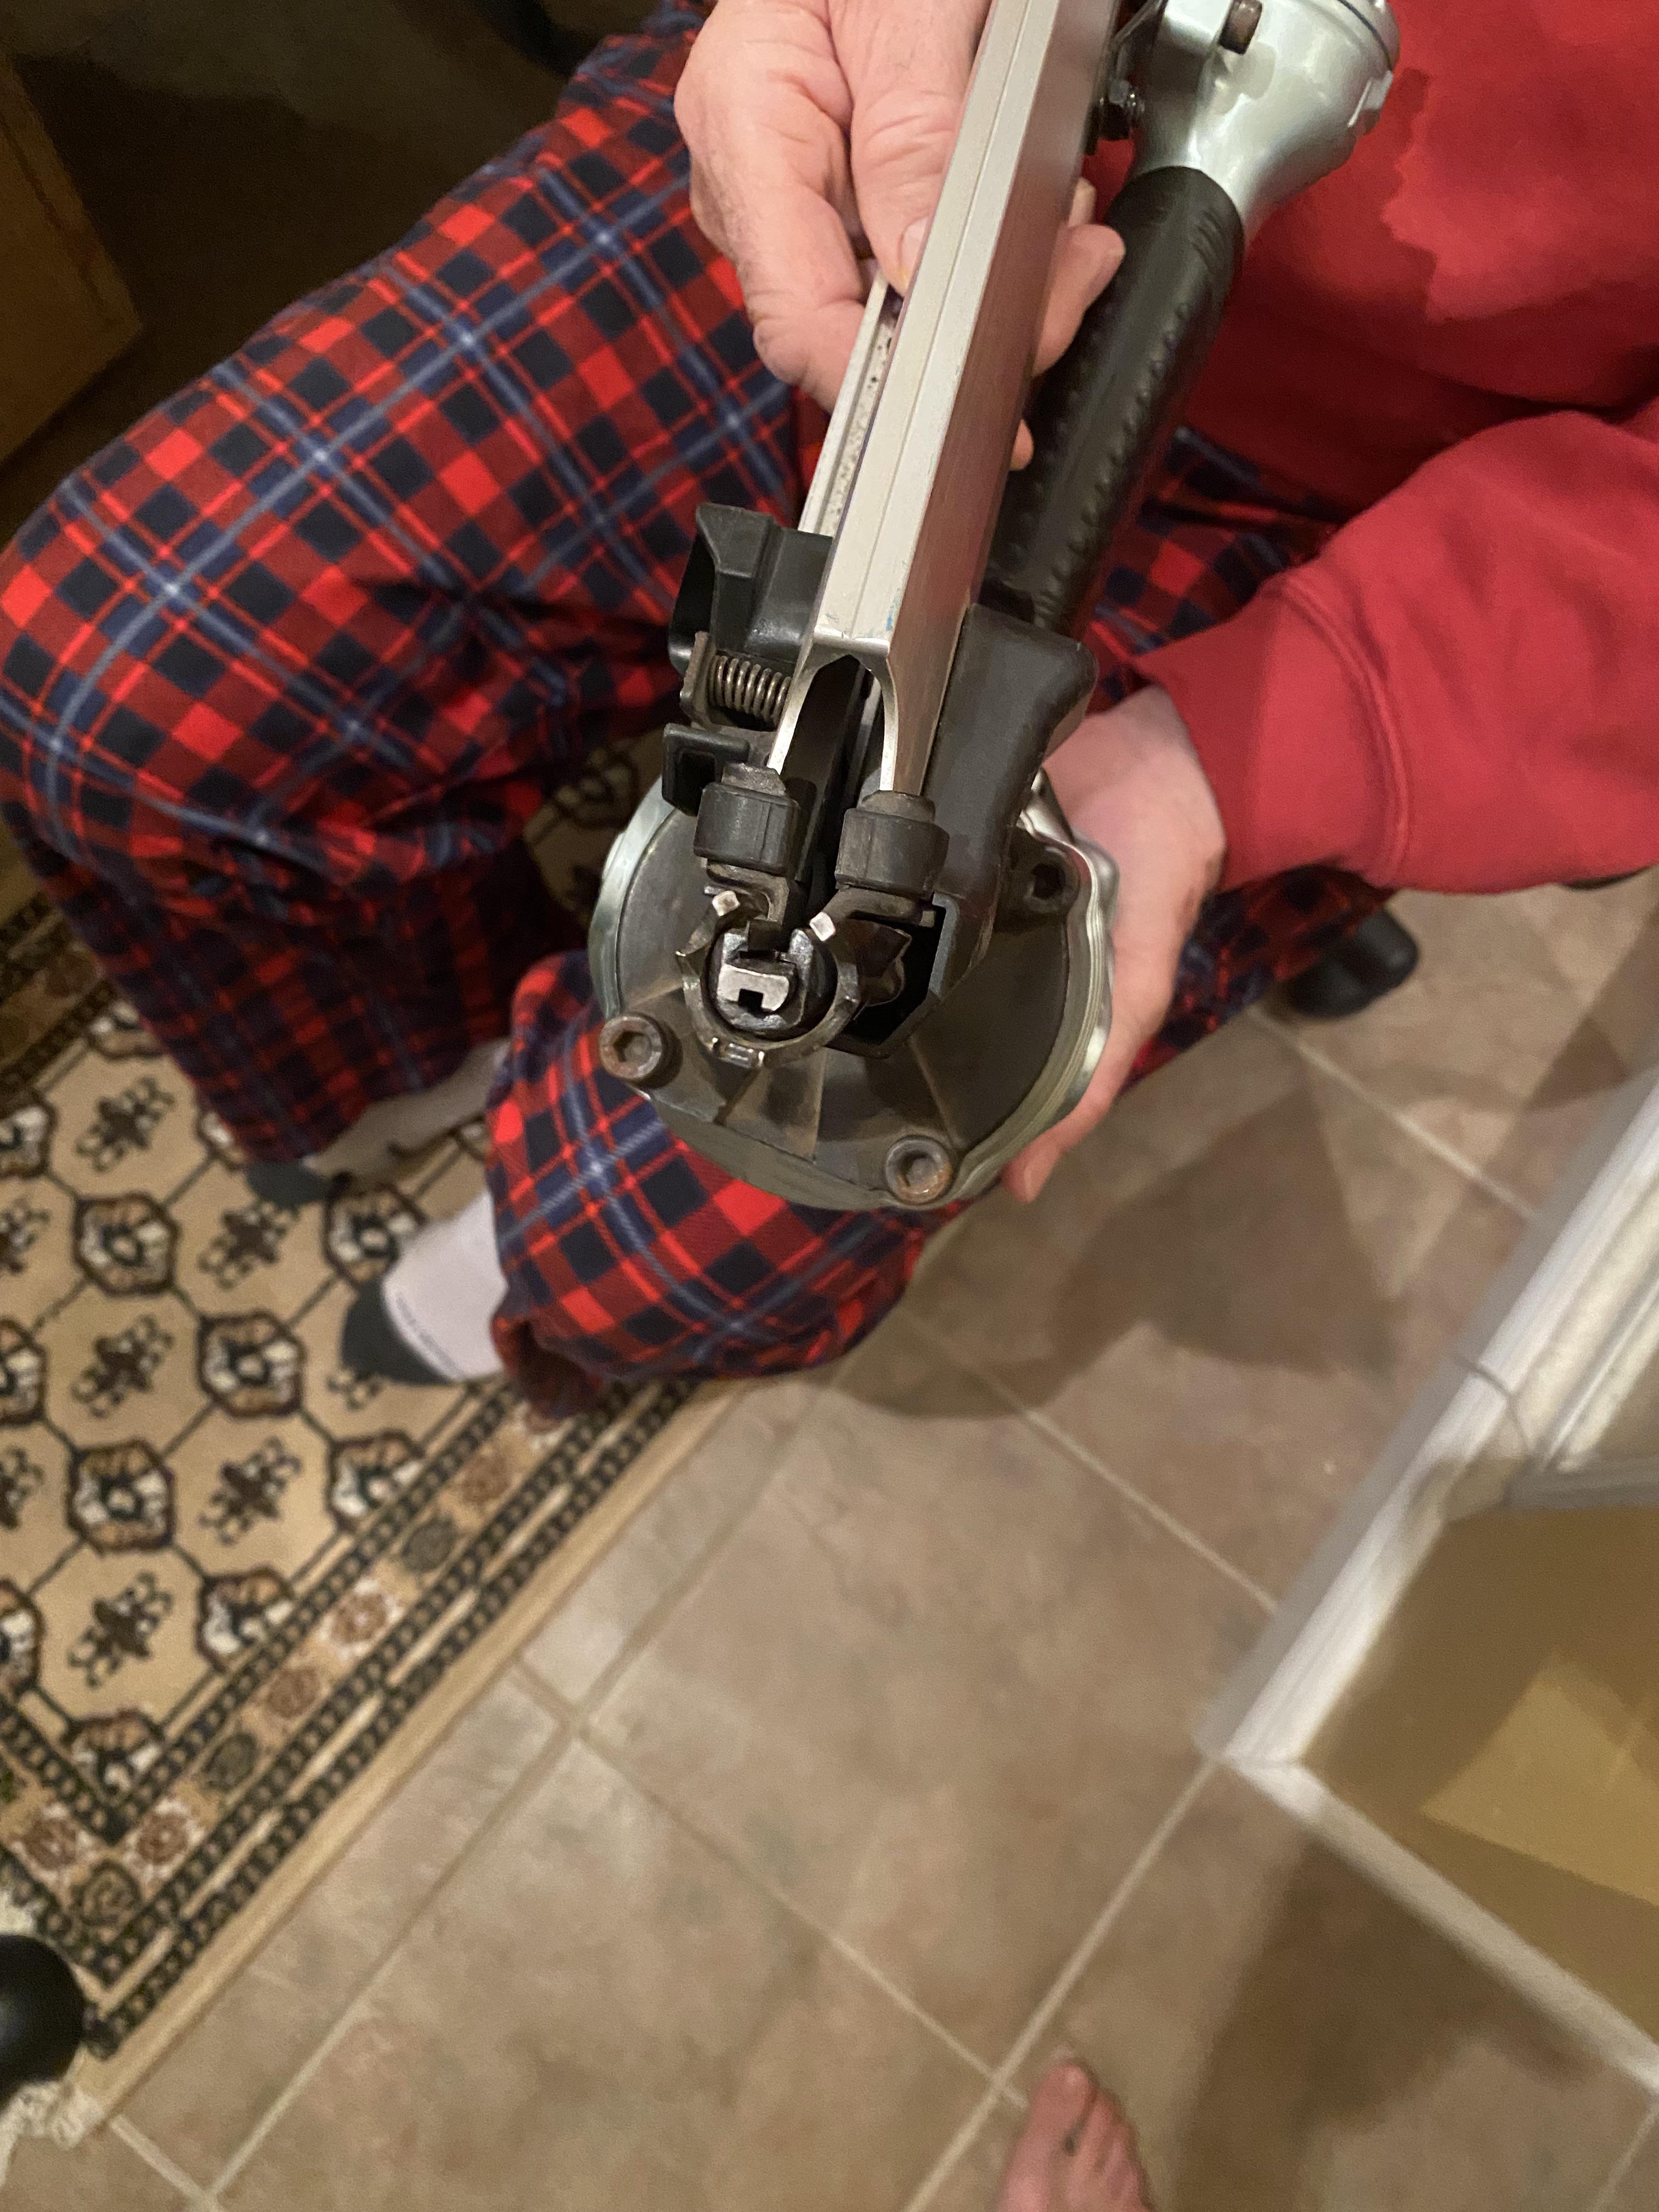
Credit: www.reddit.com
Frequently Asked Questions
How Do I Know If My Nail Gun Is Jammed?
If you pull the trigger and hear a click but no nail comes out, or if nails are not feeding properly, your nail gun is likely jammed. You might also see a bent nail sticking out of the nose.
Can I Use Any Brand Of Nails In My Nail Gun?
No, always use nails that match your tool’s specifications. Using the wrong size or type is a leading cause of jams and can void your warranty.
Is It Safe To Unjam A Nail Gun Myself?
Yes, as long as you disconnect the power or air and wear safety glasses. Never attempt to clear a jam while the gun is connected to power or pressure.
What Should I Do If My Nail Gun Jams Frequently?
First, check for the correct nails, clean the tool, and keep it lubricated. If jams continue, inspect for worn parts or seek professional repair.
How Often Should I Clean And Oil My Nail Gun?
Clean your nail gun after every major project. For pneumatic guns, add a few drops of oil before each use. Keeping your tool in top shape reduces jams and extends its life.
Getting stuck with a jammed nail gun is never fun, but with these steps, you can fix the problem safely and quickly. Keeping your tool clean, using the right nails, and following the right process will keep your projects running smoothly.
Every minute you spend on care and maintenance can save you hours of frustration in the future.
