
To use a router table safely, mount the router securely, set the bit height and fence with the router unplugged, use the guard plus push blocks or featherboards, then feed the board steadily against the bit rotation.
A router table is best for controlled edge profiles, grooves, rabbets, dadoes, and repeatable joinery. Most fence-guided cuts across the front of the table feed from right to left, but always follow the feed-direction arrows and the manual for your router table and bit setup.
This guide keeps the setup steps practical for beginners while calling out the safety limits that matter most: secure the router, support the workpiece, avoid climb cuts, and make test cuts on scrap before touching your project piece.
What a Router Table Does (and When to Use One)
A router table mounts a compatible router upside down beneath a flat table so the bit projects through the top. Instead of moving the router across the wood, you guide the workpiece past a stationary bit. The table, fence, featherboards, and jigs can make repeat cuts easier to control and reproduce.
Use a router table when you need repeated edge profiles, rabbets, grooves, dadoes, pattern routing with an appropriate bearing-guided bit, or small-to-medium workpieces that are easier to control on a table. A handheld router is often the better choice when the workpiece is too large or awkward to move safely across the table.
Pre-Cut Router Table Safety Checklist
- Router is unplugged while installing the bit, changing height, or moving the fence.
- Router, insert plate, fence, and bit are secure; the insert plate is flush with the tabletop.
- The bit is sharp, undamaged, correctly seated in the collet, and operated within its rated speed range.
- The workpiece is flat, stable, free of nails or other hard objects, and large enough to control safely.
- Guard, featherboards, push blocks, and infeed/outfeed support are positioned as the cut requires.
- Eye and hearing protection are on, loose clothing and hair are secured, and dust collection is running.
- You know the correct feed direction and have made a test cut on scrap before the project piece.
How to Use a Router Table: Step-by-Step
For a basic fence-guided cut, use this sequence. Your router table, router, and bit manuals take priority if their instructions differ.
- Unplug the router before setup. Confirm the router is securely mounted and the insert plate sits flush with the tabletop.
- Choose and install the correct bit. Inspect the bit for damage, seat it correctly in the collet, tighten it securely, and make sure the bit and insert opening have adequate clearance.
- Set bit height and fence position. Make a conservative first cut rather than trying to remove too much material in one pass.
- Set up workpiece control. Position the guard, featherboards, push blocks, and infeed/outfeed support as needed so the stock stays flat against the table and fence.
- Connect dust collection and put on PPE. Wear eye and hearing protection and use respiratory protection when the dust hazard calls for it.
- Make a scrap test cut. Check the profile, depth, fence position, and feed direction before routing the project piece.
- Feed the workpiece against bit rotation. On most fence-guided cuts across the front of the table, this is right to left. Keep steady pressure against the fence and tabletop without forcing the stock.
Quick rule: if the router sounds overloaded, the wood chatters, or the cut begins to burn, stop safely and check feed rate, cut depth, bit condition, fence setup, and router speed before continuing.
Router Table Setup
Setting up a router table correctly makes each cut safer and more repeatable. Start with a flat, stable table, a secure mounting plate, and a fence that locks square to the bit. If you are building or upgrading your own setup, this router table build guide explains the base, top, and mounting choices.
Mounting The Router
Start by placing the router upside down under the table. Align the router base with the mounting plate holes. Secure the router with screws to keep it steady. Check that the router is firmly fixed. This prevents movement during use and ensures accuracy.
Adjusting Bit Height
Turn the router off, unplug it, and wait for the bit to stop before changing height. Use the height adjustment knob or lift mechanism to raise or lower the bit to your cut depth. Lock the adjustment, spin the bit by hand while unplugged to check clearance, then test the setup on scrap wood before cutting your project piece.
Fence Installation
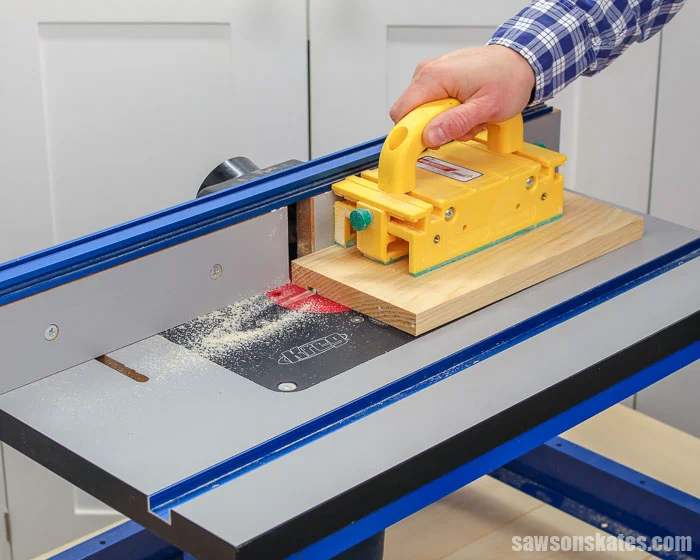
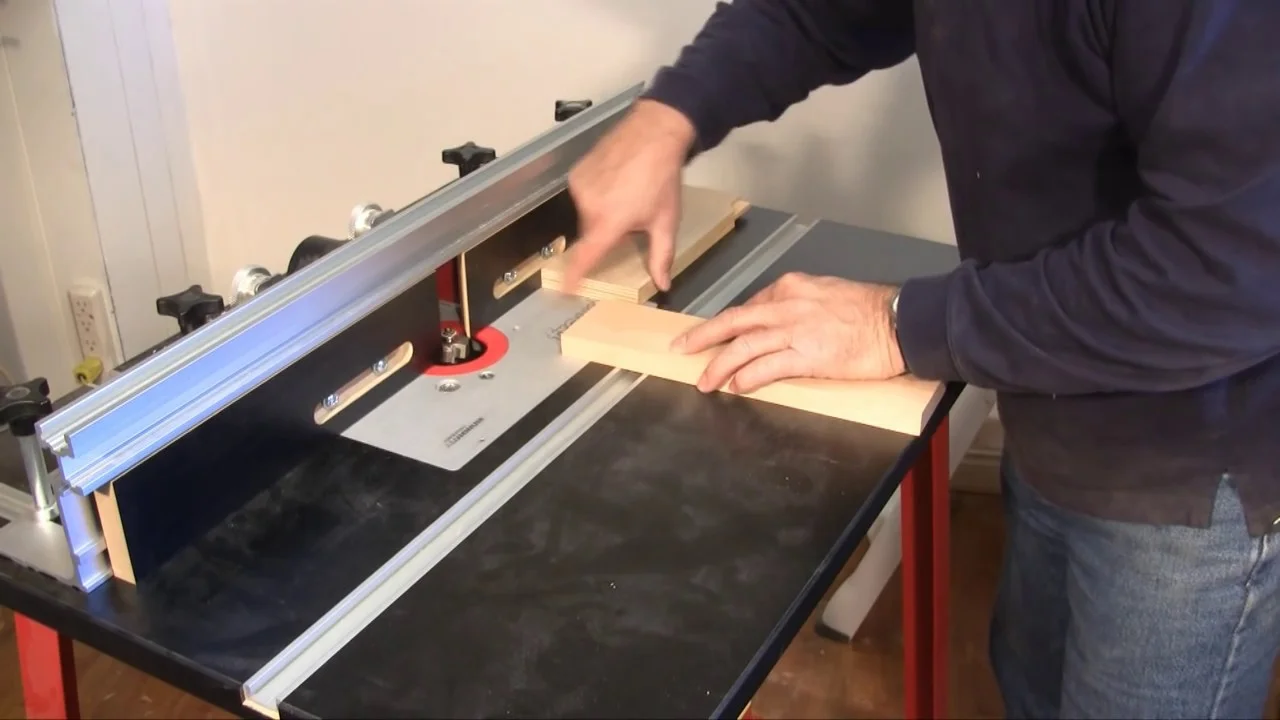
Attach the fence parallel to the bit on the table surface. The fence guides the wood and controls the cut shape. Lock the fence in place using the adjustment knobs or clamps. Make sure the fence is straight and secure. Adjust the fence distance from the bit for different cuts.
Credit: sawsonskates.com
Essential Router Bits
Using the right router bits is crucial for effective work on a router table. Start with bits that match the material, cut depth, table insert opening, and router speed range. Our guide to using router bits covers common profiles and setup basics for cleaner, safer cuts.
Edge Profiling Bits
Edge profiling bits shape the outer edges of wood. They add decorative curves, bevels, or rounds to the edges. These bits come in many styles, such as round-over, chamfer, and ogee. Using them enhances the appearance of furniture and cabinets. They create smooth, professional-looking edges quickly.
Joinery Bits
Joinery bits cut precise joints to connect wood pieces. Common types include dovetail, box joint, and mortise bits. These bits provide strong and accurate connections. They help build frames, drawers, and boxes with solid joints. Using joinery bits saves time and improves durability.
Trimming Bits
Trimming bits clean up edges or patterns after cutting. They have a bearing that guides the bit along the wood edge. These bits are perfect for laminate trimming and template routing. Trimming bits ensure smooth, even edges without splinters. They are essential for finishing work and detailed cuts.
Edge Profiling Techniques
Edge profiling techniques shape the outer lines of wood pieces. These techniques add style and function to woodworking projects. A router table makes edge profiling easier and more accurate. It holds the router steady while you guide the wood. This control helps create smooth, clean edges that enhance any piece.
Different bits create different edge shapes. Some edges are simple and subtle. Others are bold and decorative. Understanding basic edge profiles lets you choose the right style for your project. Below are common profiles to try on your router table.
Chamfers And Roundovers
Chamfers cut a flat, angled edge on the wood corner. They soften sharp edges and give a clean look. Adjust the router bit depth to control the chamfer size. Chamfers work well on tabletops, shelves, and frames.
Roundovers create a smooth, curved edge. They remove sharp corners for safety and style. Router bits with a round profile do this easily. Roundovers suit furniture edges and children’s toys. Both chamfers and roundovers improve wood durability by reducing edge wear.
Ogee And Decorative Edges
Ogee edges have an S-shaped curve. This classic look adds elegance to furniture and cabinetry. Ogee router bits cut this profile in one pass. They require careful setup to avoid tear-out on soft woods.
Decorative edges include beads, coves, and other shapes. These bits create patterns that highlight craftsmanship. Use a router table fence to keep cuts straight and consistent. Decorative edges give woodworking a professional, custom feel.
Creating Joinery
Creating joinery with a router table improves the strength and appearance of your wood projects. A router table offers control and accuracy, making complex joints easier. It helps you cut clean, precise shapes that fit perfectly together.
Different joints serve various purposes in woodworking. This section focuses on common types of joinery you can create using a router table. Learn how to make dadoes, rabbets, half laps, and dovetails with simple steps.
Dadoes And Rabbets
Dadoes are square grooves cut across the wood grain. They hold shelves or panels firmly in place. Using a router table ensures the dado is straight and even. Adjust the bit height and fence for the correct groove depth and width.
Rabbets are similar but cut along the edge of a board. They create a step-shaped recess to join two pieces. Rabbets work well for cabinet backs and door frames. The router table keeps the cuts clean and consistent.
Half Laps And Dovetails
Half lap joints join two boards by removing half the thickness from each. The boards overlap and fit flush. This joint adds strength and increases surface area for glue. A router table helps cut the exact depth and width needed.
Dovetail joints create interlocking wedges that resist pulling apart. They are popular in drawer construction and fine furniture. Router tables with special dovetail bits guide precise cuts for perfect fits. Making dovetails by hand is hard; the router table makes it easier and faster.
Grooves And Dados
Grooves and dados are essential cuts in woodworking. They allow pieces to fit together tightly. A router table helps create these cuts with precision. It holds the router steady while you guide the wood. This control improves accuracy and safety.
Grooves are long, narrow slots cut along the grain of the wood. Dados are wider and cut across the grain. Both serve as channels for shelves, panels, or drawer bottoms. Using a router table makes these cuts clean and consistent.
Cutting Accurate Grooves
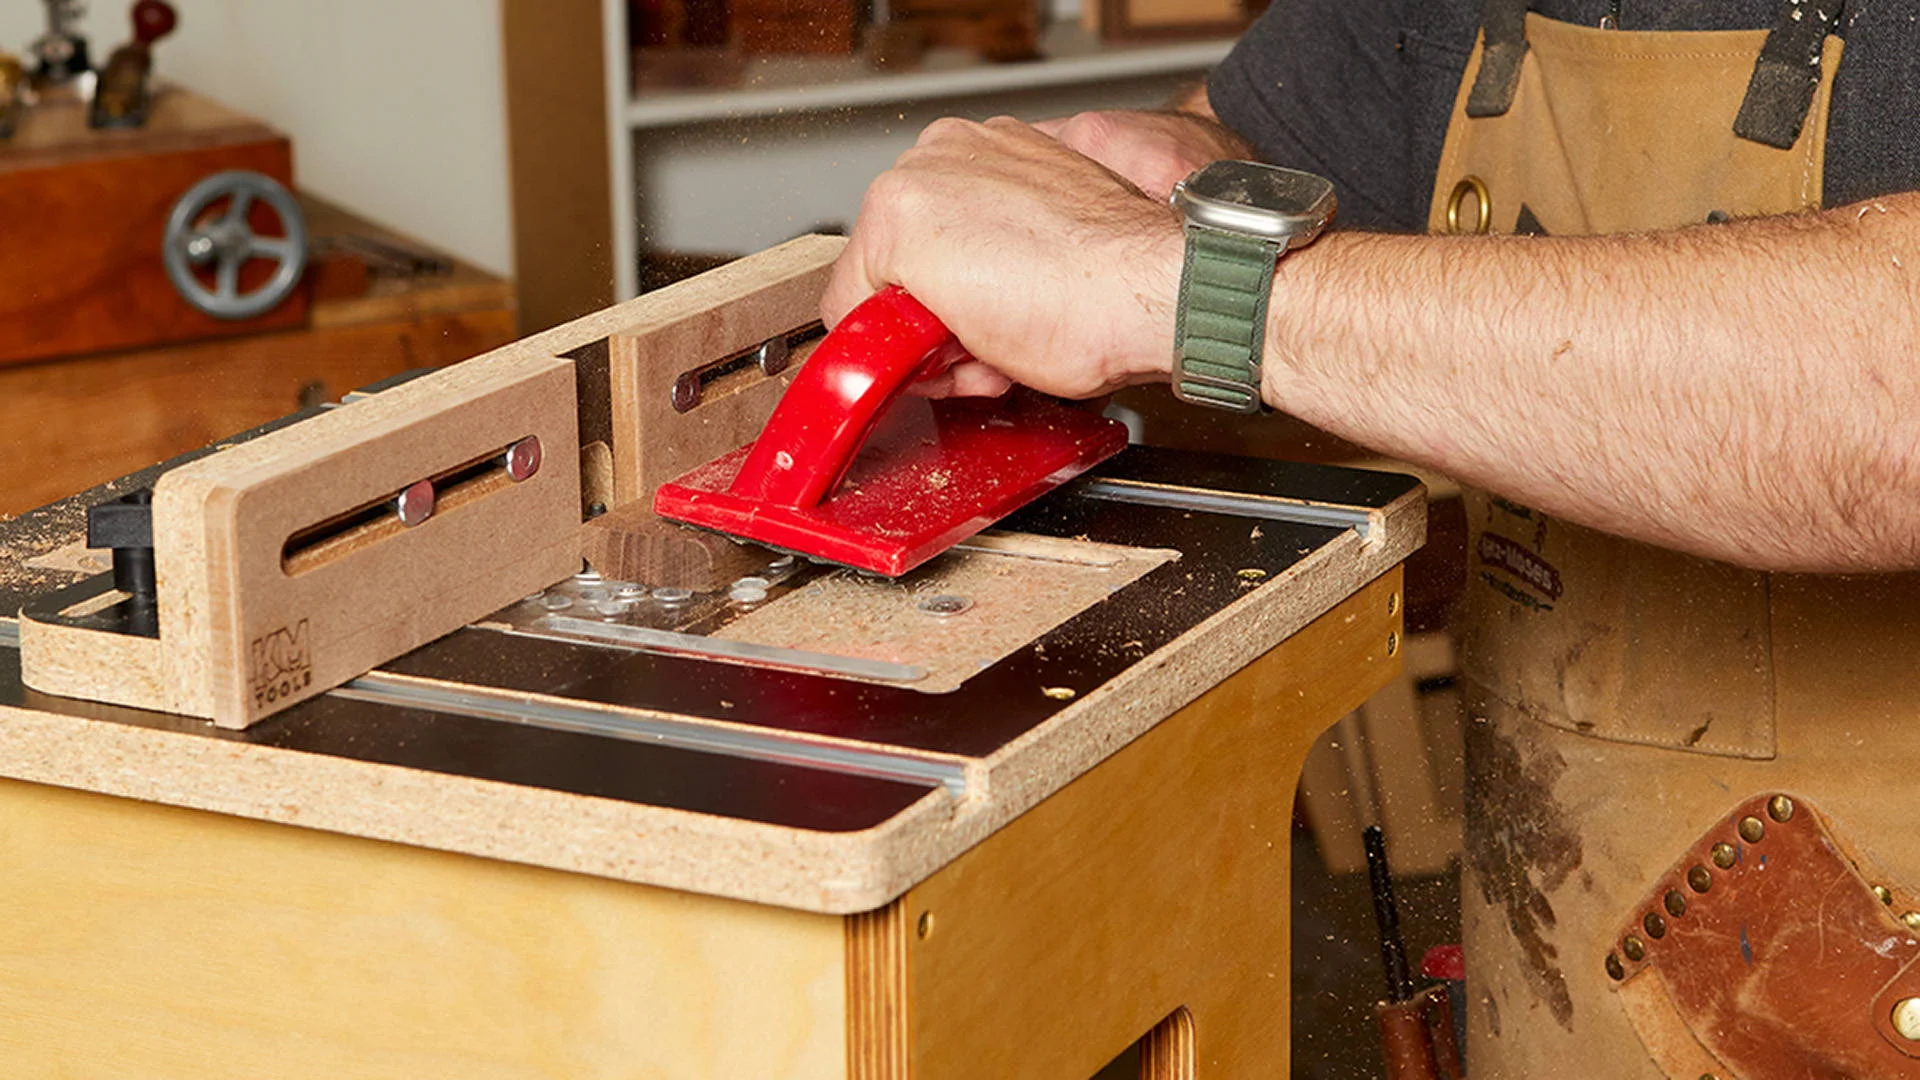
Set the router bit height to match the groove depth needed. Adjust the fence to control the groove width. Feed the wood slowly and steadily against the bit. Use a push block to keep hands safe. Multiple passes may be required for deep grooves. Check the cut often for accuracy. A smooth groove ensures strong joints and neat assembly.
Shelf And Drawer Joinery
Grooves and dados create strong joints for shelves and drawers. Cut dados across the wood grain for drawer bottoms. Use grooves along the edges for shelf panels. These cuts hold pieces firmly without nails or screws. Proper alignment is key for tight fitting joints. The router table’s steady platform helps maintain precision. This joinery adds durability and a clean look to your projects.
Credit: kmtools.com
Raised Panel Door Work
Raised panel door work creates classic and elegant cabinet doors. The router table helps shape both frame and panel parts precisely. It gives clean cuts and smooth edges for a perfect fit. Understanding the process improves your woodworking results and speeds up your project.
Frame Components
Frame parts include stiles and rails that hold the panel. Use the router table to shape the edges of these pieces. Set the fence and bit height carefully for consistent cuts. Run each frame piece slowly and steadily past the bit. This creates a groove or profile for the panel to fit into. Check each cut for smoothness and accuracy before assembly.
Panel Shaping
The panel is the center part of the door and needs shaping too. Use a raised panel bit on the router table for the beveled edges. Adjust the height so the bevel is even on all sides. Move the panel carefully around the bit to avoid tear-out. This shaping gives the panel its raised look and adds depth to the door. Sand lightly if needed to remove any rough spots.
Router Table Feed Direction and the Fence-Trap Rule
For a typical fence-guided cut across the front of a router table, feed the workpiece from right to left so it moves against the bit’s rotation. Bosch router-table safety instructions specifically warn against back-feeding because the workpiece can climb onto the bit and pull away from your control. OSHA also lists feeding stock in the wrong direction or too abruptly as causes of router kickback.
Also avoid a fence trap: do not position the cut so the majority of the workpiece is trapped between the fence and the bit. That setup exposes the cutter on the operator side and can encourage climb-cutting. Keep the fence on the correct side of the bit for the operation, use the guard when the cut allows it, and follow the manual for your specific table.
For curved work, use only the method, starter pin, guard, and bearing-guided bit specified by your router-table manufacturer. Do not improvise freehand cuts around an exposed bit.
Safety Tips
Safety is the top priority when using a router table. The exposed spinning bit can grab stock quickly, so read the manual for your router and table before use, keep the guard installed when the cut allows it, and never make adjustments while the router is plugged in. Use the fence for straight work and a starter pin only for appropriate curved work with a bearing-guided bit.
For control and kickback reduction, use push blocks, push sticks, featherboards, and support stands where the cut requires them. Do not back-feed the workpiece or trap the workpiece between the fence and bit; feed against bit rotation and make shallow test passes on scrap.
Using Push Blocks
Push blocks keep your hands away from the router bit. They give you better control over the wood piece. Always use push blocks when working with small or narrow pieces. This prevents slipping and reduces the risk of injury. Hold the push block firmly and move the wood steadily against the bit.
Dust Collection Setup
Dust from routing can harm your lungs and make the work area slippery. Set up a dust collection system near the router table. It removes wood chips and fine dust particles efficiently. Use a shop vacuum or a built-in dust port if available. Keeping the area clean improves visibility and safety during work.
Credit: www.youtube.com
Common Router Table Mistakes and How to Fix Them
Feeding the Wood in the Wrong Direction
For normal fence-guided routing, feed against the bit rotation. Feeding with the rotation can turn the cut into a climb cut and make the router pull the workpiece unexpectedly. Use the feed-direction markings and instructions for your exact table and bit setup.
Trying to Remove Too Much Material at Once
Heavy cuts increase load, heat, chatter, and tear-out. Use multiple controlled passes when the profile or groove requires substantial material removal, and verify the setup on scrap first.
Using Too Little Workpiece Support
Long, narrow, or small stock can tip or drift away from the fence. Add featherboards, push blocks, and infeed/outfeed support where appropriate so the workpiece stays controlled throughout the cut.
Routing With a Dull or Damaged Bit
A dull or damaged bit can leave burn marks, fuzzy edges, vibration, or a rough finish. Stop, unplug the router, inspect the bit and collet, and replace or service the bit when needed.
Skipping the Scrap Test
A short test cut can reveal an incorrect bit height, fence position, feed direction, or workpiece-control problem before it damages the project piece.
Maintenance And Troubleshooting
Maintaining your router table ensures it works safely and efficiently. Troubleshooting common problems helps avoid delays and poor results. Regular care keeps your tools in top shape for every project.
Router Table Cleaning
Keep the router table free of dust and debris. Use a soft brush or cloth to wipe the surface. Clean the fence and tabletop after each use. Remove sawdust from the router motor vents. Avoid using water or harsh chemicals. Check the table insert for resin buildup and clean it carefully. Clean bits before and after use to keep them sharp. Proper cleaning prevents damage and improves cutting accuracy.
Bit Replacement And Adjustment
Change router bits when they become dull or damaged. Turn off and unplug the router before replacing bits. Use the correct wrench to loosen the collet nut. Insert the new bit fully and tighten securely. Adjust bit height for the desired cut depth. Test the bit on scrap wood to check settings. Regular bit maintenance ensures smooth, clean cuts every time.
Frequently Asked Questions
How Do You Use A Router Table Step By Step?
Start by securely mounting the router under the table. Adjust bit height and fence position. Turn on the router. Steadily feed the wood against the spinning bit. Use push blocks for safety near the bit. Turn off the router to make adjustments or finish.
What Can I Do With A Router Table?
A router table lets you shape edges, create joints, trim flush edges, cut grooves, and craft raised panels with precision and control.
What Not To Do With A Router Table?
Do not force the wood through the bit or rush cuts. Avoid using dull bits and never bypass safety gear. Keep hands clear of the spinning bit and never remove guards. Do not use the router table for unstable or oversized materials.
Maintain a clean, organized workspace.
Which Way To Feed Wood On A Router Table?
Feed wood against the router bit’s rotation direction. For most fence-guided cuts across the front of a router table, that means feeding from right to left while keeping the workpiece against the fence and table. Follow your table/manual feed arrows for your exact setup, and do not back-feed or climb-cut.
What Is A Router Table Used For In Woodworking?
A router table helps shape edges, cut joints, trim patterns, cut grooves, and add decorative details with better control than many handheld-router cuts.
Sources Checked
Safety-critical points in this guide were checked against Bosch router-table operating/safety instructions, OSHA router safety guidance, and CCOHS woodworking push-stick guidance. Those sources support using guards, push blocks or sticks, featherboards where appropriate, secure mounting, and feeding the workpiece against bit rotation.
- Bosch RA1171 router table product/manual page
- Bosch RA1171 operating and safety instructions
- CCOHS woodworking push-stick guidance
- OSHA woodworking router safety guidance (Woodworking eTool: Routers)
Conclusion
Using a router table makes woodworking safer and more precise. It helps shape edges and create strong joints easily. Always keep your hands clear and use push blocks. Take your time adjusting the bit and fence for perfect cuts. Practice leads to better control and cleaner results.
A router table is a useful tool for many projects. Start simple, stay patient, and enjoy crafting your wood pieces.
Related reading: how to make box joints with a router.
Related reading: how to cut a dado with a router.
