A well-lit workshop is a game changer. Whether you’re working with wood, fixing cars, or crafting models, the right lighting can boost your accuracy, safety, and comfort. Many people overlook lighting, but it’s just as important as tools or workbenches.
Poor lighting can cause eye strain, mistakes, and even accidents. On the other hand, well-planned workshop lighting helps you see details, pick up colors correctly, and work for longer without fatigue.
But workshop lighting isn’t just about buying bright bulbs. There are many types of lights, and each serves a different purpose. You also need to think about how many lights you need, where to put them, and what color they should be.
If you want your workshop to work for you, not against you, it’s worth learning how to get your lighting right. This guide covers everything you need to know—from basics to expert tips—so you can create a workspace that feels professional, practical, and pleasant.
Why Good Workshop Lighting Matters
The right lighting is more than just convenience. It directly impacts:
- Precision: Sharp lighting reveals fine details. This is vital for cutting, measuring, and assembling.
- Safety: Shadows and dark spots hide hazards like tools or spills. Good lighting keeps everything visible.
- Comfort: Flickering or dim lights can cause headaches and eye strain, making work tiring.
Many beginners focus only on the main ceiling light. But smart workshop lighting uses layers—general, task, and accent lighting—to cover all situations.
Types Of Workshop Lighting
Understanding lighting types helps you choose the best setup for your space.
Ambient Lighting
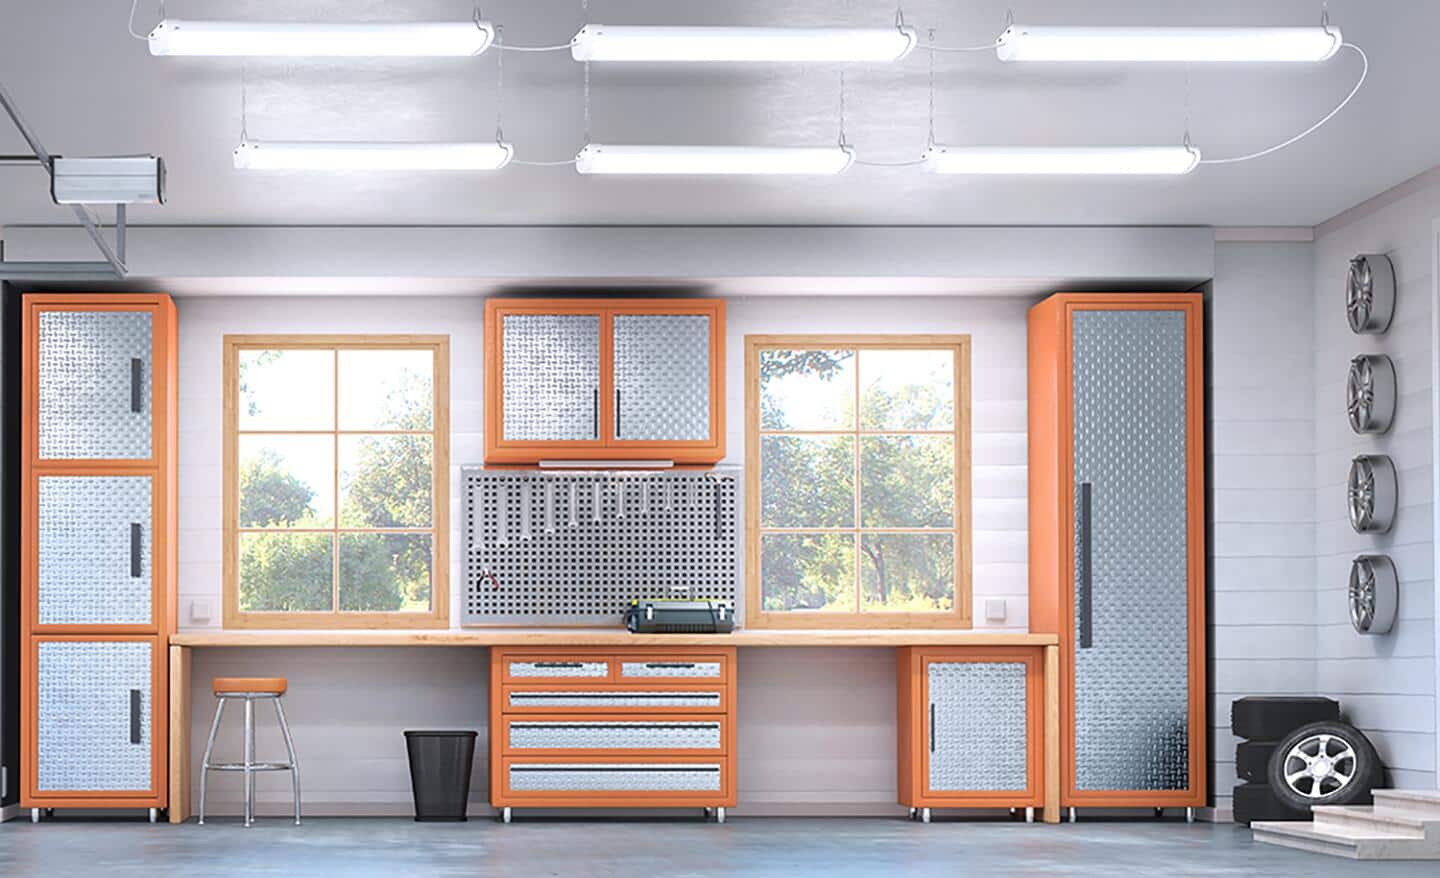
Ambient lighting is your workshop’s main source of light. It fills the room evenly, so you don’t have dark corners.
- Common options: Ceiling-mounted fluorescent fixtures, LED panels, or shop lights.
- Best for: Overall visibility and moving around safely.
Task Lighting
Task lighting adds brightness where you need it most—over benches, machines, or small work areas.
- Common options: Adjustable desk lamps, under-cabinet LEDs, or gooseneck lights.
- Best for: Precise work like soldering, assembly, or detailed repairs.
Accent And Spot Lighting
Accent lighting highlights special zones, like tool racks or display shelves. Spotlights can point at a lathe, drill press, or art project.
- Common options: Track lights, clamp-on lamps.
- Best for: Highlighting features or adding extra focus.
Portable And Temporary Lights
Sometimes you need light in a tight spot or for a quick fix.
- Examples: Work lights on stands, LED flashlights, headlamps.
- Use for: Mobile projects, under-vehicle work, or emergency repairs.
Choosing The Best Bulbs
Not all bulbs are equal. The type of bulb affects brightness, energy use, and color quality.
Comparing Bulb Types
Here’s a quick look at the most common options:
| Bulb Type | Lifespan (Hours) | Energy Use | Pros | Cons |
|---|---|---|---|---|
| LED | 25,000+ | Low | Efficient, cool, long life | Higher upfront cost |
| Fluorescent | 7,000–15,000 | Medium | Even light, affordable | Mercury content, flicker |
| Incandescent | 1,000 | High | Warm light, cheap | Short life, inefficient |
LEDs have become the top choice for most workshops. They’re bright, energy-saving, and last for years. Fluorescent tubes are common in older workshops and offer even, widespread light. Incandescent bulbs are rarely used now because they waste energy and burn out quickly.
Lumens And Brightness
Don’t shop by watts—look for lumens. Lumens measure actual light output.
- A small workshop (10×10 ft): 2000–4000 lumens total
- Medium workshop (20×20 ft): 6000–10,000 lumens total
- Large workshop (30×30 ft+): 12,000+ lumens total
Add more lumens for detailed tasks or high ceilings.
Color Temperature
Color temperature affects how you see materials and colors. It’s measured in Kelvins (K):
- 2700K–3500K: Warm white (yellowish, cozy)
- 4000K–5000K: Neutral/cool white (crisp, clear)
- 6000K+: Daylight (very blue, intense)
Most workshops do best with 4000K–5000K bulbs. They show colors accurately and keep you alert.
Color Rendering Index (cri)
CRI rates how well a light shows true colors (0–100 scale). For accurate work (like painting or wiring), use CRI 80 or higher.
How To Plan Your Workshop Lighting
Every workshop is different. The right setup depends on your space, ceiling height, work type, and budget.
Step 1: Map Your Space
Sketch your workshop. Mark:
- Workbenches
- Power tools
- Storage areas
- Entry points
Notice where you need the most light.
Step 2: Calculate Your Lighting Needs
Estimate the total lumens you’ll need. Use the rule of thumb: 100–150 lumens per square foot for workbenches, and 50–75 lumens per square foot for general space.
Example: A 200 sq ft workshop needs about 10,000–20,000 lumens for tasks, plus general lighting.
Step 3: Choose Fixture Types
Mix fixture types to avoid shadows and dark spots.
- Use overhead panels for general lighting.
- Add linear LED strips or under-cabinet bars for benches.
- Place spotlights over large machines.
- Use portable lights for flexible needs.
Step 4: Position Your Lights
Mount main lights on the ceiling, spaced evenly. Place task lights so your hands and tools don’t block the beam.
- For benches, lights should be in front of you—not behind—to avoid casting shadows.
- For machines, lights should cover the whole work area, not just the center.
Step 5: Consider Controls
Install switches where you enter and exit. Use separate switches for general and task lights. Motion sensors or dimmers can save energy and add comfort.
Workshop Lighting Layout Examples
It’s easier to understand with real layouts. Here are two common workshop setups:
Single-car Garage Workshop
| Zone | Lighting Type | Lumens | Notes |
|---|---|---|---|
| Ceiling | LED panel | 4000 | Main lighting |
| Workbench | Under-cabinet LED | 2000 | Task work |
| Tool wall | Track light | 1000 | Accent |
Large Hobbyist Workshop
| Area | Fixtures | Lumens per Area | Special Needs |
|---|---|---|---|
| Main floor | 4x LED shop lights | 12,000 | Uniform coverage |
| Assembly bench | 2x clamp-on task lamps | 3,000 | Adjustable heads |
| Paint booth | Daylight LED strips | 2,500 | High CRI needed |
Common Mistakes And How To Avoid Them
Many workshop owners make simple lighting mistakes. Here’s how to avoid them:
- Using only one light: This creates shadows and uneven lighting. Always layer your lights.
- Ignoring color temperature: A too-warm light makes colors look wrong, a too-cool light feels harsh. Stick to neutral white.
- Not enough lumens: Under-lighting makes work hard and unsafe. Calculate your needs before buying.
- Placing lights behind you: This casts a shadow over your work. Position lights in front or above your main work zones.
- Neglecting CRI: Low CRI bulbs can make color work impossible. Always check the CRI rating for detailed tasks.
- Forgetting about glare: Shiny surfaces and strong bulbs can create glare. Diffuse your light with covers or choose frosted bulbs.
- Not using portable lights: Sometimes you need extra light in a tight spot. Keep a portable work light handy.
Credit: www.meteorelectrical.com
Smart Lighting Upgrades
Once you have the basics, consider a few smart upgrades:
- Motion sensors: Lights turn on automatically when you enter.
- Dimmable fixtures: Adjust brightness for different jobs.
- Wi-Fi smart bulbs: Control lighting from your phone or voice assistant.
- Battery backup: Keeps lights on during power cuts—a must for safety.
Real-world Example: Woodworking Workshop
A hobby woodworker set up a 12×20 ft shop. He chose four 48” LED shop lights (each 4000 lumens, 5000K). Over his main bench, he added an adjustable arm lamp with a high-CRI bulb for fine joinery. Task lights under the wall cabinets lit up his tool storage.
The result? No shadows, accurate color, and less eye strain—even after hours of sanding and finishing.
Non-obvious insight: He also painted his workshop ceiling and walls a light color. This simple step doubled the effect of his lighting, as bright walls reflect light much better than dark ones.

Credit: magazine.reallusion.com
Budgeting For Workshop Lighting
Lighting is an investment, but it doesn’t have to break the bank. Here’s a rough cost breakdown for a small to medium workshop:
- 4x LED shop lights: $80–$120
- 2x task lamps: $30–$80
- Under-cabinet LED strip: $20–$40
- Extension cords and switches: $20–$50
Total: $150–$300 for a bright, efficient setup.
Spending a little more for high-quality, high-CRI bulbs is worth it if you do color-sensitive work or spend hours in the shop.
Non-obvious insight: Don’t forget to budget for installation. If you’re not comfortable wiring fixtures, hire a licensed electrician. This ensures safety and meets local building codes.
Workshop Lighting And Energy Efficiency
LEDs are the best pick for energy savings. They use up to 80% less energy than old bulbs and last 25x longer. You’ll see the difference on your power bills—and spend less time changing bulbs.
If you’re interested in more details about energy-efficient lighting, check out this LED Lighting Guide from the U.S. Department of Energy.
Safety Tips For Workshop Lighting
Never overlook safety when installing or upgrading lights:
- Always turn off power at the breaker before working on wiring.
- Use fixtures rated for your location (damp-proof for garages, vapor-proof for paint booths).
- Mount lights securely—falling fixtures are dangerous.
- Keep cords and cables away from walkways.
- Use ground fault circuit interrupters (GFCIs) in damp or garage workshops.
If you’re unsure about electrical work, call a professional.
Frequently Asked Questions
What’s The Best Color Temperature For Workshop Lighting?
Most workshops do best with 4000K to 5000K bulbs. This range gives a bright, clear light that shows colors correctly and feels natural—not too yellow or harshly blue.
How Many Lumens Do I Need For My Workshop?
Aim for 50–75 lumens per square foot for general lighting and 100–150 lumens per square foot for workbenches or task areas. Add up the total square footage and multiply to get your ideal lumen target.
Are Led Lights Worth The Extra Cost?
Yes. LEDs use much less energy, last much longer, and give off less heat than fluorescent or incandescent bulbs. The higher upfront cost pays off in lower power bills and fewer replacements.
Can I Use Residential Light Fixtures In My Workshop?
You can, but shop-rated fixtures are better for durability, brightness, and safety. Residential fixtures may not handle dust, vibration, or humidity as well as workshop-specific options.
How Can I Reduce Glare In My Workshop?
Choose diffused or frosted bulbs instead of clear ones. Aim fixtures away from shiny surfaces, and consider adding light covers or reflectors to direct light where you need it most.
Great workshop lighting is a smart investment. It makes every project easier, safer, and more enjoyable. With the right setup, you’ll wonder how you ever worked in the dark.
Credit: www.homedepot.com
