
Are you tired of cluttered tools or craft supplies taking over your workspace? A pegboard might be just what you need to bring order and easy access to your essentials.
But instead of buying one that might not fit your space or style, why not learn how to make a pegboard yourself? It’s simpler than you think, and you can customize it to perfectly match your needs. Whether you want a small board for your kitchen gadgets or a large wall-mounted system for your workshop, this guide will walk you through every step.
Keep reading, and you’ll discover how creating your own pegboard can save you time, money, and frustration—turning your space into a neat, efficient haven.
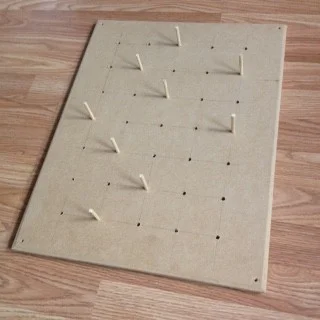
Credit: www.thecraftygentleman.net
Materials Needed
Gathering the right materials is the first step to making a sturdy pegboard. Choosing quality supplies ensures your pegboard lasts and holds your tools well. Prepare everything before starting to save time and avoid interruptions.
Wood Or Pegboard Panel
Select a wooden board or a premade pegboard panel. Plywood with smooth surface works well. Common sizes are 1/4 or 1/2 inch thick. Make sure the board is large enough for your space.
Pegboard Hooks And Accessories
Get a variety of hooks designed for pegboards. These hold tools and other items securely. Choose hooks of different shapes and sizes for versatility.
Drill And Drill Bits
A drill is needed to make holes if using plain wood. Use drill bits that match the size of your hooks. A power drill speeds up the process and makes clean holes.
Measuring Tape And Pencil
Measure the board carefully to mark hole positions. Use a pencil to draw light dots or grid lines. Accurate markings help keep holes evenly spaced.
Sandpaper Or Sander
Sand the board edges and surfaces for smoothness. Sanding prevents splinters and prepares the surface for paint or finish. Use fine-grit sandpaper for best results.
Paint Or Wood Finish (optional)
Apply paint or finish to protect the wood and add color. Choose paint suitable for wood surfaces. Let the board dry completely before adding hooks.
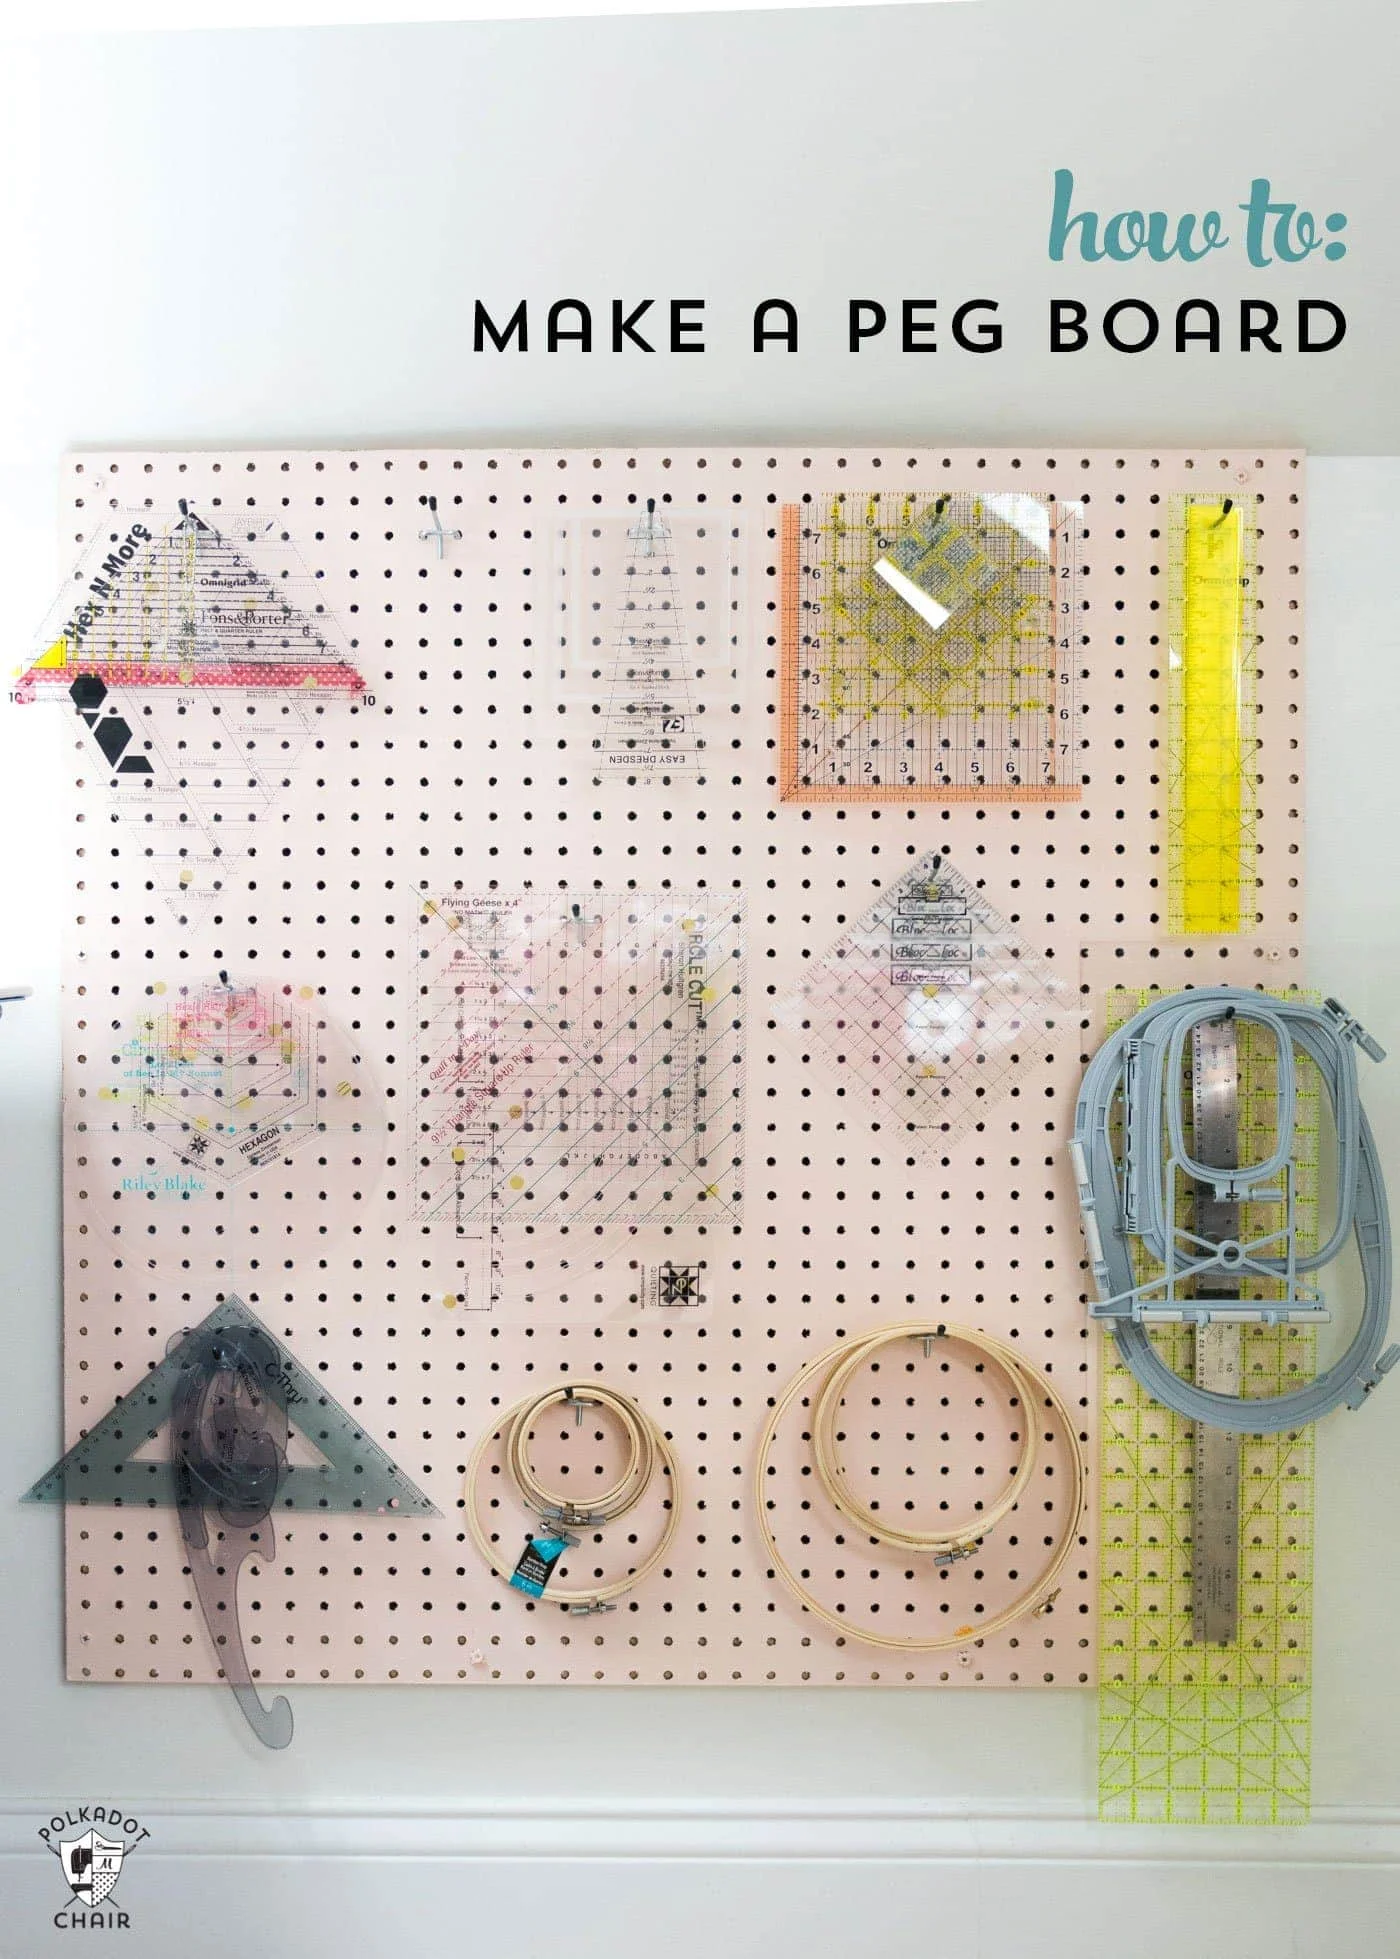
Credit: www.polkadotchair.com
Choosing The Right Pegboard
Choosing the right pegboard is the first step in creating an organized and functional workspace. The pegboard you select affects durability, appearance, and how well it holds your tools. Understanding the material, size, and hole pattern helps you pick the best option.
Material Types
Pegboards come in various materials like wood, metal, and hardboard. Wood pegboards offer a classic look and strong support. Metal pegboards are durable and resist moisture, perfect for garages. Hardboard pegboards are affordable and easy to cut but may not hold heavy tools well.
Size And Thickness
Choose the right size based on your wall space and tool collection. Larger pegboards allow more storage but require sturdy mounting. Thickness matters for strength; thicker boards hold heavier items better. A 1/4-inch thickness works for light tools, while 1/2-inch or more suits heavier equipment.
Hole Pattern And Size
Standard pegboard holes are usually 1/4 inch in diameter. The hole spacing is often 1 inch apart in a grid pattern. This pattern works well for most hooks and accessories. Some pegboards have larger holes for bigger hooks or specialty items. Pick a pattern that fits your storage needs.
Mounting Options
Consider how you will mount the pegboard. Some pegboards need a frame or spacers for hooks to fit properly. Others come with built-in mounting systems. Ensure your wall can support the pegboard and the weight of tools. Proper mounting keeps the pegboard stable and safe.
Measuring And Planning
Measuring and planning are the first steps to making a pegboard. Accurate measurements ensure the pegboard fits your space perfectly. Planning helps decide the size, hole spacing, and layout. This step saves time and avoids mistakes during building.
Take time to understand the area where the pegboard will hang. Think about what tools or items you want to store. Measure the wall space carefully with a tape measure. Note the width and height for the pegboard panel.
Measure Your Wall Space
Use a tape measure to check the width of your wall. Measure from one end to the other where you want the pegboard. Next, measure the height from the floor or shelf to the desired top edge. Write down these numbers clearly.
Plan Pegboard Size And Shape
Decide how big the pegboard should be based on your measurements. Consider making it smaller for a tight space or larger for more storage. Sketch a simple outline on paper to visualize the shape. A rectangle or square works best for easy cutting.
Choose Hole Spacing And Layout
Standard pegboards have holes spaced 1 inch apart on center. This spacing fits most hooks and accessories. Mark a grid pattern on your sketch showing hole locations. You can also choose smaller or larger spacing for special needs.
List Tools And Materials Needed
Write down what tools you will need: drill, drill bits, tape measure, pencil, saw, and safety gear. List materials like plywood or MDF, pegboard hooks, and screws. Planning these ahead avoids last-minute trips to the store.
Cutting The Pegboard
Cutting the pegboard is a key step in making your pegboard fit perfectly. Precise cuts make installation easier and improve the look of your project. Using the right tools and techniques helps you avoid mistakes and damage.
Measure twice, cut once. Always mark your cut lines clearly. This saves time and reduces errors.
Gathering The Right Tools
Use a circular saw or jigsaw for straight cuts. A fine-tooth blade works best to prevent splintering. Safety goggles and gloves protect your eyes and hands during cutting. Clamp the pegboard firmly to your work surface to keep it steady.
Marking Your Cut Lines
Use a pencil and ruler to draw straight lines on the pegboard. Measure the dimensions needed for your space carefully. Double-check measurements before cutting to avoid wasting material.
Cutting The Pegboard Safely
Cut slowly and steadily along the marked lines. Keep your hands clear of the blade at all times. Let the saw do the work without forcing it. Smooth rough edges with sandpaper after cutting for a clean finish.
Mounting The Pegboard
Mounting the pegboard correctly is key to a sturdy and functional workspace. This step ensures your pegboard can hold tools without bending or falling. Proper mounting also makes your pegboard easy to use and adjust.
Start by choosing the right wall space. Look for a flat surface free of obstructions. Measure the area to fit your pegboard size. Mark the wall where the top and bottom edges of the pegboard will go.
Gathering Tools And Materials
You need a drill, screws, anchors, a level, and spacers. Spacers keep the pegboard away from the wall. This space allows hooks to fit behind the board.
Installing Spacers
Attach spacers to the wall where you marked. Use wood blocks or plastic spacers about ½ inch thick. Secure them with screws and anchors if needed. Make sure they are level and evenly spaced.
Lift the pegboard onto the spacers. Align the pegboard holes with the spacers. Use screws long enough to go through the pegboard and into spacers. Tighten screws until the pegboard is firmly attached.
Checking For Stability
Press gently on different spots of the pegboard. It should not move or bend easily. If it feels loose, tighten screws or add more spacers. A stable pegboard supports all your tools safely.
Selecting Pegboard Accessories
Selecting pegboard accessories shapes how you use your pegboard. Accessories keep your tools and supplies organized. They help save space and make items easy to find.
Choose accessories that fit your needs and pegboard size. The right hooks, bins, and shelves make a big difference. Consider what items you want to store and how often you use them.
Hooks And Hangers
Hooks come in many shapes and sizes. Use straight hooks for hand tools like screwdrivers. Curved hooks hold larger items such as tape measures or scissors. Specialty hooks can support power tools or cords. Pick hooks that hold your items firmly without slipping.
Shelves And Bins
Shelves add flat space for small containers or boxes. Bins keep tiny parts like nails or screws tidy. Choose clear bins to see contents quickly. Detachable shelves and bins let you change your setup easily. Make sure they fit well on your pegboard holes.
Tool Holders
Tool holders secure specific tools like pliers or hammers. They prevent tools from falling off the board. Some holders have slots or clamps for better grip. Using the right holder protects tools and keeps them ready to use. Match holders to tool size for best results.
Customizing Your Setup
Customizing your pegboard setup turns a simple board into a powerful organizing tool. It lets you design a workspace that fits your exact needs. Personal touches improve both function and style. You can change hooks, add shelves, or paint for a unique look.
Customization helps keep tools easy to find and saves time. It adapts to your hobbies or work tasks. Each pegboard can become a personal storage system. Small changes create big improvements in daily use.
Choosing The Right Hooks And Accessories
Select hooks that match the items you want to store. Use small hooks for light tools and large ones for heavy items. Shelves hold paint cans or boxes. Bins keep screws and nails organized. Mixing hook types adds flexibility.
Painting And Decorating Your Pegboard
Paint your pegboard to match your room or style. Use bright colors for a fun look or soft tones for calm. Paint also protects the wood or metal from damage. Add stickers or labels for extra personalization.
Arranging Tools For Easy Access
Place frequently used tools at eye level. Group similar items together for quick grabs. Leave space between hooks to avoid clutter. Change the layout as your collection grows or shrinks. A well-planned pegboard saves effort.
Adding Shelves And Bins
Attach small shelves to hold items that don’t hang well. Use bins for loose parts and tiny tools. Clear bins help find items fast. Shelves and bins increase storage options beyond hooks. They keep your workspace neat and tidy.
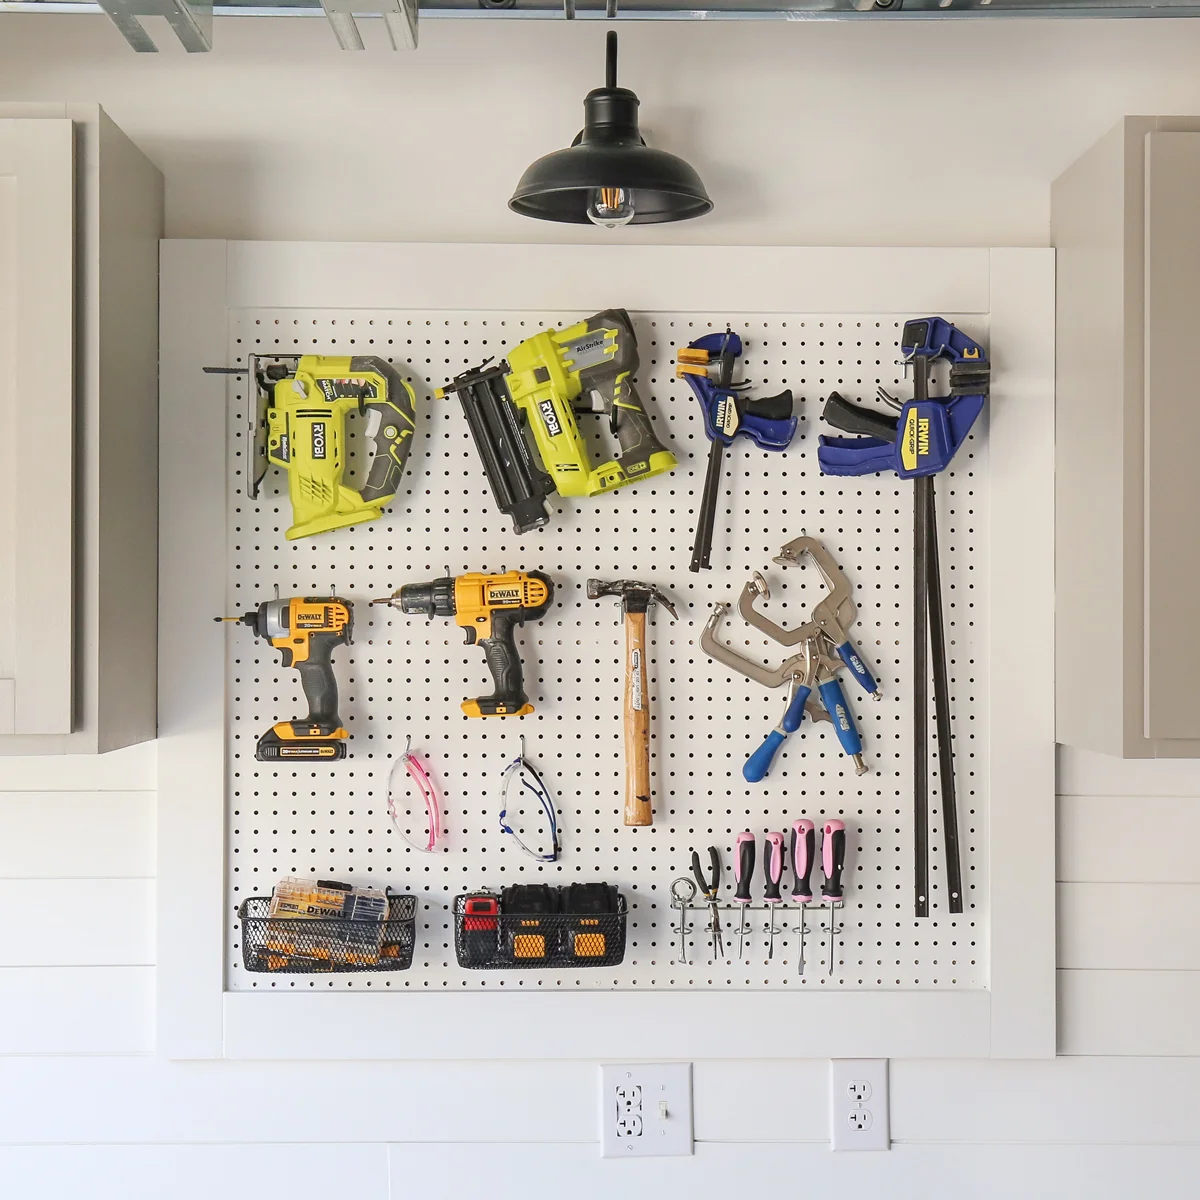
Credit: angelamariemade.com
Alternative Organization Options
Besides pegboards, other organization options offer unique benefits. These alternatives provide strong support and flexible layouts. They suit various spaces and tool types. Explore these options to find what fits your needs best.
Slatwall Systems
Slatwall systems have horizontal grooves to hold hooks. They support heavier tools and accessories safely. These panels are easy to clean and maintain. Installation can be a bit more complex than pegboards. Slatwalls give a sleek and modern look to your workspace.
French Cleats
French cleats use angled wood strips mounted on walls. You make holders that slide onto these strips for storage. This method is strong and very flexible. You can easily move or change your setup anytime. It works well for DIY enthusiasts who want custom layouts.
Magnetic Strips
Magnetic strips hold metal tools securely on walls. They keep items visible and easy to grab quickly. These strips save space and reduce clutter effectively. Installation is simple with screws or adhesive backing. Magnetic strips suit small tools like screwdrivers and knives.
Frequently Asked Questions
What Can I Use Instead Of Pegboard?
Alternatives to pegboard include slatwall systems, French cleats, magnetic strips, wall rails, and custom plywood panels. These options offer durability, flexibility, and customization for tool storage. Portable solutions like tool rolls and open-top bags also provide easy access and mobility.
Choose based on your space and needs.
What Size Dowel Fits In Pegboard?
A 1/4-inch dowel fits standard pegboard holes perfectly. This size ensures a snug, secure fit for most pegboard accessories.
What Is The Best Tool To Cut Peg Board?
The best tool to cut pegboard is a jigsaw with a fine-tooth blade. It ensures clean, precise cuts quickly and easily.
How Far Off The Wall Should Peg Board Be?
Pegboard should be mounted 1 to 2 inches off the wall. This gap allows hooks to fit and tools to hang freely.
What Materials Do I Need To Make A Pegboard?
You need plywood or MDF board, drill, saw, pegboard hooks, and mounting hardware.
Conclusion
Making a pegboard is a simple and useful project. It helps organize tools and craft supplies neatly. You only need basic materials and tools to start. Follow clear steps to cut, drill, and mount your board. Choose hooks and accessories that fit your needs.
This project saves space and makes items easy to find. Enjoy customizing your pegboard to match your style. With a little effort, your workspace becomes tidy and efficient. Give it a try and see how much easier tasks become.
