Is your tool cabinet a chaotic mess where finding the right tool feels like a treasure hunt? You’re not alone—and the good news is, organizing your tool cabinet doesn’t have to be a daunting task.
Imagine opening your cabinet and instantly spotting exactly what you need, saving time and frustration. By following simple, practical steps, you can transform your cluttered tool storage into a neat, efficient system that works for you every time. Ready to take control of your tools and boost your productivity?
Keep reading, and discover how to organize your tool cabinet like a pro.
Tool Cabinet Basics
Organizing a tool cabinet starts with understanding its basics. A well-organized cabinet saves time and keeps tools safe. It also makes your workspace cleaner and more efficient.
Knowing the key parts of a tool cabinet helps in planning the organization. This section covers the essential elements to consider for an effective setup.
Types Of Tool Cabinets
Tool cabinets come in various styles. Some have multiple drawers, others have shelves or pegboards. Choose one that fits your tool collection and workspace size.
Drawer And Shelf Layout
Drawers help separate tools by type or size. Shelves work well for larger items. Decide the layout based on how often you use each tool.
Material And Durability
Most tool cabinets are made of metal or heavy-duty plastic. Metal cabinets last longer and handle heavy tools better. Plastic options are lighter and easier to move.
Size And Capacity
Pick a cabinet size that holds all your tools without crowding. Too small means clutter; too big wastes space. Measure your tools before buying.
Security Features
Some cabinets come with locks to keep tools safe. This is important if you store expensive or specialized tools. Locking cabinets protect your investment.
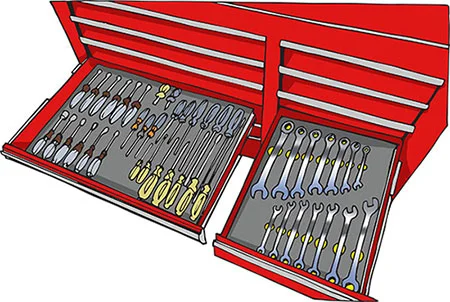
Credit: www.creativesafetysupply.com
Sorting Tools By Type
Grouping tools by how often you use them makes your tool cabinet more efficient. It saves time by keeping your most-used tools easy to reach. Less-used tools can be stored in less accessible spots.
This method helps avoid clutter and keeps your workspace tidy. It also protects your tools from damage by reducing unnecessary movement.
Identify Your Most Used Tools
Look at your daily tasks to find tools you reach for frequently. These might include screwdrivers, pliers, or a hammer. Keep these tools in the top drawers or front sections for quick access.
Separate Tools By Usage Frequency
Divide your tools into three groups: daily, occasional, and rarely used. Daily tools go in the easiest spots. Occasional tools can be placed in the middle or side compartments. Rarely used tools go in the bottom or back areas of the cabinet.
Create Zones In Your Cabinet
Make zones for each group inside your cabinet. Use drawer dividers or small containers to keep tools organized within each zone. This prevents mixing and makes it simple to find what you need fast.
Adjust As Your Needs Change
Review your tool use regularly. Move tools between zones if your usage changes. This keeps your tool cabinet organized and always ready for your current projects.
Grouping By Frequency Of Use
Maximizing space in your tool cabinet helps keep tools neat and easy to find. A well-organized cabinet saves time and reduces frustration during projects.
Small changes in arrangement can create more room. Using vertical space and smart storage solutions improves cabinet capacity.
Use Adjustable Shelves And Dividers
Adjustable shelves allow you to customize space for different tool sizes. Dividers keep tools separated and prevent clutter. This setup lets you fit more tools without crowding.
Hang Tools On The Inside Door
The inside door is often unused space. Install hooks or magnetic strips here to hang frequently used tools. This keeps them visible and easy to grab.
Store Small Items In Clear Containers
Small parts like screws and nails can get lost easily. Use clear containers or bins to store these items. Label each container for quick identification.
Group Tools By Function And Size
Group similar tools together to save space and improve access. Place heavy tools at the bottom shelves and lighter ones on top. This method keeps the cabinet balanced and safe.
Utilize Vertical Space With Pegboards
Pegboards inside the cabinet can hold many tools vertically. Hooks and holders on pegboards keep tools off shelves and organized. This frees up shelf space for bulkier items.

Credit: artmanofficial.com
Maximizing Cabinet Space
Labeling and identification improve tool cabinet organization greatly. Clear labels help find tools fast. They reduce time spent searching and prevent frustration. Proper identification keeps tools in the right place. This system works well for beginners and experts alike.
Use Clear And Simple Labels
Choose labels with large, easy-to-read fonts. Avoid fancy or small text. Use black letters on white backgrounds for best contrast. Write tool names or categories clearly. For example, “Screwdrivers” or “Measuring Tools.” Keep labels short and direct.
Color-code For Quick Recognition
Assign colors to different tool types or sections. For instance, red for power tools and blue for hand tools. Colors guide the eyes quickly to the needed area. Use colored labels or colored tape. This method speeds up tool retrieval and return.
Label Inside Drawers And Shelves
Place labels inside drawers or on shelf edges. This shows what goes where without opening everything. Use waterproof labels to avoid damage. Keep labels visible even when drawers are closed. This helps maintain organization over time.
Include Tool Outlines Or Pictures
Draw outlines or use pictures next to labels. This helps identify tools at a glance. It works well for small or similar-looking tools. Print images from the internet or draw simple shapes. Visual cues reduce mistakes and keep the cabinet tidy.
Labeling And Identification
Maintaining your tool condition extends the life of your tools and keeps them working well. Proper care prevents rust, damage, and wear. Clean tools after each use and store them correctly in your cabinet. This simple habit saves money and effort over time.
Cleaning Tools Before Storage
Remove dirt, grease, and moisture from tools after use. Use a dry cloth or brush to clean surfaces. For stubborn grime, a mild soap solution works well. Dry tools completely to stop rust from forming. Clean tools are easier to find and safer to use.
Applying Protective Coatings
Use oil or wax to protect metal parts from rust. A light coat of machine oil prevents moisture damage. Wipe off excess oil to avoid sticky surfaces. Wooden handles benefit from occasional treatment with linseed oil. These coatings keep tools strong and ready for work.
Checking For Damage Regularly
Inspect tools for cracks, chips, or loose parts often. Fix small problems early to avoid bigger repairs later. Tighten screws and replace worn-out parts as needed. Discard tools that are too damaged to fix safely. Safe tools make every job easier and faster.
Organizing Tools By Use And Type
Group tools by their function and size inside the cabinet. Keep frequently used tools within easy reach. Store heavy tools on lower shelves to prevent accidents. Proper organization reduces wear from jostling and helps maintain tool condition. A neat cabinet encourages regular care and checks.
Maintaining Tool Condition
Organizing a tool cabinet efficiently requires more than just placing tools inside. Many people make avoidable errors that reduce workspace efficiency. Knowing these common mistakes helps keep your cabinet neat and accessible.
Avoid cluttering the cabinet with unused or broken tools. These take up valuable space and cause confusion. Regularly check and remove any tools that no longer work or you rarely use.
Not Sorting Tools By Type And Use
Mixing different types of tools creates disorder. Group similar tools together by function, such as screwdrivers, pliers, and wrenches. Keep frequently used tools within easy reach for faster access.
Ignoring Tool Size And Weight Placement
Heavy tools placed on top can cause damage or accidents. Store heavier tools at the bottom of the cabinet to keep it stable. Lighter tools belong on the upper shelves or drawers.
Failing To Label Tool Locations
Without labels, finding tools takes more time. Label each drawer or section clearly. This helps maintain order and speeds up tool retrieval during projects.
Overcrowding The Cabinet
Packing too many tools causes clutter and frustration. Leave enough space so tools fit comfortably. Crowded spaces increase the risk of damage and make tools harder to find.
Neglecting Regular Cleaning And Maintenance
Dust and rust can damage tools over time. Clean your tools and cabinet regularly to keep everything in good condition. Proper maintenance extends the life of your tools and keeps the cabinet tidy.
Avoiding Common Mistakes
Essential tools form the backbone of any well-organized tool cabinet. Choosing the right tools saves time and effort during projects. Keep tools useful for daily repairs and common tasks. Organize tools by type and size for easy access. Below are must-have tools that every cabinet should include.
Screwdrivers And Wrenches
Screwdrivers come in many types, such as flathead and Phillips. Include various sizes for different screws. Wrenches, both adjustable and fixed, fit nuts and bolts. Keep these tools in separate compartments to avoid mixing.
Hammers And Mallets
A claw hammer is essential for driving and removing nails. Rubber mallets work well for delicate tasks that need gentle force. Store hammers with handles down for safety and quick grab.
Pliers And Cutters
Pliers help grip, twist, and bend wires or small objects. Needle-nose pliers reach tight spaces easily. Wire cutters or snips trim wires cleanly. Arrange these tools together for convenience.
Measuring And Marking Tools
Accurate measurements are key to good work. Include tape measures, rulers, and squares. Marking tools like pencils or markers help plan cuts. Keep them in a front drawer for quick reach.
Power Tools And Accessories
Common power tools include drills and drivers. Store batteries and chargers nearby to keep everything ready. Organize drill bits and small parts in labeled containers. This keeps your cabinet neat and functional.
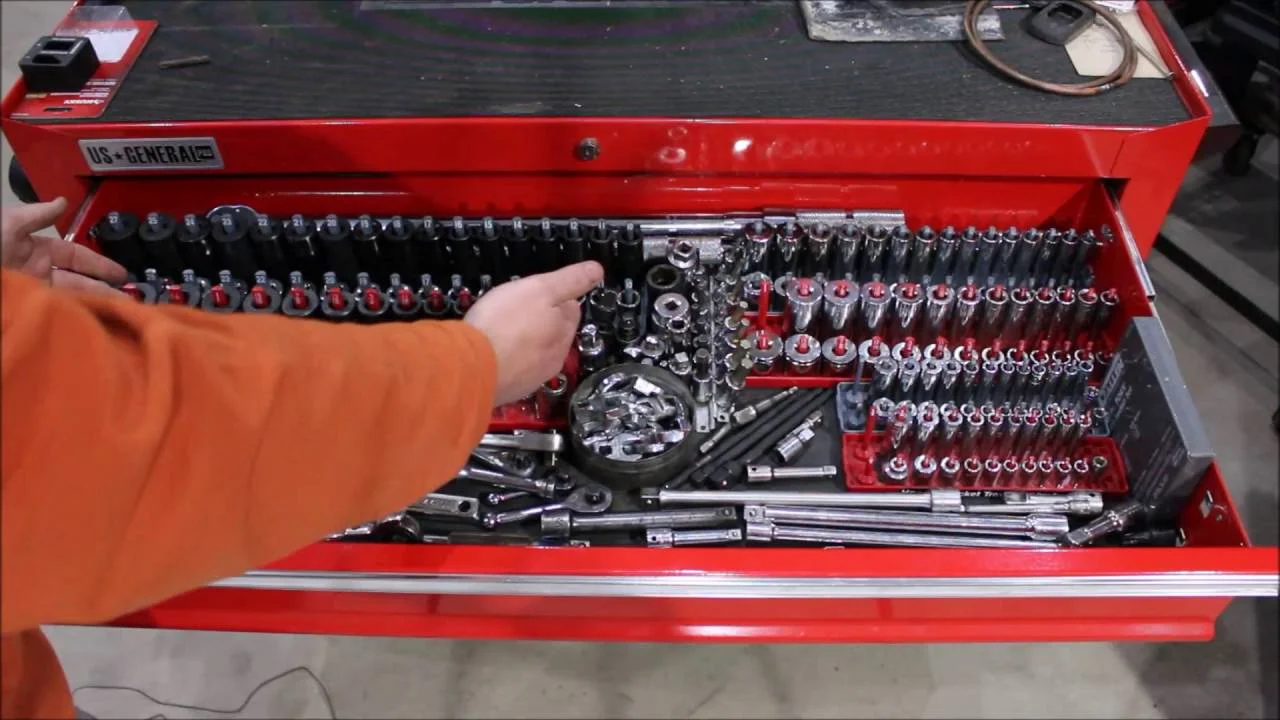
Credit: www.youtube.com
Frequently Asked Questions
What Are The Common Toolbox Organizer Mistakes?
Common toolbox organizer mistakes include overcrowding tools, mixing metric and imperial fasteners, neglecting tool cleaning, and poor categorization. Avoid storing tools in humid areas to prevent rust and damage.
How Should A Tool Box Be Organized?
Organize a toolbox by grouping tools by function, type, and size. Place frequently used tools on top. Store heavier tools at the bottom. Use compartments or trays to separate items. Label sections for easy access and maintain cleanliness to prevent clutter.
How To Organize A Lot Of Tools?
Sort tools by type and frequency of use. Use labeled storage bins or drawers. Place heavy tools at the bottom. Keep frequently used tools accessible. Regularly declutter and clean your tool area.
What Should Every Tool Box Have?
Every toolbox should have a hammer, Phillips and flathead screwdrivers, pliers, tape measure, utility knife, level, adjustable wrench, socket set, safety goggles, and a flashlight. These tools cover basic repairs and ensure safety during tasks.
How Do I Start Organizing A Tool Cabinet Effectively?
Begin by emptying the cabinet and sorting tools by type and size for easy access.
Conclusion
Organizing a tool cabinet saves time and reduces frustration. Group tools by type and use for easy access. Keep heavy items at the bottom to avoid accidents. Label compartments to find tools quickly and stay organized. Regularly clean and remove broken tools to maintain order.
A tidy cabinet helps finish projects faster and with less stress. Start small, and build your system step by step. A well-organized cabinet makes any job more enjoyable.
Related reading: how to use safety wire pliers.
Related reading: what lineman pliers are used for.
Related reading: how to use fence pliers.
Related reading: what an Allen wrench is.
Related reading: what screwdriver to open a PS5 fan.
Related reading: how to unscrew a screw without a screwdriver.
