TIG welding is known for its precision and control, making it a favorite for professionals and hobbyists who want clean, strong welds. One tool that transforms the TIG welding experience is the TIG welder foot pedal. This device might look simple, but it plays a huge role in the quality and ease of your welds. For many, it’s the difference between fighting the arc and feeling in command. But what exactly does a foot pedal do, and how do you pick the right one? Let’s walk through everything you need to know, from how they work to what features matter most.
What Is A Tig Welder Foot Pedal?
A TIG welder foot pedal is a remote control that lets you adjust the amperage (heat) of your weld with your foot while you work. (New to the process? Start with what is a TIG welder.) Instead of setting your amperage on the welder and leaving it, you can increase or decrease the heat instantly by pressing down or easing up on the pedal. This means you can respond to changes in metal thickness, joint fit, or position without stopping your weld.
For example, starting a weld on thin stainless steel often requires lower amperage to avoid burn-through, but you may need more heat as you move to thicker areas or change your speed — see how to TIG weld stainless steel for material-specific settings. The foot pedal makes these adjustments smooth and automatic, helping you avoid common TIG mistakes like undercutting or excessive spatter.
Why The Foot Pedal Matters In Tig Welding
The foot pedal is not just about comfort. It gives you precise control, which is critical for TIG welding’s demanding technique. Here’s why it matters:
- Real-time amperage control: You can fine-tune the heat as you weld.
- Better starts and stops: The pedal lets you ramp up and down, reducing craters and cracks at the end of your weld.
- Less rework: Good pedal technique means fewer mistakes and cleaner welds.
Many beginners overlook the importance of the pedal, focusing on the torch or machine settings. But most experienced welders will tell you that mastering the pedal is as important as learning to hold a steady hand.
How A Tig Welder Foot Pedal Works
Inside, a TIG foot pedal usually contains a potentiometer, which acts like a variable resistor. When you press the pedal, you change the resistance, which tells the welder to increase or decrease the amperage. Most pedals are analog, but some newer models use digital signals for more precise control.
The pedal connects to the welder with a cable, often using a 3-pin or 5-pin plug. When you press down, the welder increases its output; when you lift up, it decreases. Some pedals also have a “start switch” to initiate the arc.
Let’s compare how TIG welding works with and without a foot pedal:
| With Foot Pedal | Without Foot Pedal |
|---|---|
| Amperage changes instantly during welding | Amperage is fixed during welding |
| Smoother starts and stops | Higher risk of crater cracks at end |
| Adapt to changing joint thickness | Must pause to change settings |
| More forgiving for beginners | Requires perfect technique and speed |
Key Features To Look For In A Tig Foot Pedal
Choosing the right foot pedal can make a big difference in your welding. Here are the most important features to consider:
1. Compatibility
Not all pedals fit all machines. Check the connector type (3-pin, 5-pin, etc. ) And confirm that the pedal matches your welder’s brand and model. Some brands, like Miller or Lincoln, have unique wiring. Always read your welder’s manual or ask the manufacturer if unsure.
2. Amperage Range
A pedal should match or exceed your welder’s maximum amperage. If your welder can output 200 amps, make sure your pedal can handle the same range. A mismatch can cause poor control or even damage to the pedal or machine.
3. Pedal Sensitivity And Smoothness
Quality pedals feel smooth, not jerky. A smooth pedal action helps you make fine adjustments without sudden jumps in power. Look for reviews or try pressing the pedal in-store if possible.
4. Build Quality
A well-built pedal is often made from metal or heavy-duty plastic, with solid hinges and non-slip pads. This matters if you weld for hours or need to move your equipment often. Cheap pedals may break or shift under your foot.
5. Size And Ergonomics
Some pedals are large and heavy, while others are small and light. Larger pedals are more stable but can be awkward in tight spaces. Think about your workspace and comfort—if you have big feet or weld while sitting, pedal size matters.
6. Cable Length
A longer cable (8 feet or more) gives you more freedom to move. Short cables can limit where you place your welder or force you into uncomfortable positions.
7. Extra Features
Some advanced pedals include digital displays, programmable settings, or dual-action switches. These are nice to have but not essential for most welders.
Types Of Tig Welder Foot Pedals
There are several types of foot pedals, each with its own strengths and weaknesses. Here’s a quick comparison:
| Type | Main Feature | Best For | Drawback |
|---|---|---|---|
| Analog | Simple resistance control | Most hobbyists/professionals | May wear out over time |
| Digital | Precise electronic control | High-end machines, advanced users | Expensive, requires compatible welder |
| Multi-function | Amperage + extra switches | Industrial or custom jobs | Complex to use, higher cost |
How To Use A Tig Welder Foot Pedal Like A Pro
New welders often make the mistake of ignoring the pedal or using it like an on-off switch. Proper foot pedal technique is a skill, but practice makes perfect. For the broader skill set, see how to use a TIG welder. Here’s how to get started:
- Set your maximum amperage on the machine. This is the most power you’ll get when the pedal is fully pressed.
- Start with your foot off the pedal. As you press down, the amperage smoothly increases.
- Feather the pedal as you weld. Use gentle pressure—don’t stomp. You can back off the pedal for thin areas or when you see the puddle get too hot.
- Ease up at the end of your weld. Don’t just lift your foot quickly; slow down to fill the weld crater and avoid cracks.
- Practice on scrap metal. Try running beads while adjusting the pedal slowly. Focus on controlling the weld pool size and shape.
A common beginner mistake is to set the maximum amperage too high and weld with the pedal pressed only a little. It’s better to set the max amperage just above what you need, so you use more of the pedal’s range.
Credit: thaifarmcooking.com
Common Foot Pedal Problems And Fixes
Like any tool, foot pedals can develop issues. Here are some common problems and what you can do:
- Pedal feels jerky or sticky: This is often due to dirt or worn-out parts inside. Try cleaning or lubricating the pivot point.
- No response from welder: Check the cable connections. A bent or broken pin is a frequent cause. Replace the cable if needed.
- Amperage jumps or won’t adjust smoothly: The potentiometer might be worn out. Some pedals allow you to replace this part yourself.
- Pedal moves around: Add a non-slip mat or rubber feet, especially on smooth shop floors.
Non-obvious insight: If you weld while standing, consider placing a small wooden board under the pedal for better stability. Some users find this small change gives them better control, especially on uneven or dirty floors.
Top Tips For Buying A Tig Welder Foot Pedal
Making the right choice means fewer headaches later. Here’s what experienced welders recommend:
- Buy for your welder, not just your budget. Saving money on a cheap pedal often leads to frustration and wasted time.
- Read real-world reviews. Look for comments about pedal smoothness and durability, not just specs.
- Check warranty and support. Good pedals come with at least a one-year warranty. Brands like SSC Controls, Miller, and Lincoln offer reliable products.
- Consider used pedals carefully. If buying used, test the pedal if possible or ask the seller about its history.
- Don’t overlook pedal placement. Some welders mount their pedal on a small platform to keep it clean and stable.
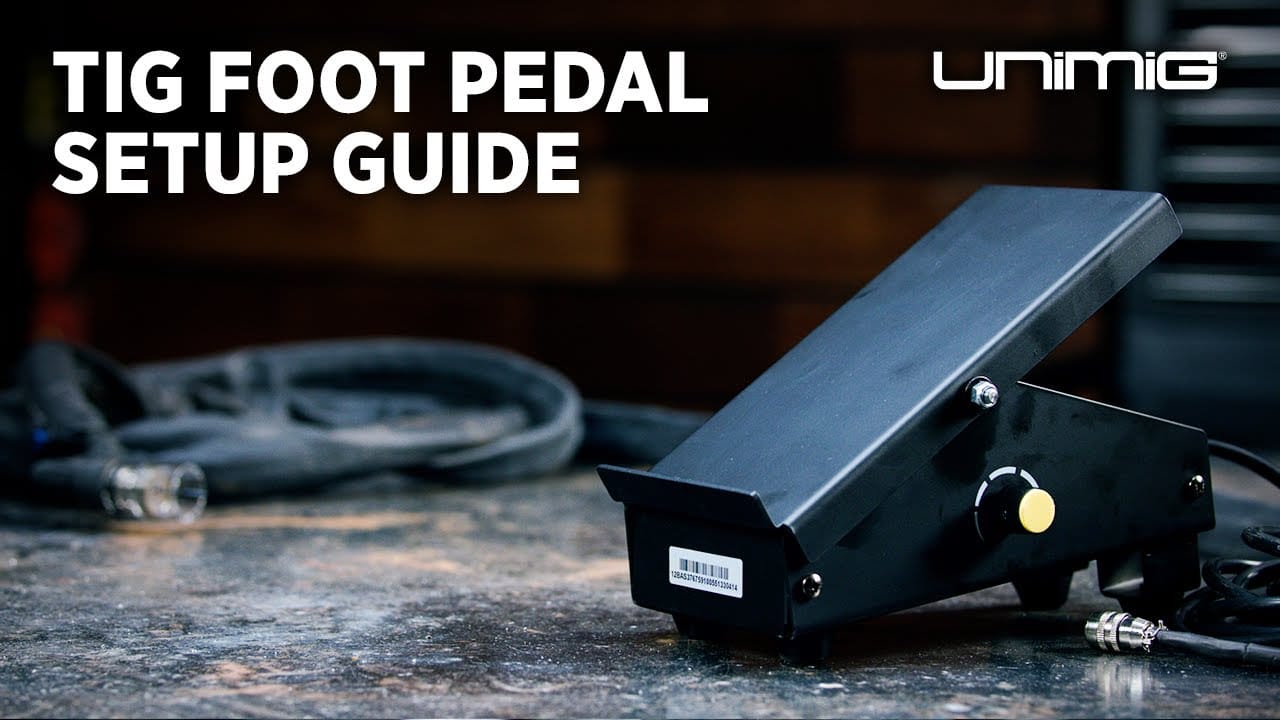
Credit: www.youtube.com
Foot Pedal Alternatives In Tig Welding
While foot pedals are the most popular control method, they aren’t the only option. Here are some alternatives:
- Torch-mounted finger controls: These let you adjust amperage with your hand. Useful for working in tight spaces or awkward positions.
- Rocker switches: Some pedals use a rocking motion instead of up-and-down movement.
- Preset amperage: For repetitive jobs, you can set a fixed amperage and skip the pedal, but you lose flexibility.
A non-obvious insight: Many welders keep both a foot pedal and a torch-mounted control handy, switching between them depending on the job. This flexibility can boost your productivity and comfort.
Maintaining Your Tig Welder Foot Pedal
Taking care of your pedal ensures it lasts for years. Here’s how:
- Keep it clean: Dust and metal shavings can get inside and cause problems. Blow out the pedal with compressed air every few months.
- Check the cable: Look for nicks or worn spots, especially near the connectors.
- Store it safely: Don’t leave the pedal on the floor where it can get stepped on, crushed, or wet.
- Inspect the hinge and potentiometer: If you notice sticky movement, take the pedal apart and lubricate moving parts lightly.
Replacing a worn potentiometer is often cheaper than buying a new pedal. Check your pedal’s manual for part numbers and instructions.
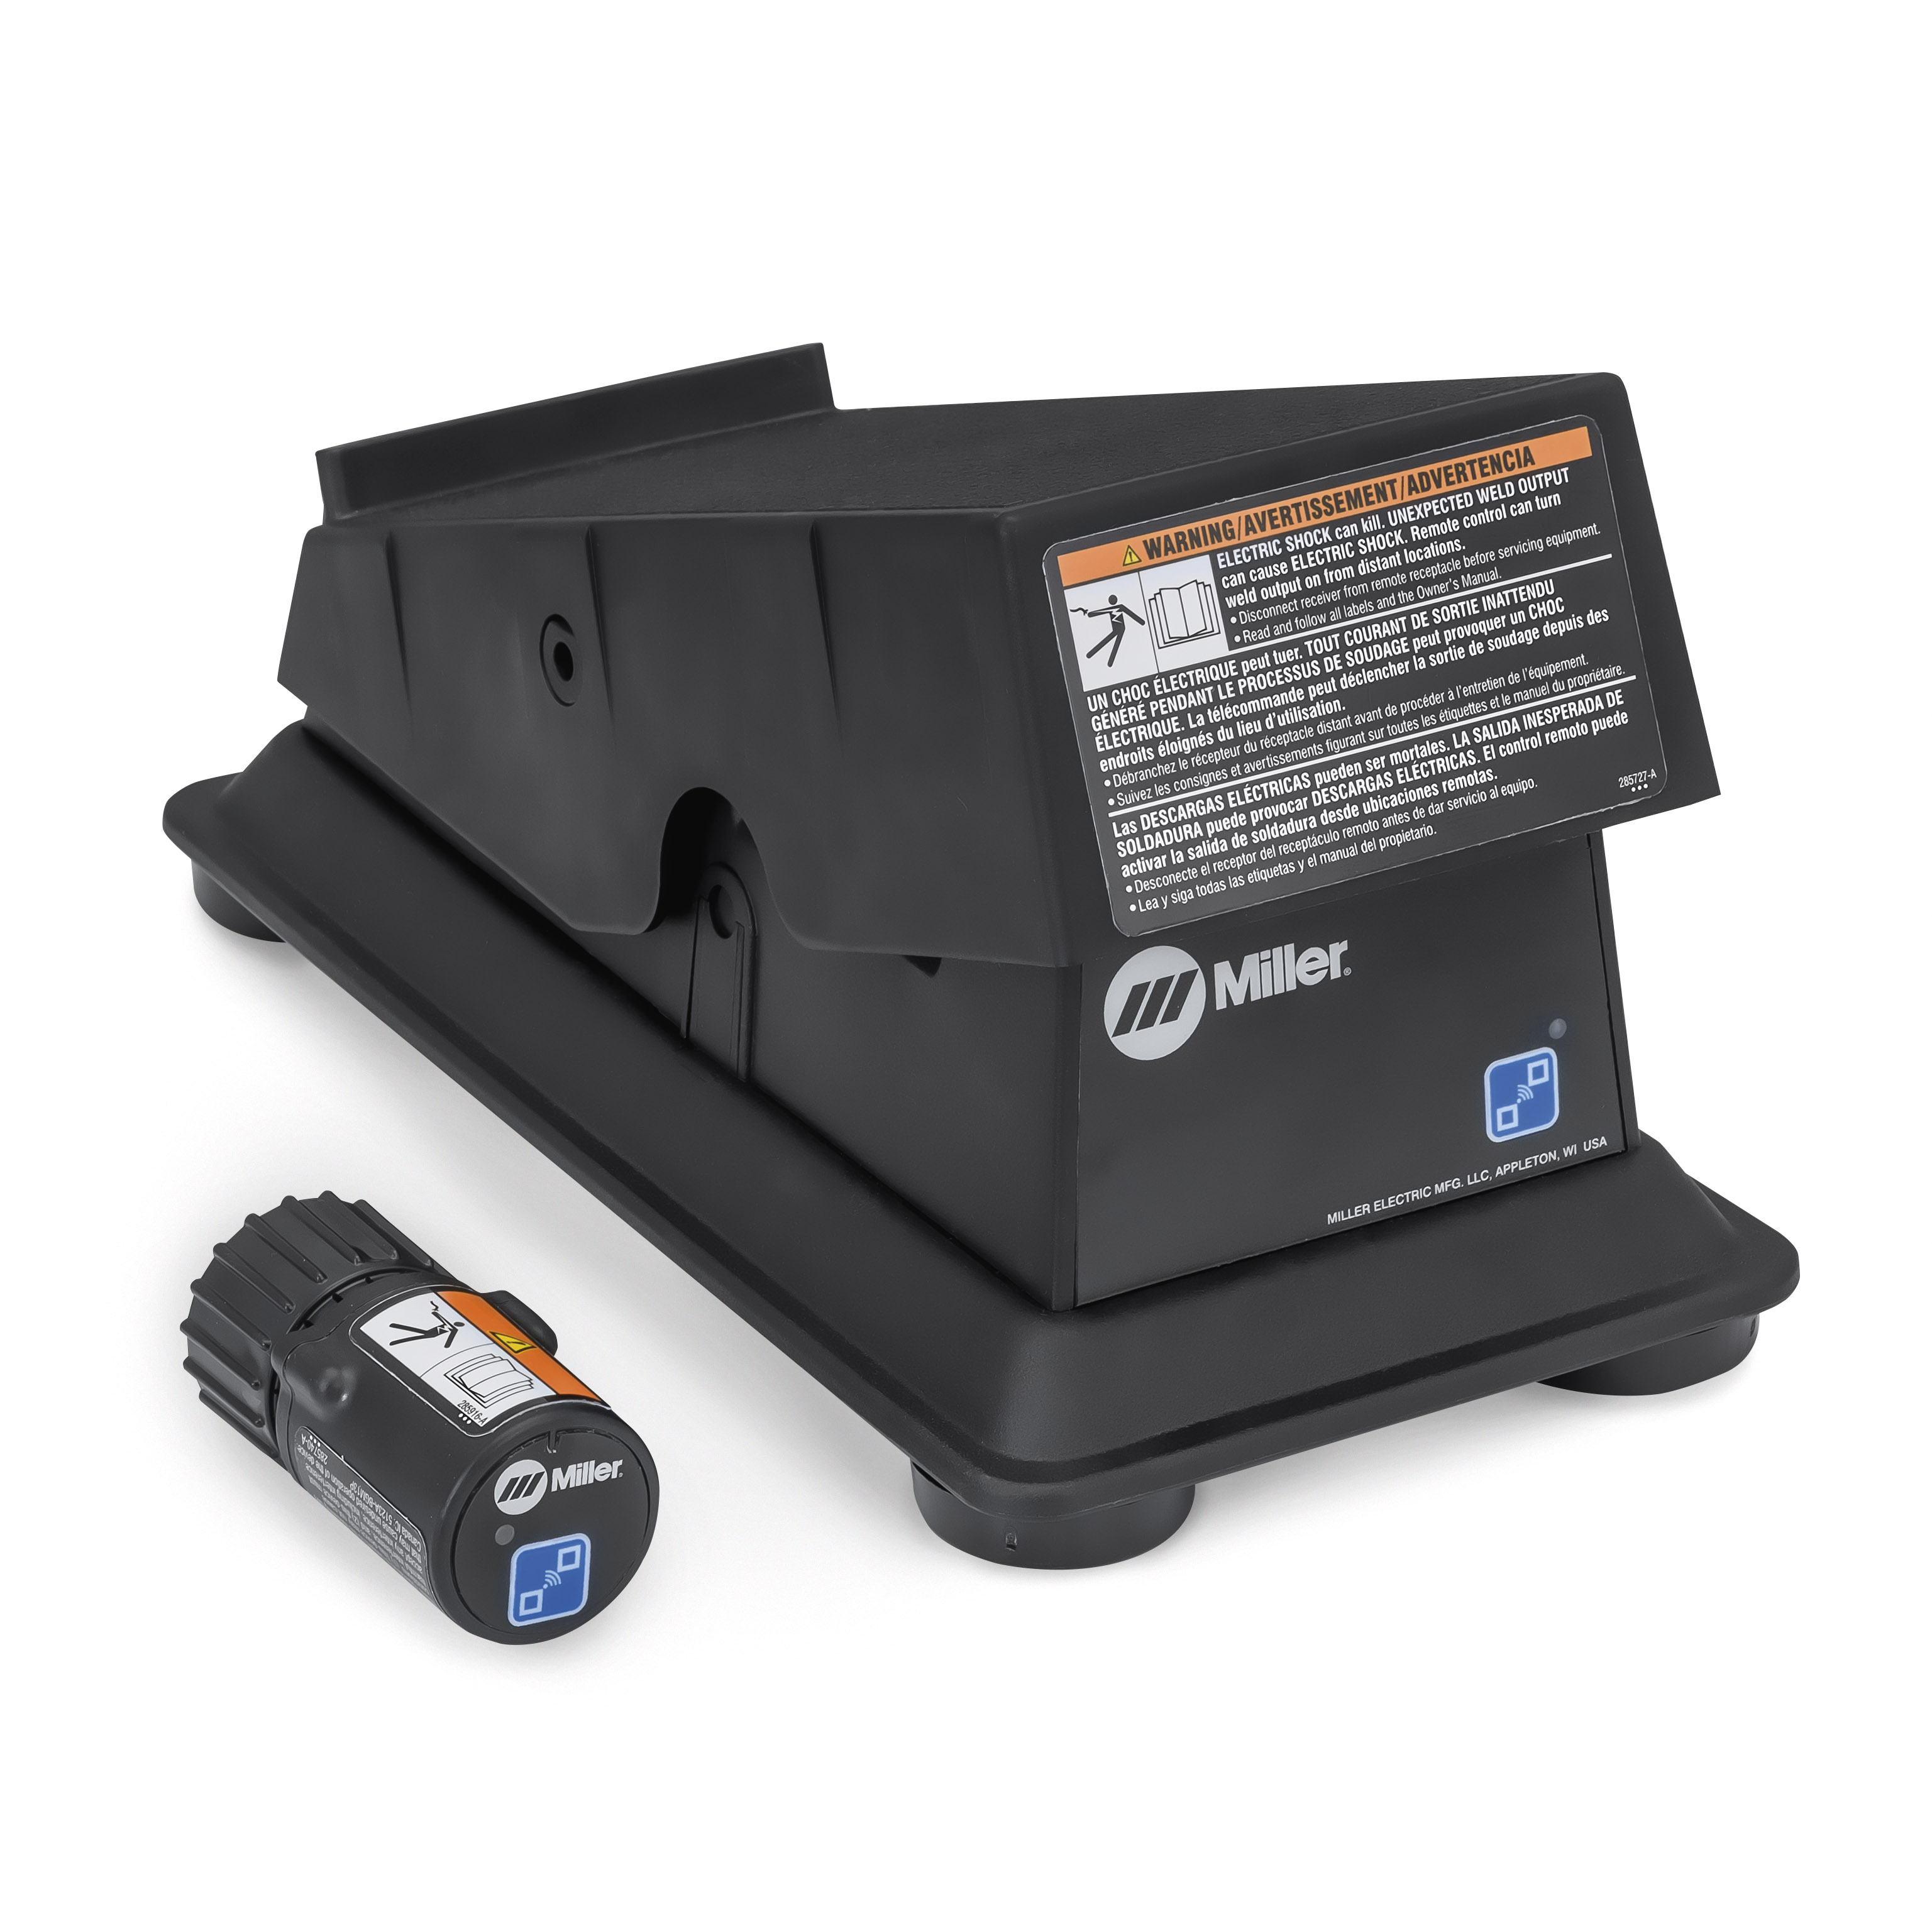
Credit: www.millerwelds.com
When To Upgrade Your Tig Welder Foot Pedal
You might need to upgrade if:
- Your pedal feels rough, unresponsive, or noisy.
- You switch to a new welder with different connectors.
- You want more features, like digital controls or longer cables.
- Your work changes (e.g., more out-of-position welding, where torch controls are better).
A quality pedal can last for many years, but heavy use will eventually wear out any mechanical parts.
Real-world Examples: How The Foot Pedal Changes Welding
Consider two welders working on a thin aluminum bike frame. The first uses a fixed amperage setting. As the tube heats up, the weld puddle grows, and it’s easy to burn through the metal. The second welder uses a foot pedal, backing off the heat as the metal gets hot.
The result is a cleaner, stronger weld with less rework.
Professional fabricators often say the pedal lets them “feel” the weld and react instantly. This muscle memory develops with practice, but having a responsive, reliable pedal makes a huge difference.
Frequently Asked Questions
How Do I Know If A Foot Pedal Will Fit My Tig Welder?
Always check your welder’s manual for compatible pedal models and connector types. Many manufacturers use unique wiring. If unsure, contact the welder brand or look for adapter cables.
Can I Use A Tig Foot Pedal For Mig Or Stick Welding?
No, TIG foot pedals are designed specifically for TIG machines. MIG and Stick welders use different controls and do not support real-time amperage adjustment like TIG pedals do.
Is A Foot Pedal Better Than A Torch-mounted Control?
It depends on your work. Foot pedals offer smoother, more precise control for bench welding, while torch-mounted controls are better in tight spaces or when you need to move around a lot.
What Is The Typical Price Range For A Good Tig Foot Pedal?
Most quality pedals cost between $80 and $250, depending on features and brand. Cheaper pedals may work, but often lack durability and smoothness.
Where Can I Find More Information About Tig Welding Equipment?
You can find detailed guides and reviews on welding forums, manufacturer websites, or resources like the Wikipedia TIG welding page for in-depth information.
A TIG welder foot pedal is a simple tool with a big impact. It gives you the control and flexibility you need for clean, professional welds, whether you’re a beginner or an expert. Take your time to choose the right pedal for your machine and needs, practice your technique, and you’ll see your welding skills improve dramatically.
